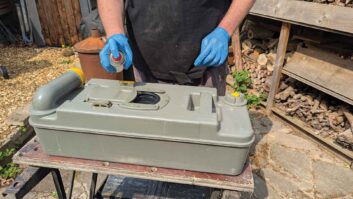


If you have ever noticed that the toilet cassette is slightly wet when removing it, or there is a dribble from the cassette when taking it for a walk, chances are that the seal has reached the end of its useful life.
No seal lubricant or adjustment will save the day: you’re going to have to replace it.
Thankfully, replacing the seal on the Thetford C250 or C260 is an easy task that takes just a few minutes to complete.
The same seal is used on many of Thetford’s older cassettes, too, which means that it’s a well-established part, so getting hold of one is easy – I simply popped into a local dealer and grabbed one off the shelf.
What you will need
- The replacement seal – Thetford part number 23721
- A Philips screwdriver
- Thetford Seal Lubricant (or olive oil)
- Rubber gloves
- Thetford Tank Cleaner (this is optional, but means that you’ll have a fresh tank afterwards)
Before we begin
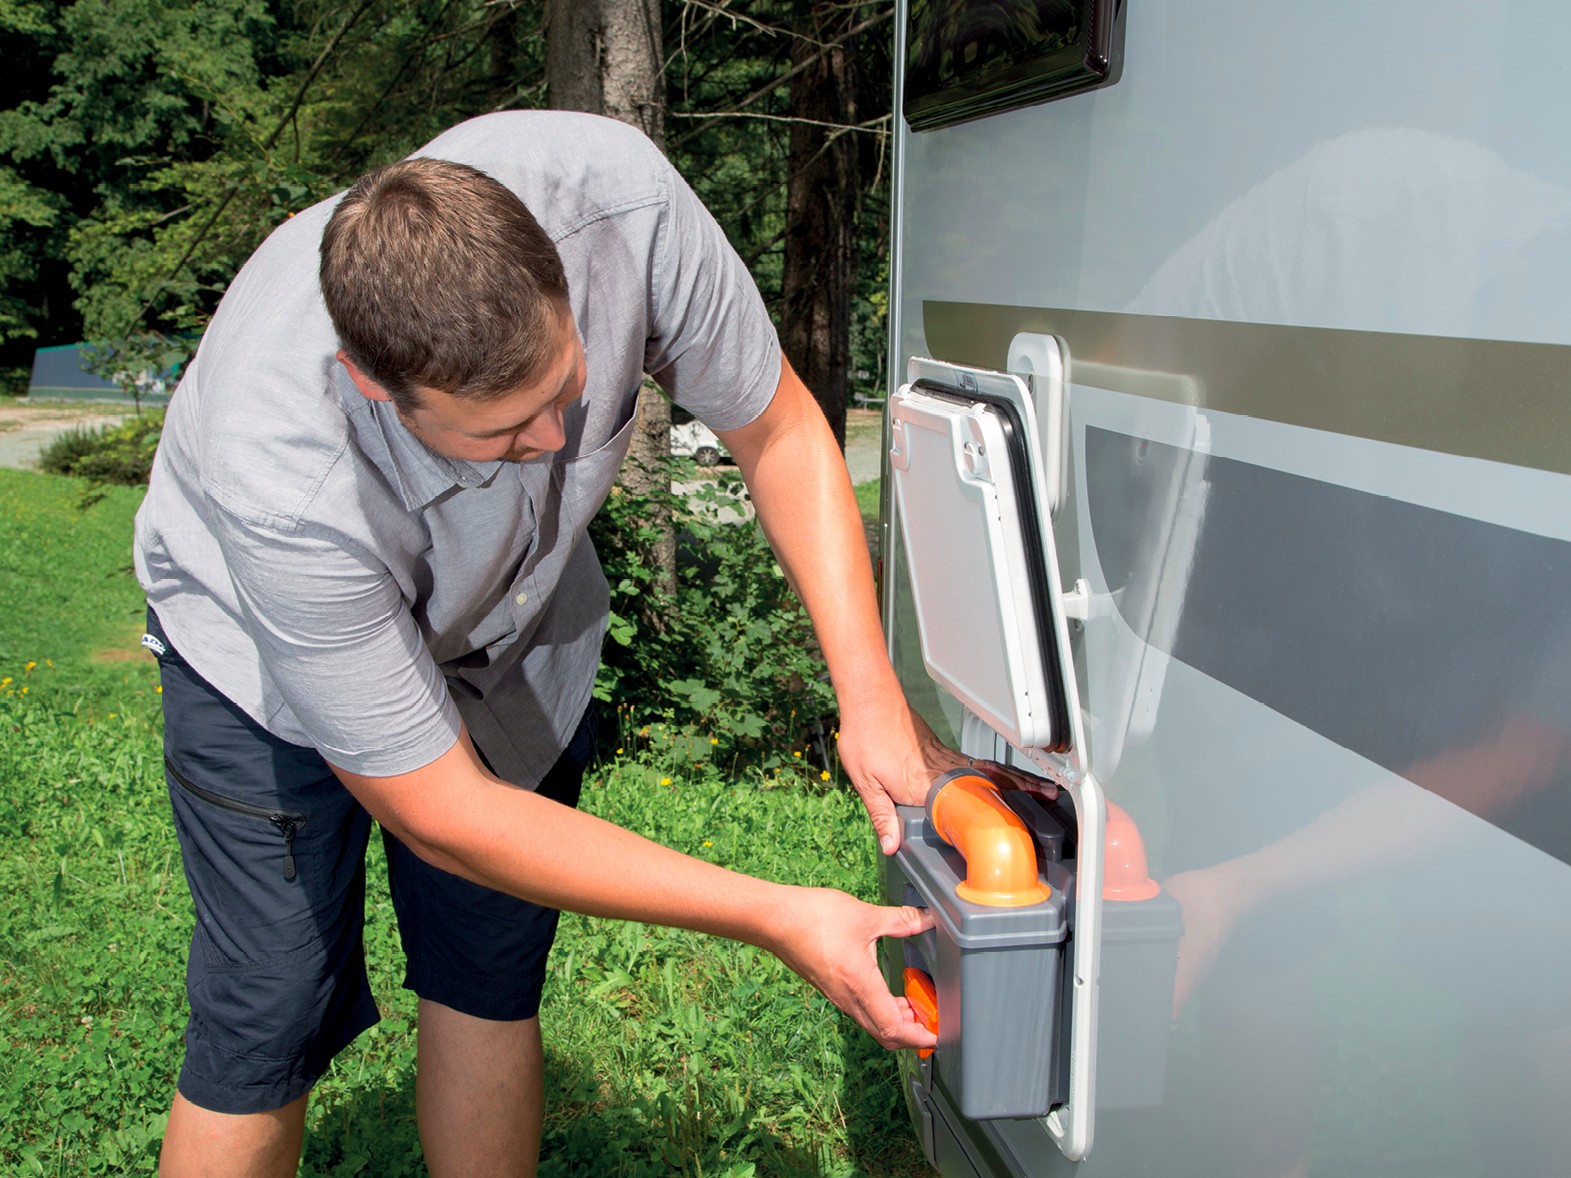
Pull the cassette from the locker housing and familiarise yourself with the markings on the top.
These are useful to know because we’ll use them as a reference when opening the cassette.
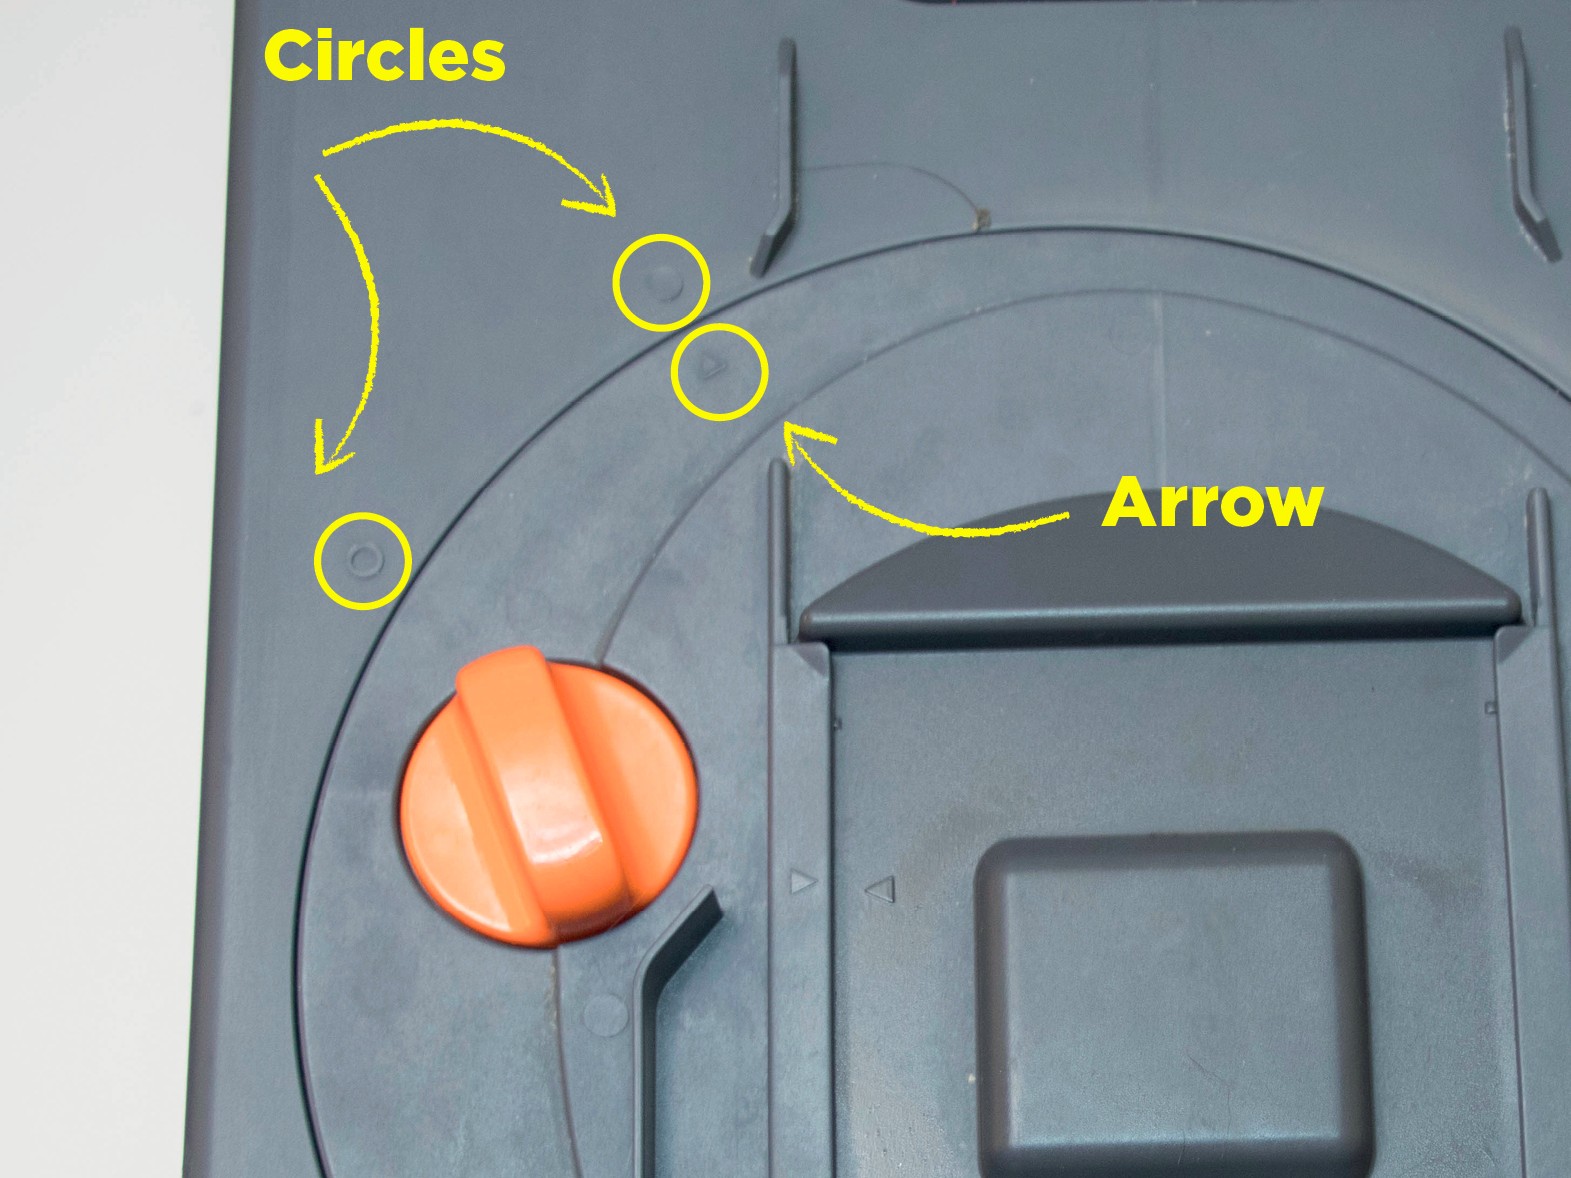
Have look at the lid and you will see an arrow and two circles – one solid, one outline: these show if the lid is closed or open.
Also look at the sliding panel. This, too, has two arrows that in ordinary everyday use will be pointing at each other.
Step 1: opening the cassette
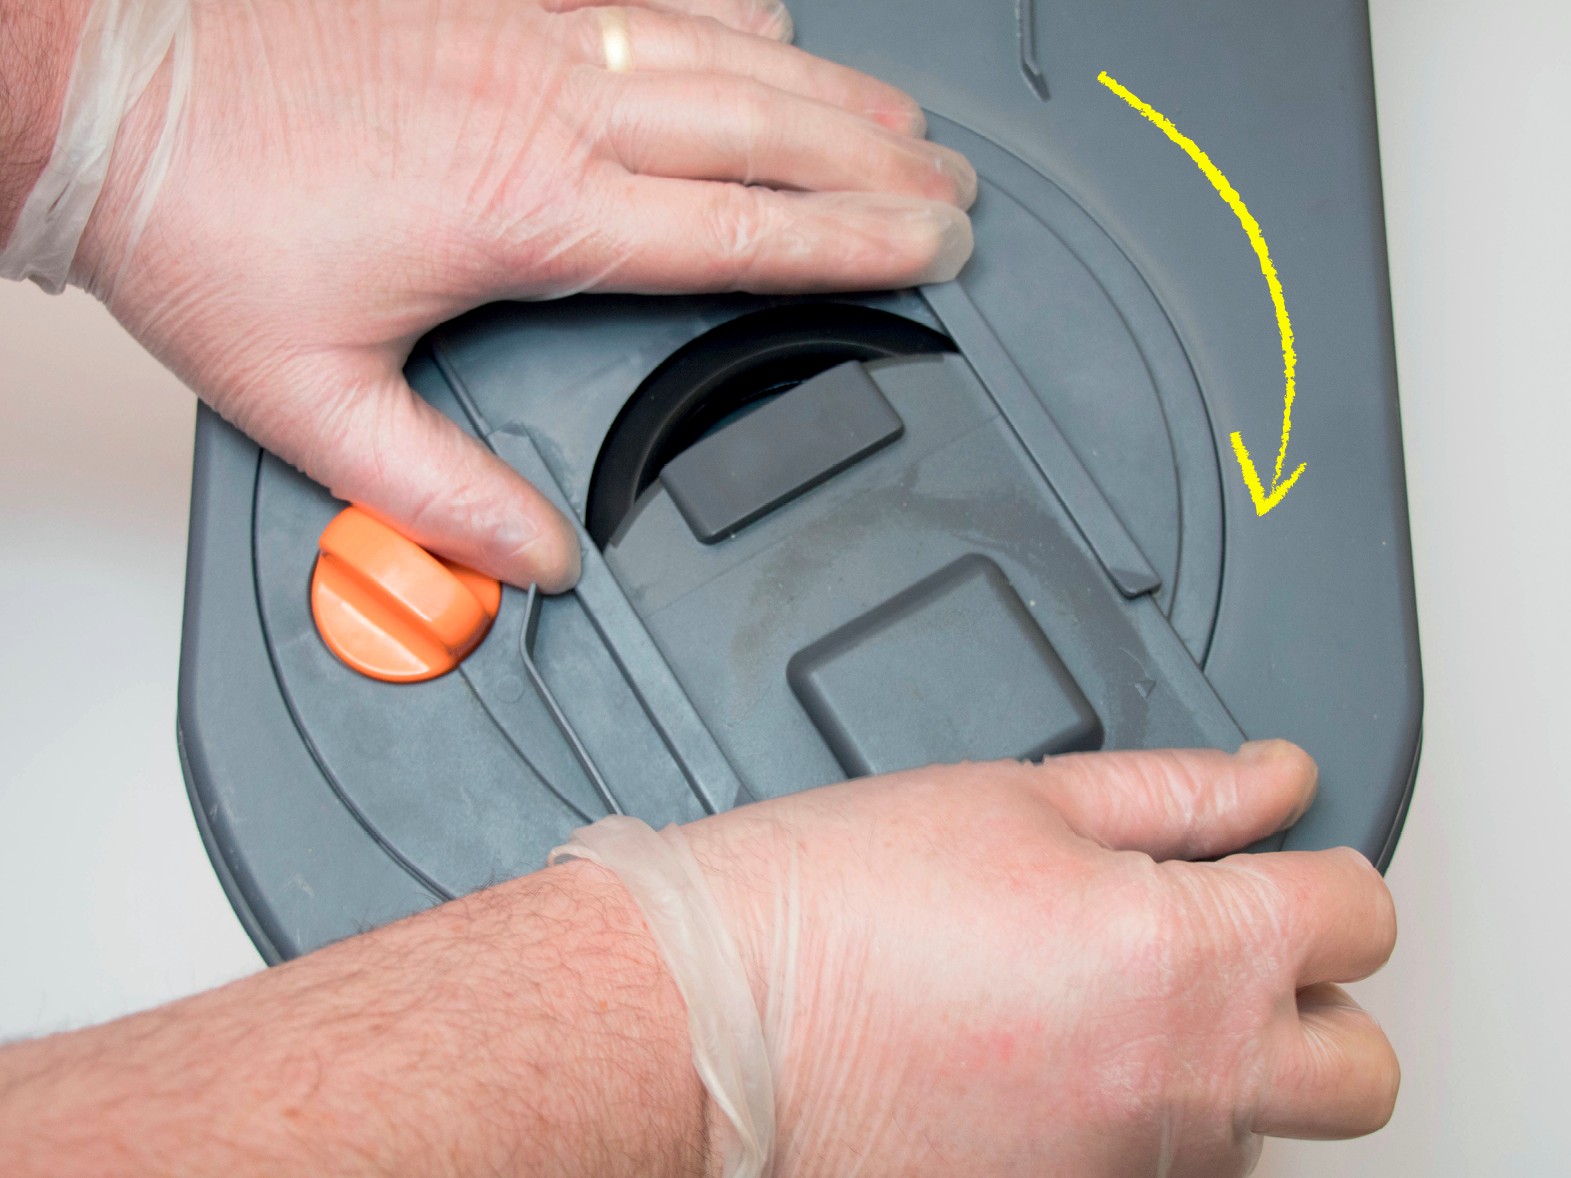
Remove the plastic cover plate and replace it halfway into the other side. This will provide a lever to help you twist off the top.
Gently apply pressure from the right-hand side, and push in an anti-clockwise direction, so the lid slowly unlocks. Keep twisting until the lid arrow points to the unlocked symbol.
Now gently lift the hatch assembly out of the cassette and place it face down. We won’t need the tank until later on, so at this point you can give it a clean, if it needs one.
Step 2: accessing the seal
The assembly may be mucky, so a quick clean with an old toothbrush and some detergent is a useful way to clean the mechanism at this stage.
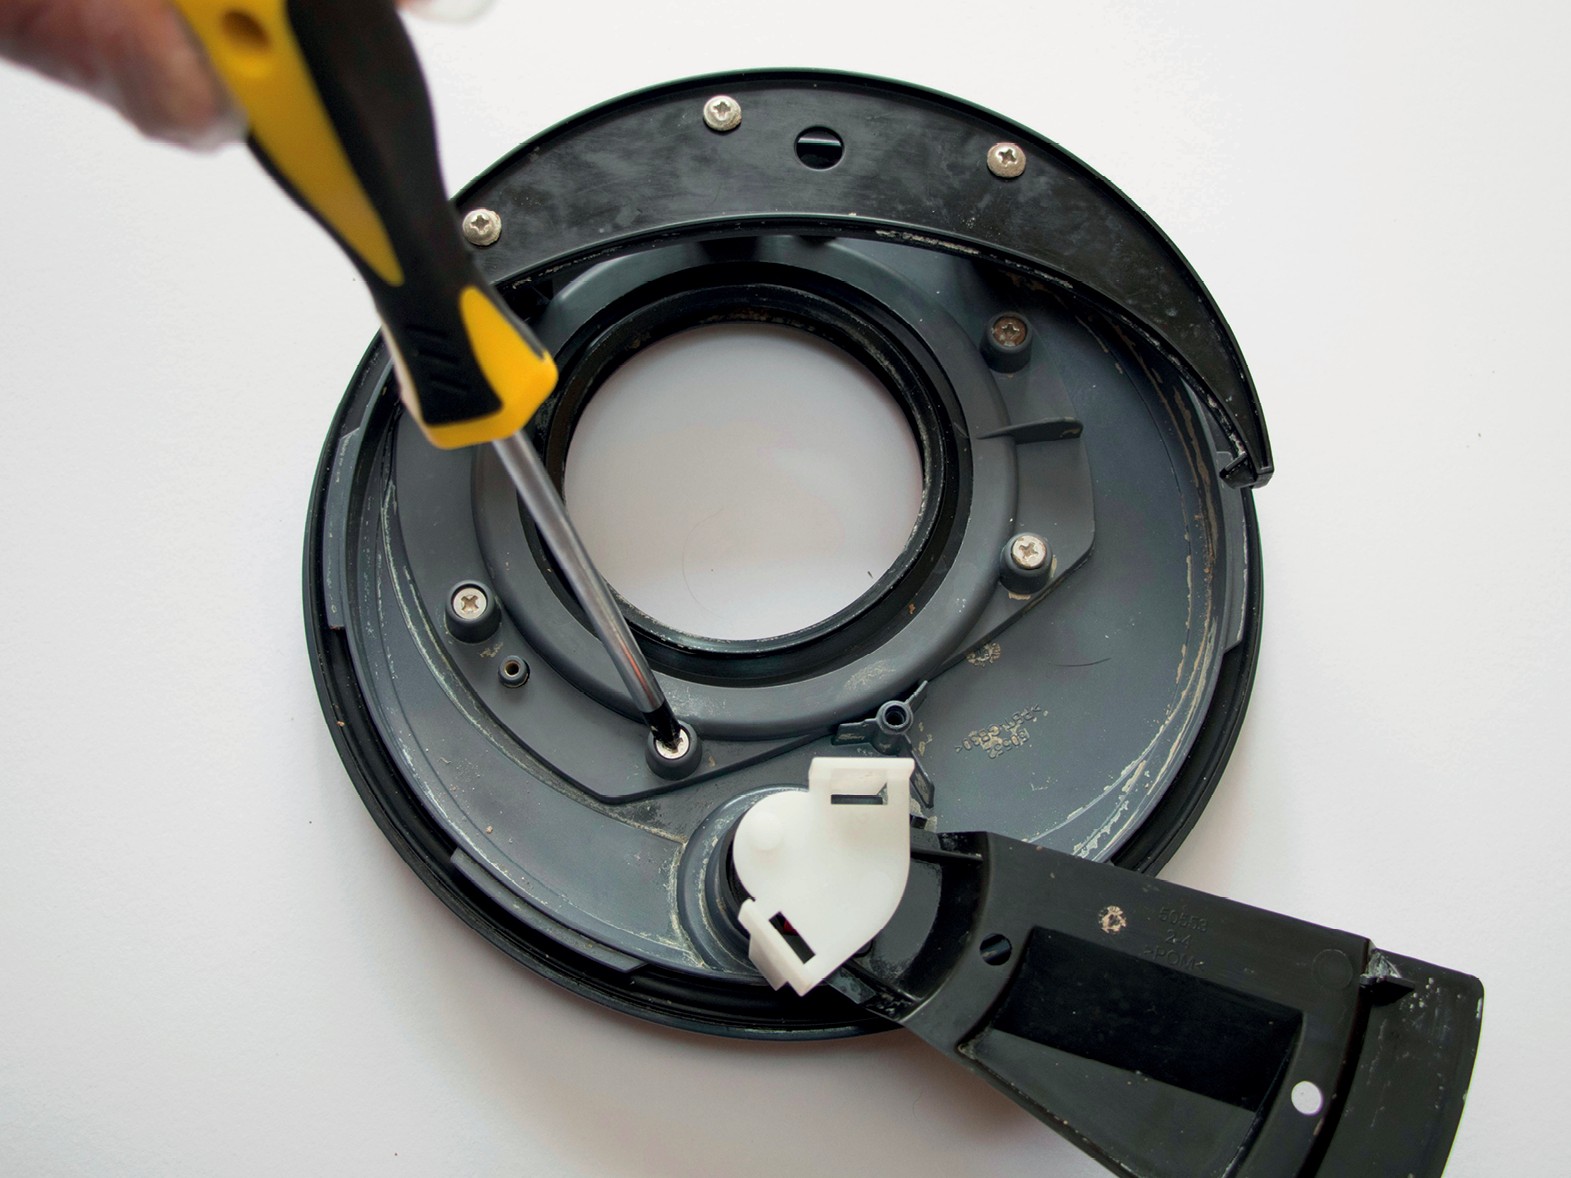
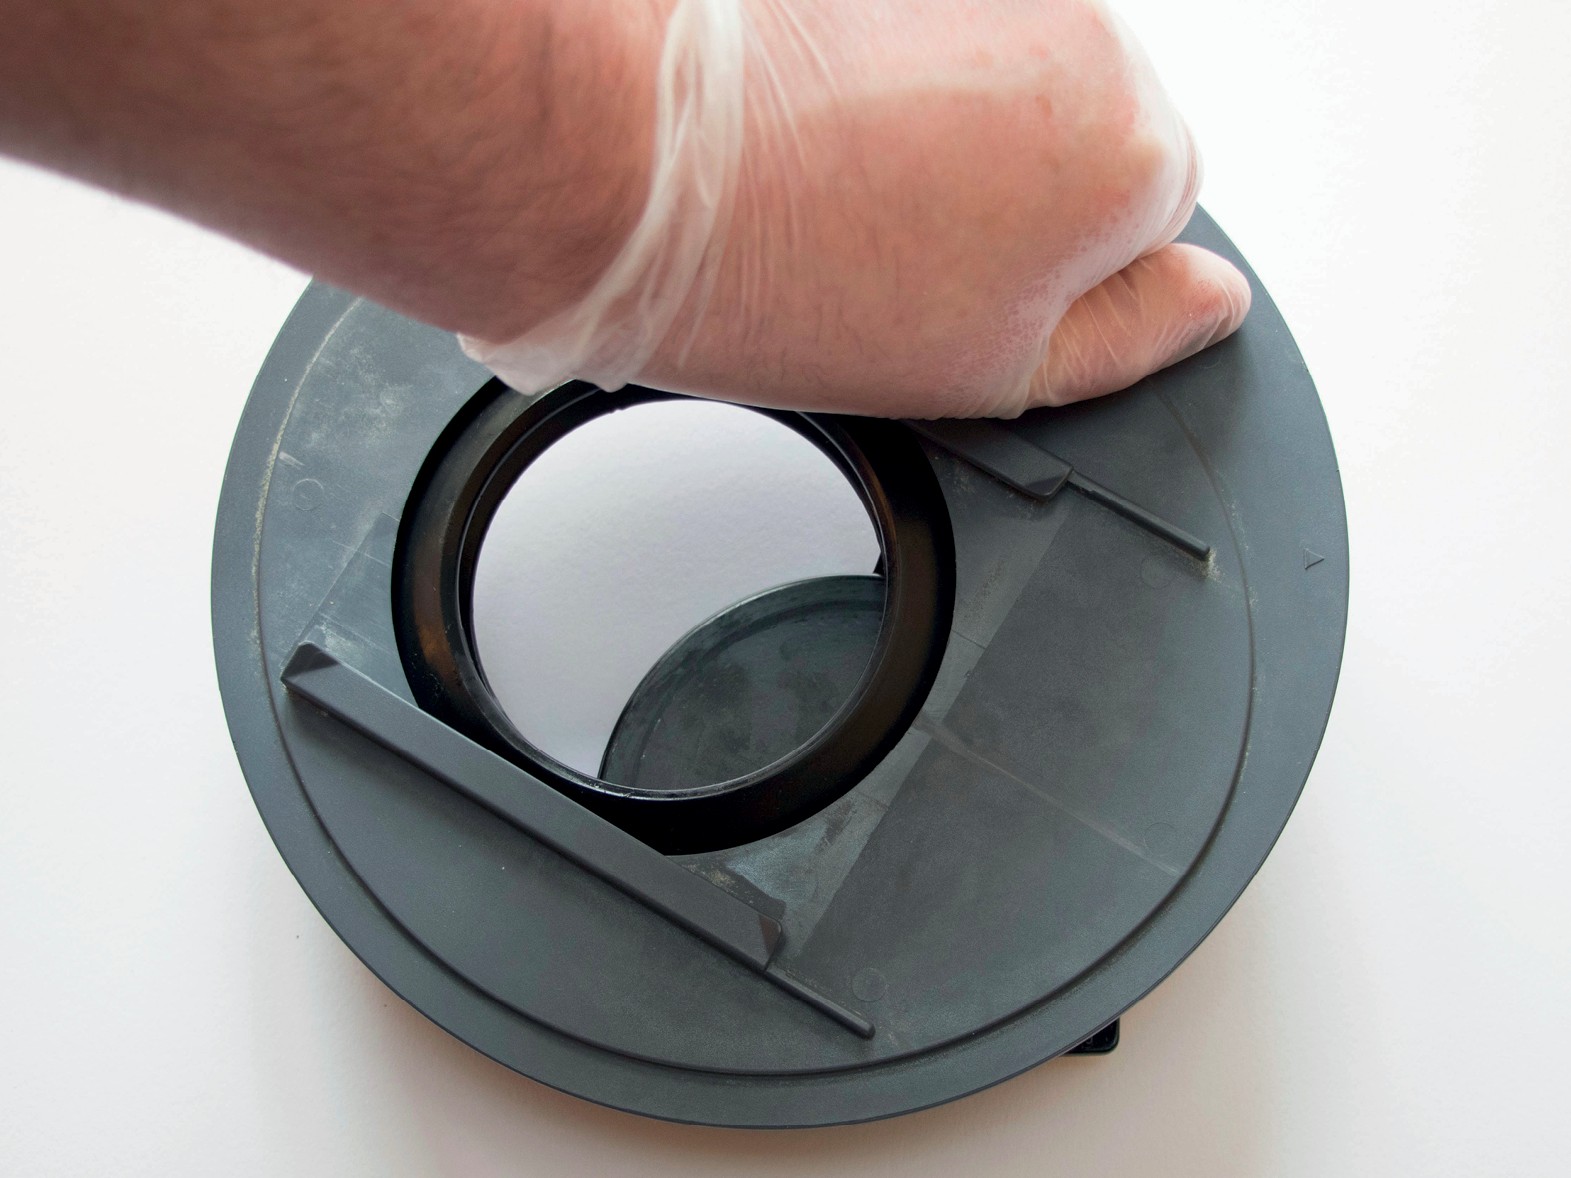
We need to remove two parts from the lid. First, the blade (the circular cover) and the swing arm (the triangular section) must come out in order for us to gain access to the six screws and the seal itself.
To remove the blade, we need to undo the single screw that holds this part in place.
Once that is done, we can simply move the swing assembly out the way and pop off the blade.
Move the swing arm towards the right and gently manoeuvre the swing assembly out the way, and this will give us access to the six retaining screws that hold the rubber seal in place.
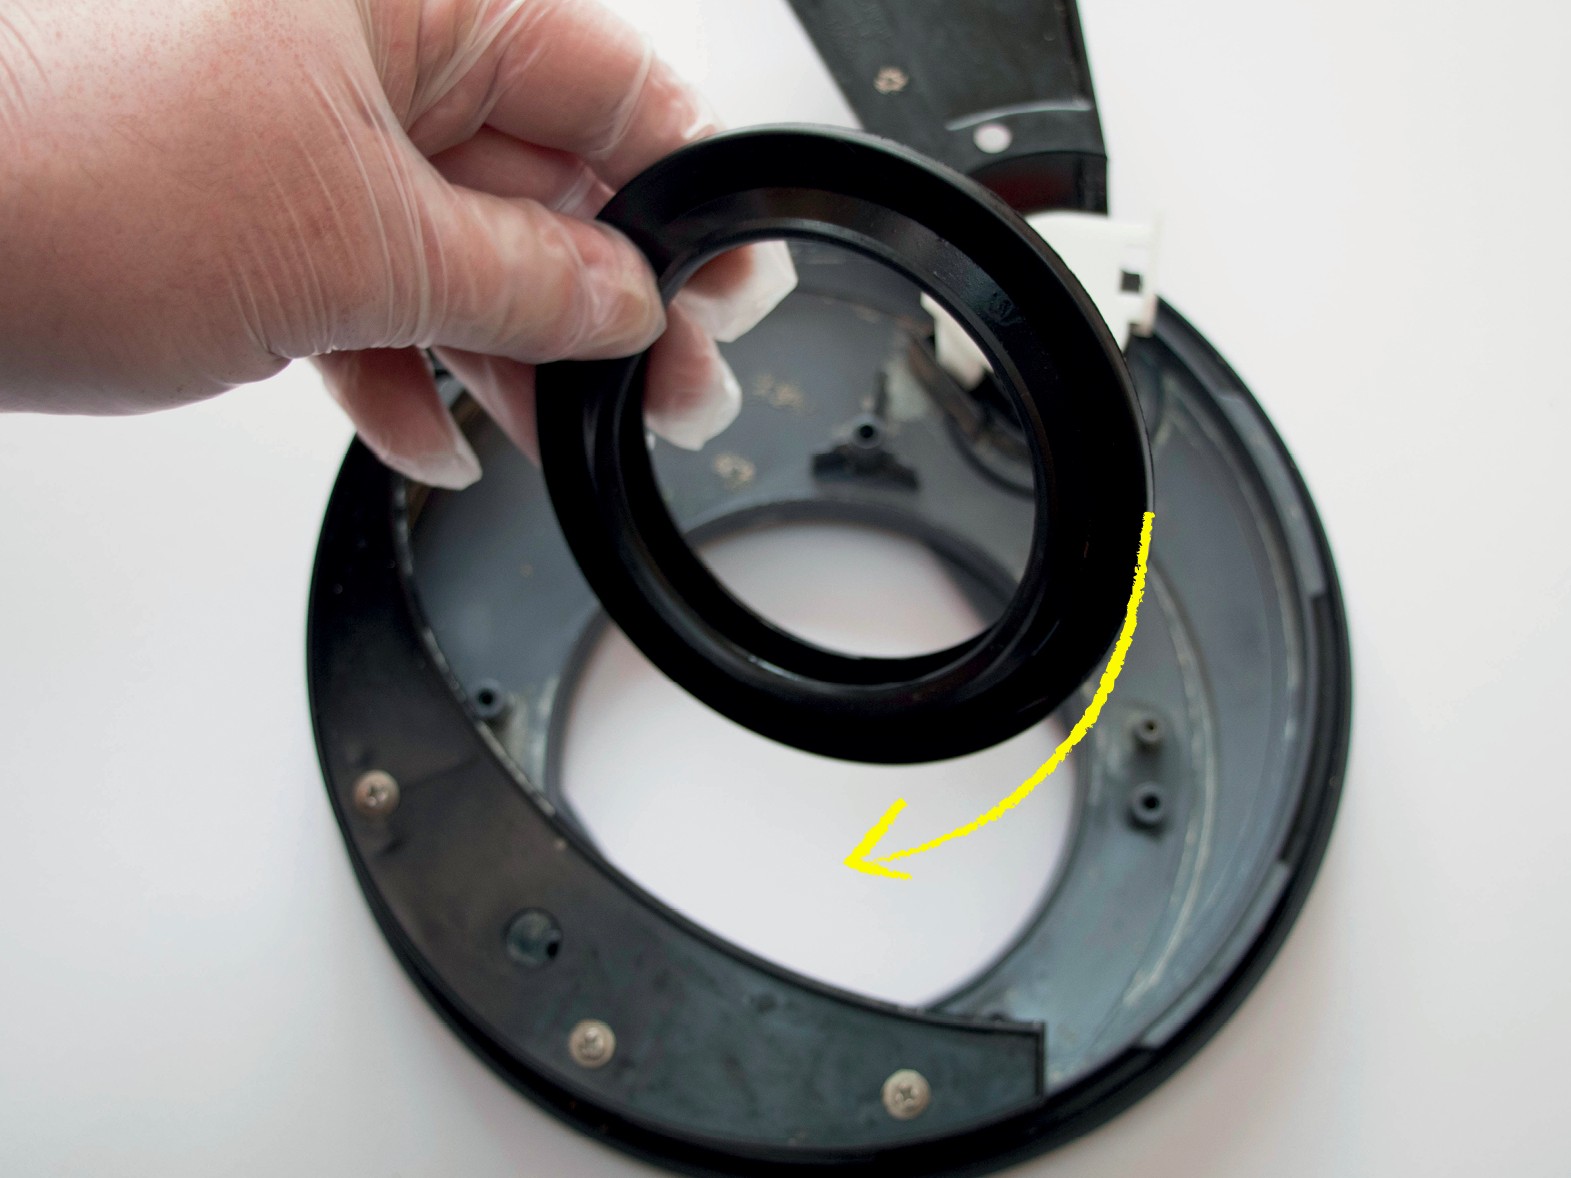
Step 3: seal removal
Now, simply unscrew all of the retaining screws and lift the cover out of the way, then remove the rubber seal beneath.
This is a great time to clean the edges of the cover and the retaining clamp where the seal will fit.
Cleaning these surfaces ensures that the seal will fit flush and not allow any fluid to leak beyond the seal.
Step 4: refitting and reassembly
The new seal simply pops into place. The seal itself has a lip on one side and a tapered edge on the other.
The seal will fit onto the assembly tapered-edge down, so the lip locates in the retaining cover.
Before fitting, condition the seal with some lubricating spray or olive oil. This will prolong the lifespan of the seal and make it easier to clean in the future.
Screw down progressively from corner to corner, to ensure that the seal is seated flat against the housing. Be careful not to over-tighten the screws, or you could risk damaging the housing or stripping the threads.
Now pull the swing assembly back into position by rotating it in an anti-clockwise direction.
Once the swing arm is over the open hole, add the blade under the swing arm so that the two will locate on top of each other.
Now align the blade and re-attach the screw that holds the blade housing in position.
Step 5: finishing the job
Ensuring that your fingers are out of the way, test the blade by turning the orange knob on the top of the assembly. It should rotate quickly, with no snatching or stiffness.
Once you are happy with the action, it’s time to refit the assembly into the cassette.
Place the assembly back onto the tank, ensuring that the arrow on the housing is pointing at the ‘open’ mark on the top of the tank.
Again using the cover as a lever, reinsert halfway in on the wrong side and rotate the assembly in a clockwise direction until the arrow faces the ‘closed’ mark.
Now reinsert the hatch cover into the correct side of the cassette, ensuring that the two arrows are facing each other.
Test the cassette by inserting it back into the toilet housing and opening the hatch from the toilet. As a further test, you can try filling the cassette with water and taking it for a short walk!
Be careful not to over-tighten the screws, or you could risk damaging the housing or stripping the threads