


Fire safety in your caravan is not something to be sniffed at, so Tony Brown has put together some tips for keeping essential firefighting equipment in easy reach, just in case the worst should happen.
I asked my local fire brigade for advice before fitting fire equipment to my van, and they said “Don’t fight the fire, just get everyone out.” No-one could disagree with this, but most cooks would be happy to throw a fire blanket over a flaming pan once everyone had left.
After that, most people would be prepared to operate an easily accessed fire extinguisher from outside the van in the hope of limiting the flame until help arrived. While such an action must be without risk to life and limb, anything that improves the chances of turning off and removing gas bottles reduces the likelihood of quite a serious explosion.
How to… fit a recessed fire blanket
The Caravan and Motorhome Club recommends a blanket to BS EN 1869; clearly it must be within easy reach of the cook and, if possible, between the cooker and the exit door.
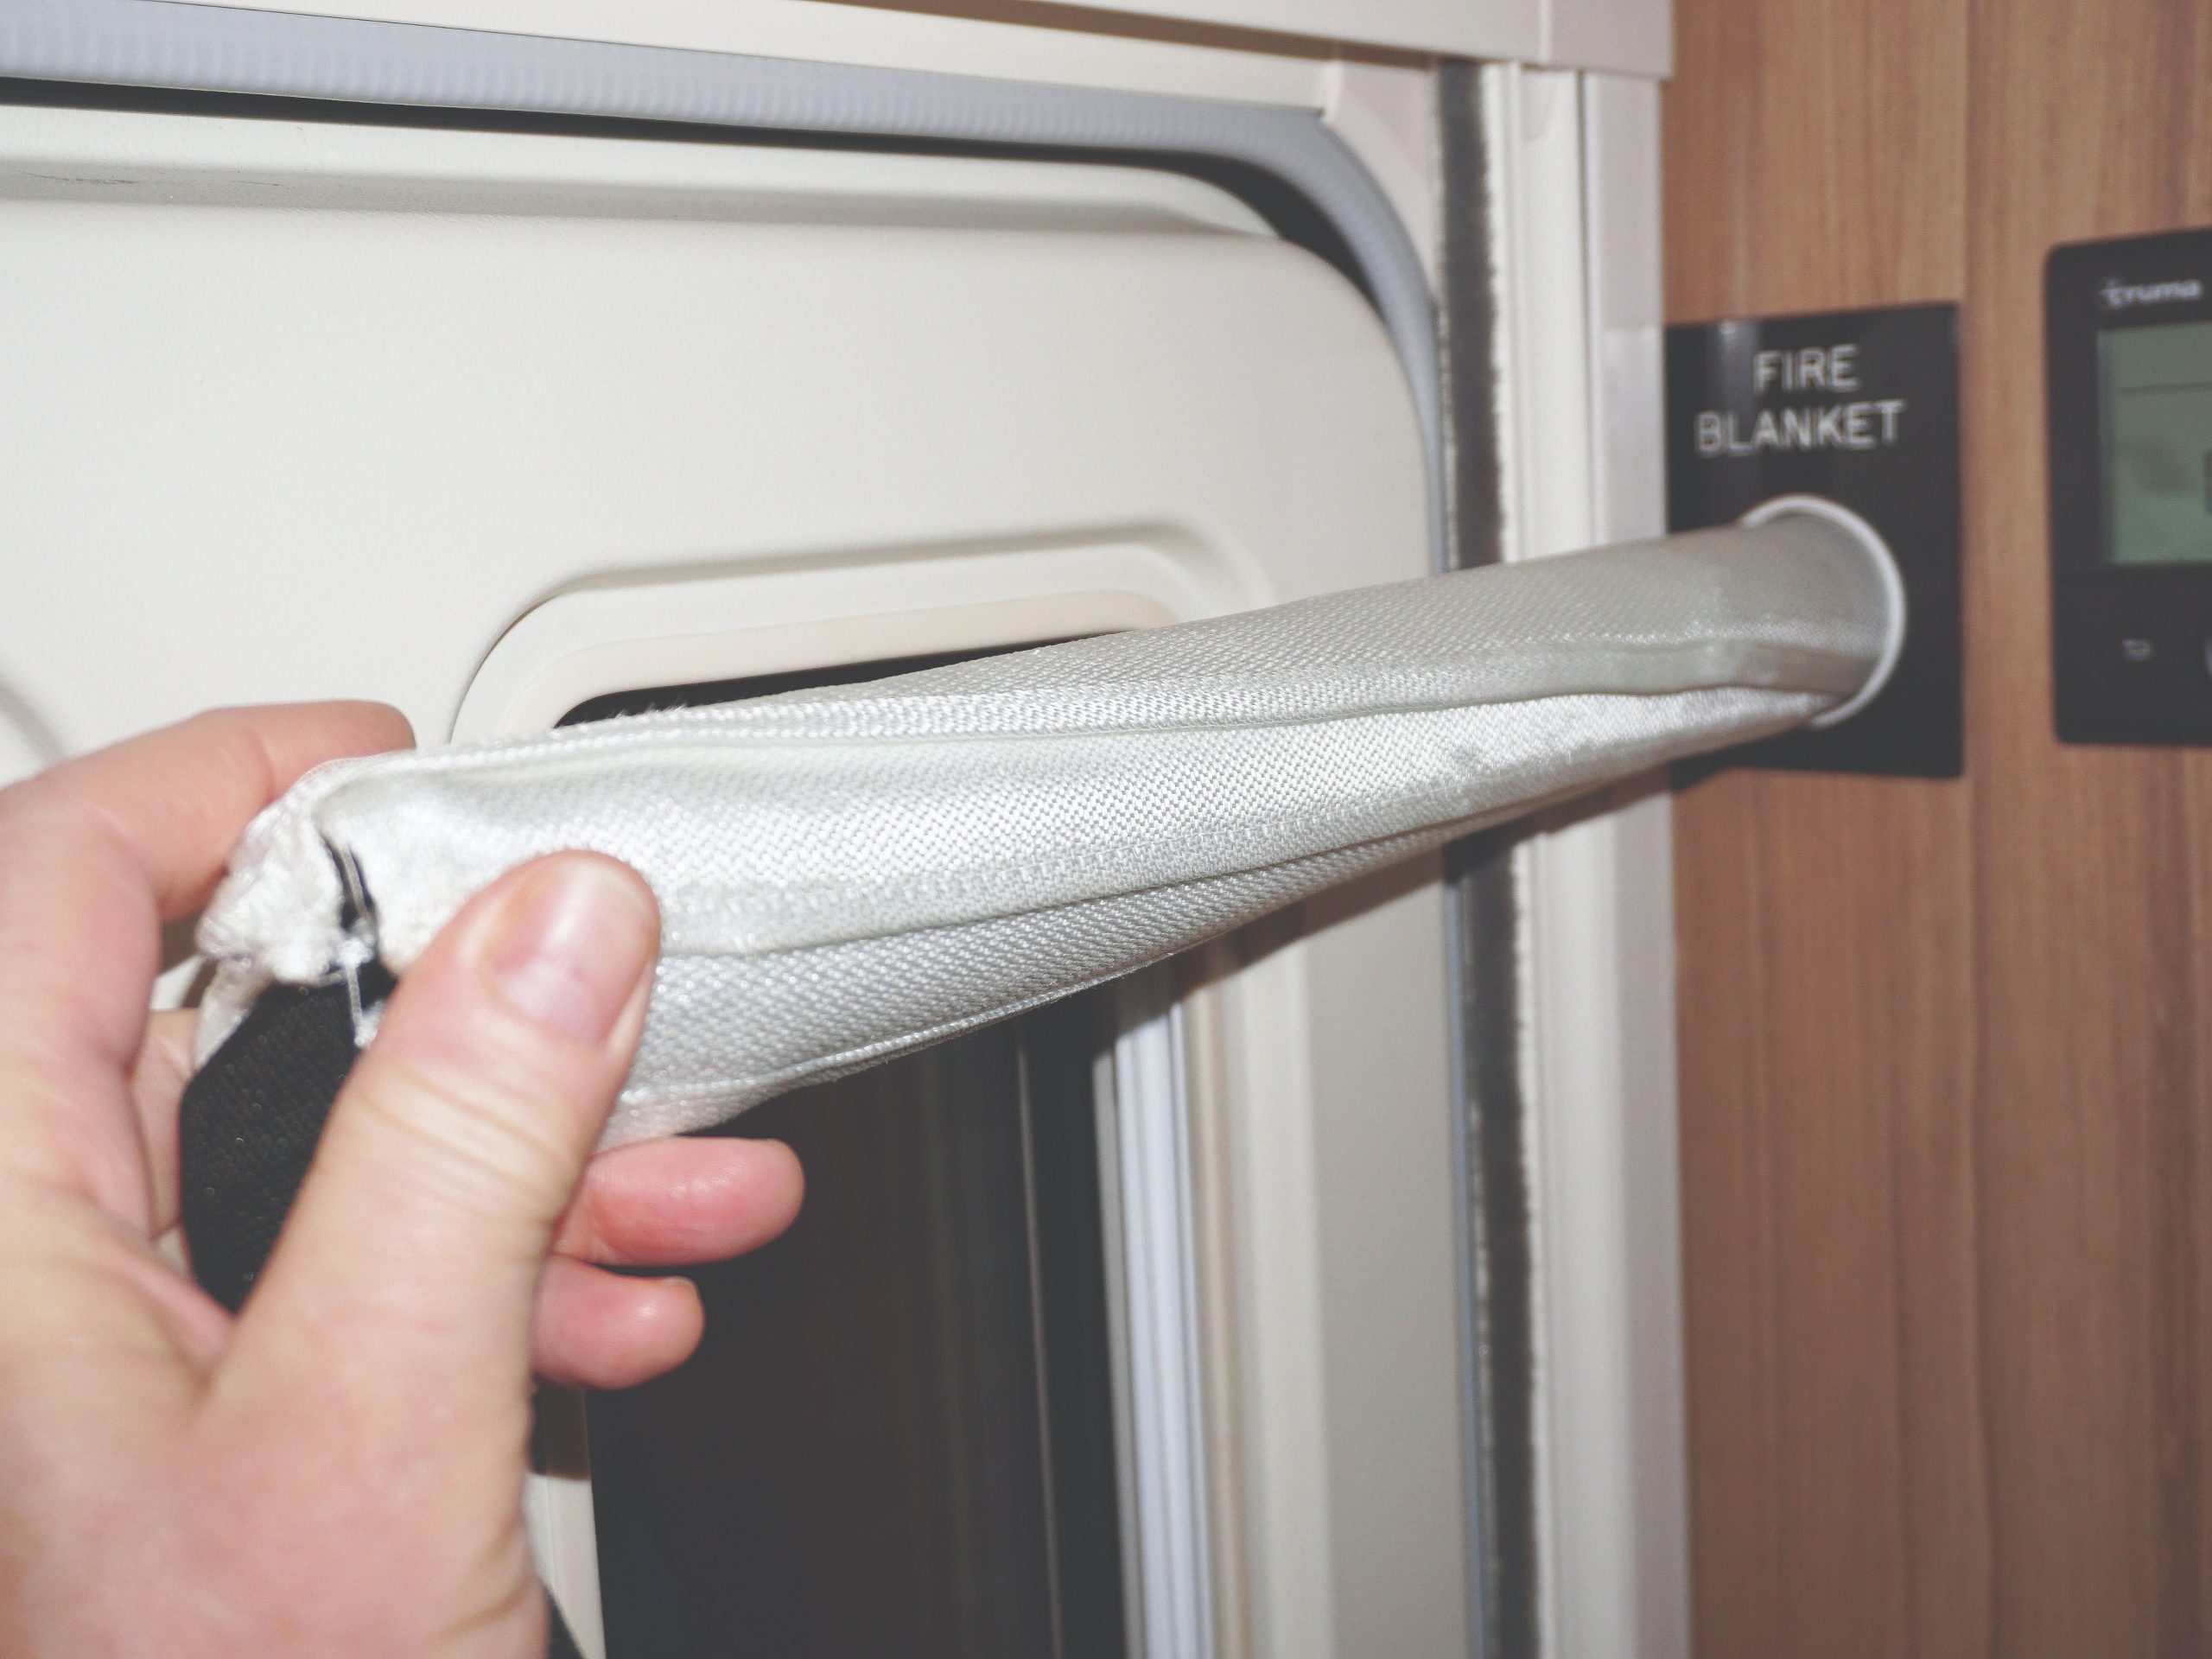
Although I value my fire blanket, I don’t want to have to look at it all the time. My way of keeping it out of sight yet accessible was to find a small but convenient space where it could be neatly recessed.
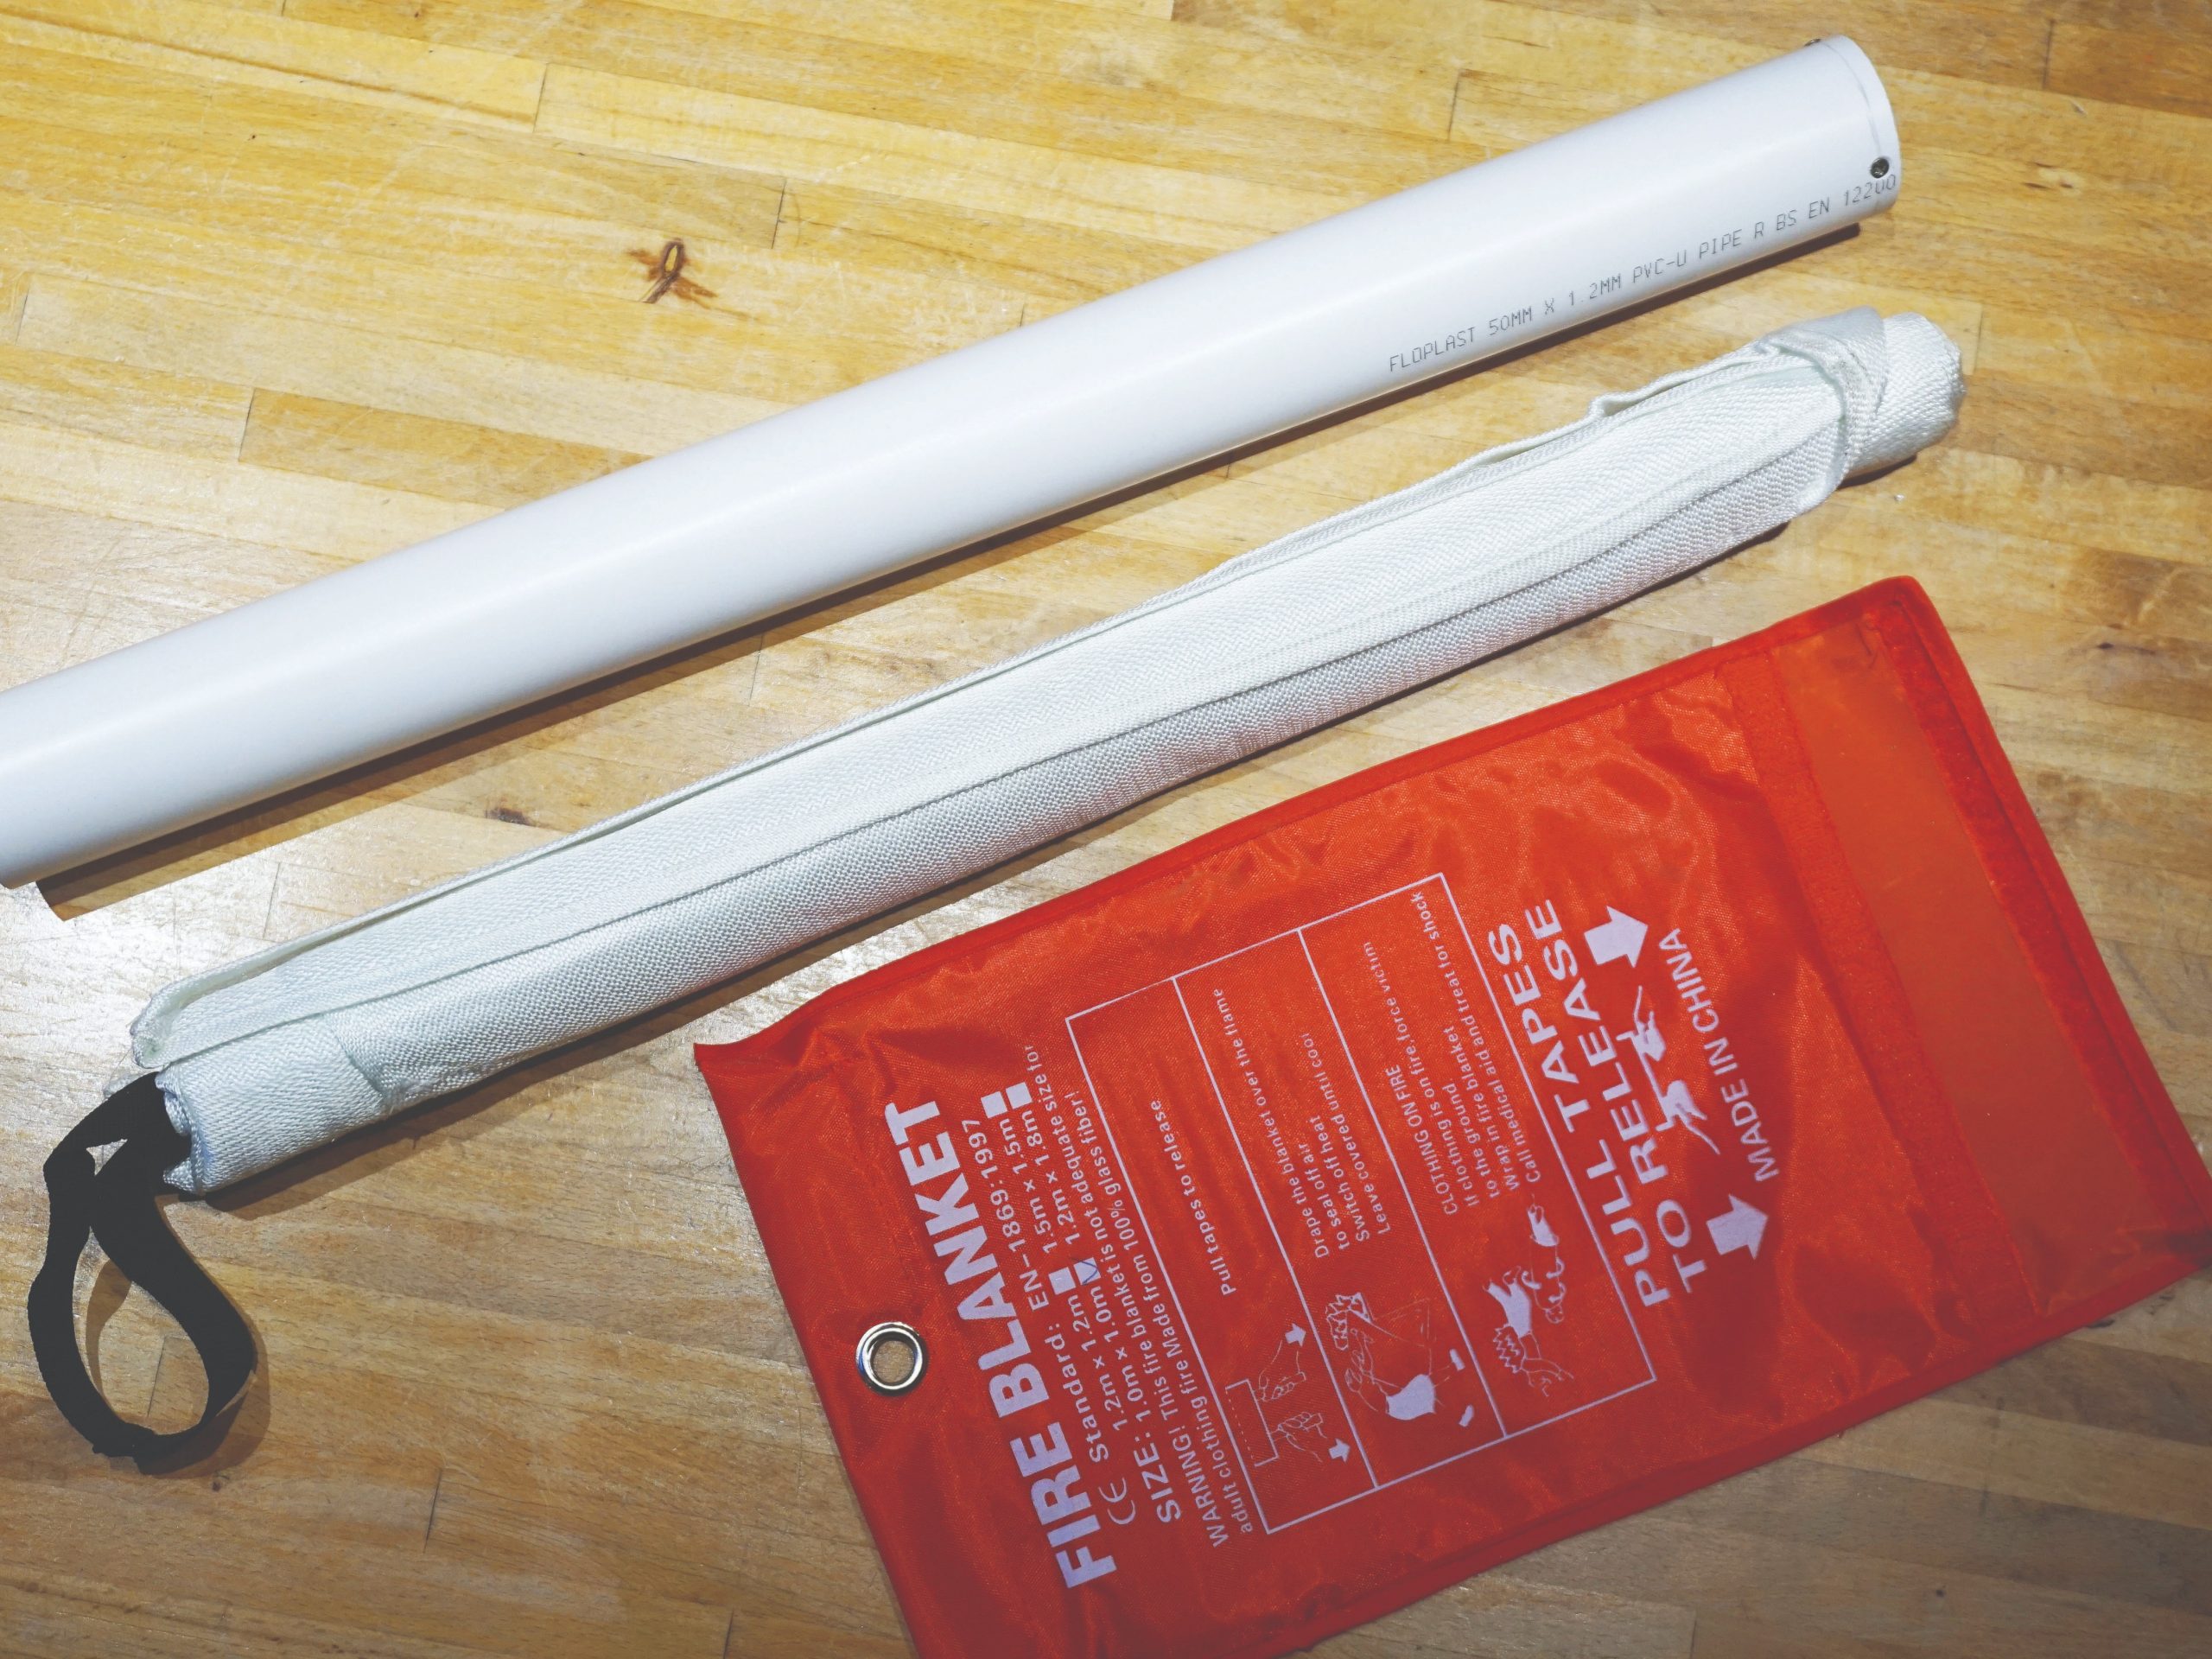
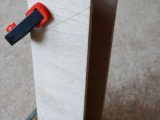
First up, I took the blanket out of its supplied bag, rolled it into a sausage and pushed it into a plastic tube. The tube size will depend on your blanket, but mine went comfortably into a 540mm length of 50mm white plastic waste pipe fitted with a wooden plug at the inside end.
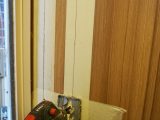
After checking behind the panel, I used a 50mm hole saw to cut a hole in a wooden partition to hide the tube inside a cupboard with just the end exposed, next to the kitchen. The off-cut of black Perspex labelled ‘Fire Blanket’ was the final touch.
How to… fit a recessed fire extinguisher
When it comes to your fire extinguisher, the Caravan and Motorhome Club recommends installing a 1kg aqueous film forming foam (AFFF) device manufactured and tested in accordance with BS EN 3 and with at least a 5A rating.
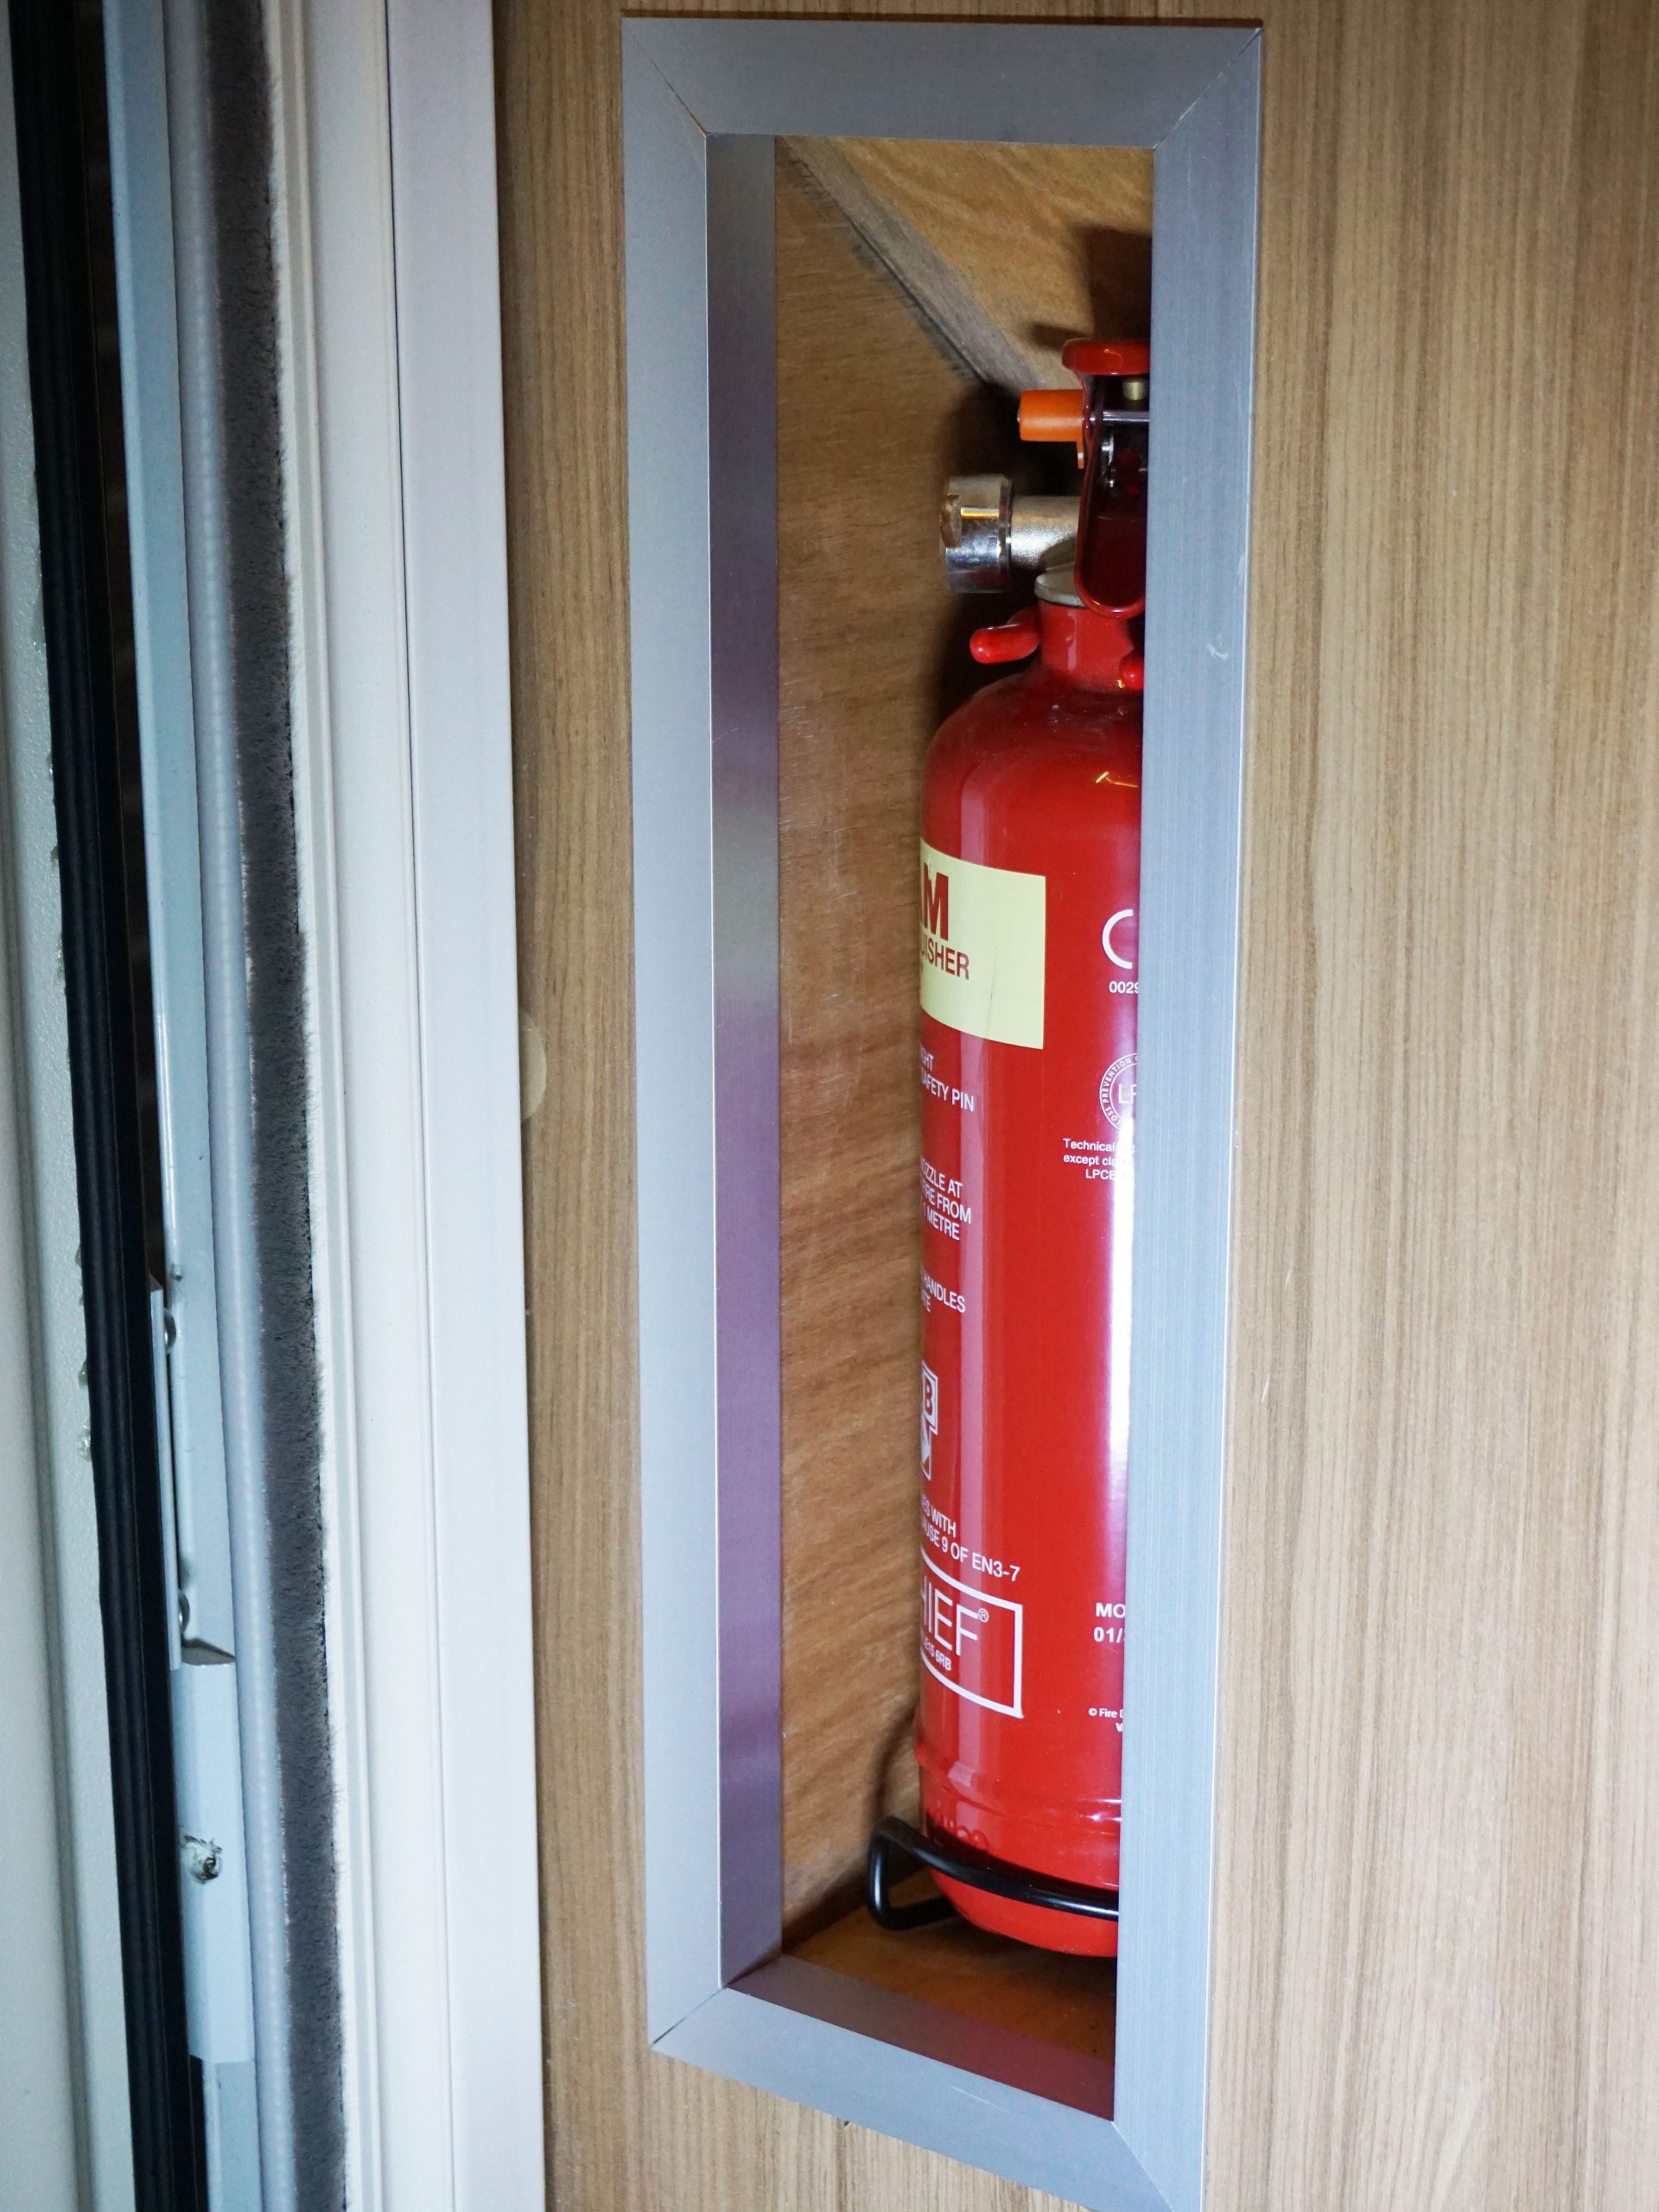
This is a bulky object and, while it must be easily accessible for instant use, it’s best if you’re not constantly knocking into it as you pass through the van. My solution to this problem is to recess it into a conveniently positioned cupboard in an open-front plywood box. I used some small off-cuts of 8mm ply which provided the necessary rigidity for this heavy object without adding excessive weight.
Start by carefully measuring your extinguisher and cutting out the plywood sides, back and base. You can temporarily clamp these together to check the size. Remember to make allowance for the angle trims which you will fit round the opening later. These may be hardwood or aluminium (which is much thinner).
Glue the plywood box pieces together using PVA wood glue and clamp them overnight. Make sure you leave the roof of the box off at this stage, and leave some extra length, as it’s best to cut the top section off at 45 degrees to make access to the extinguisher easier.
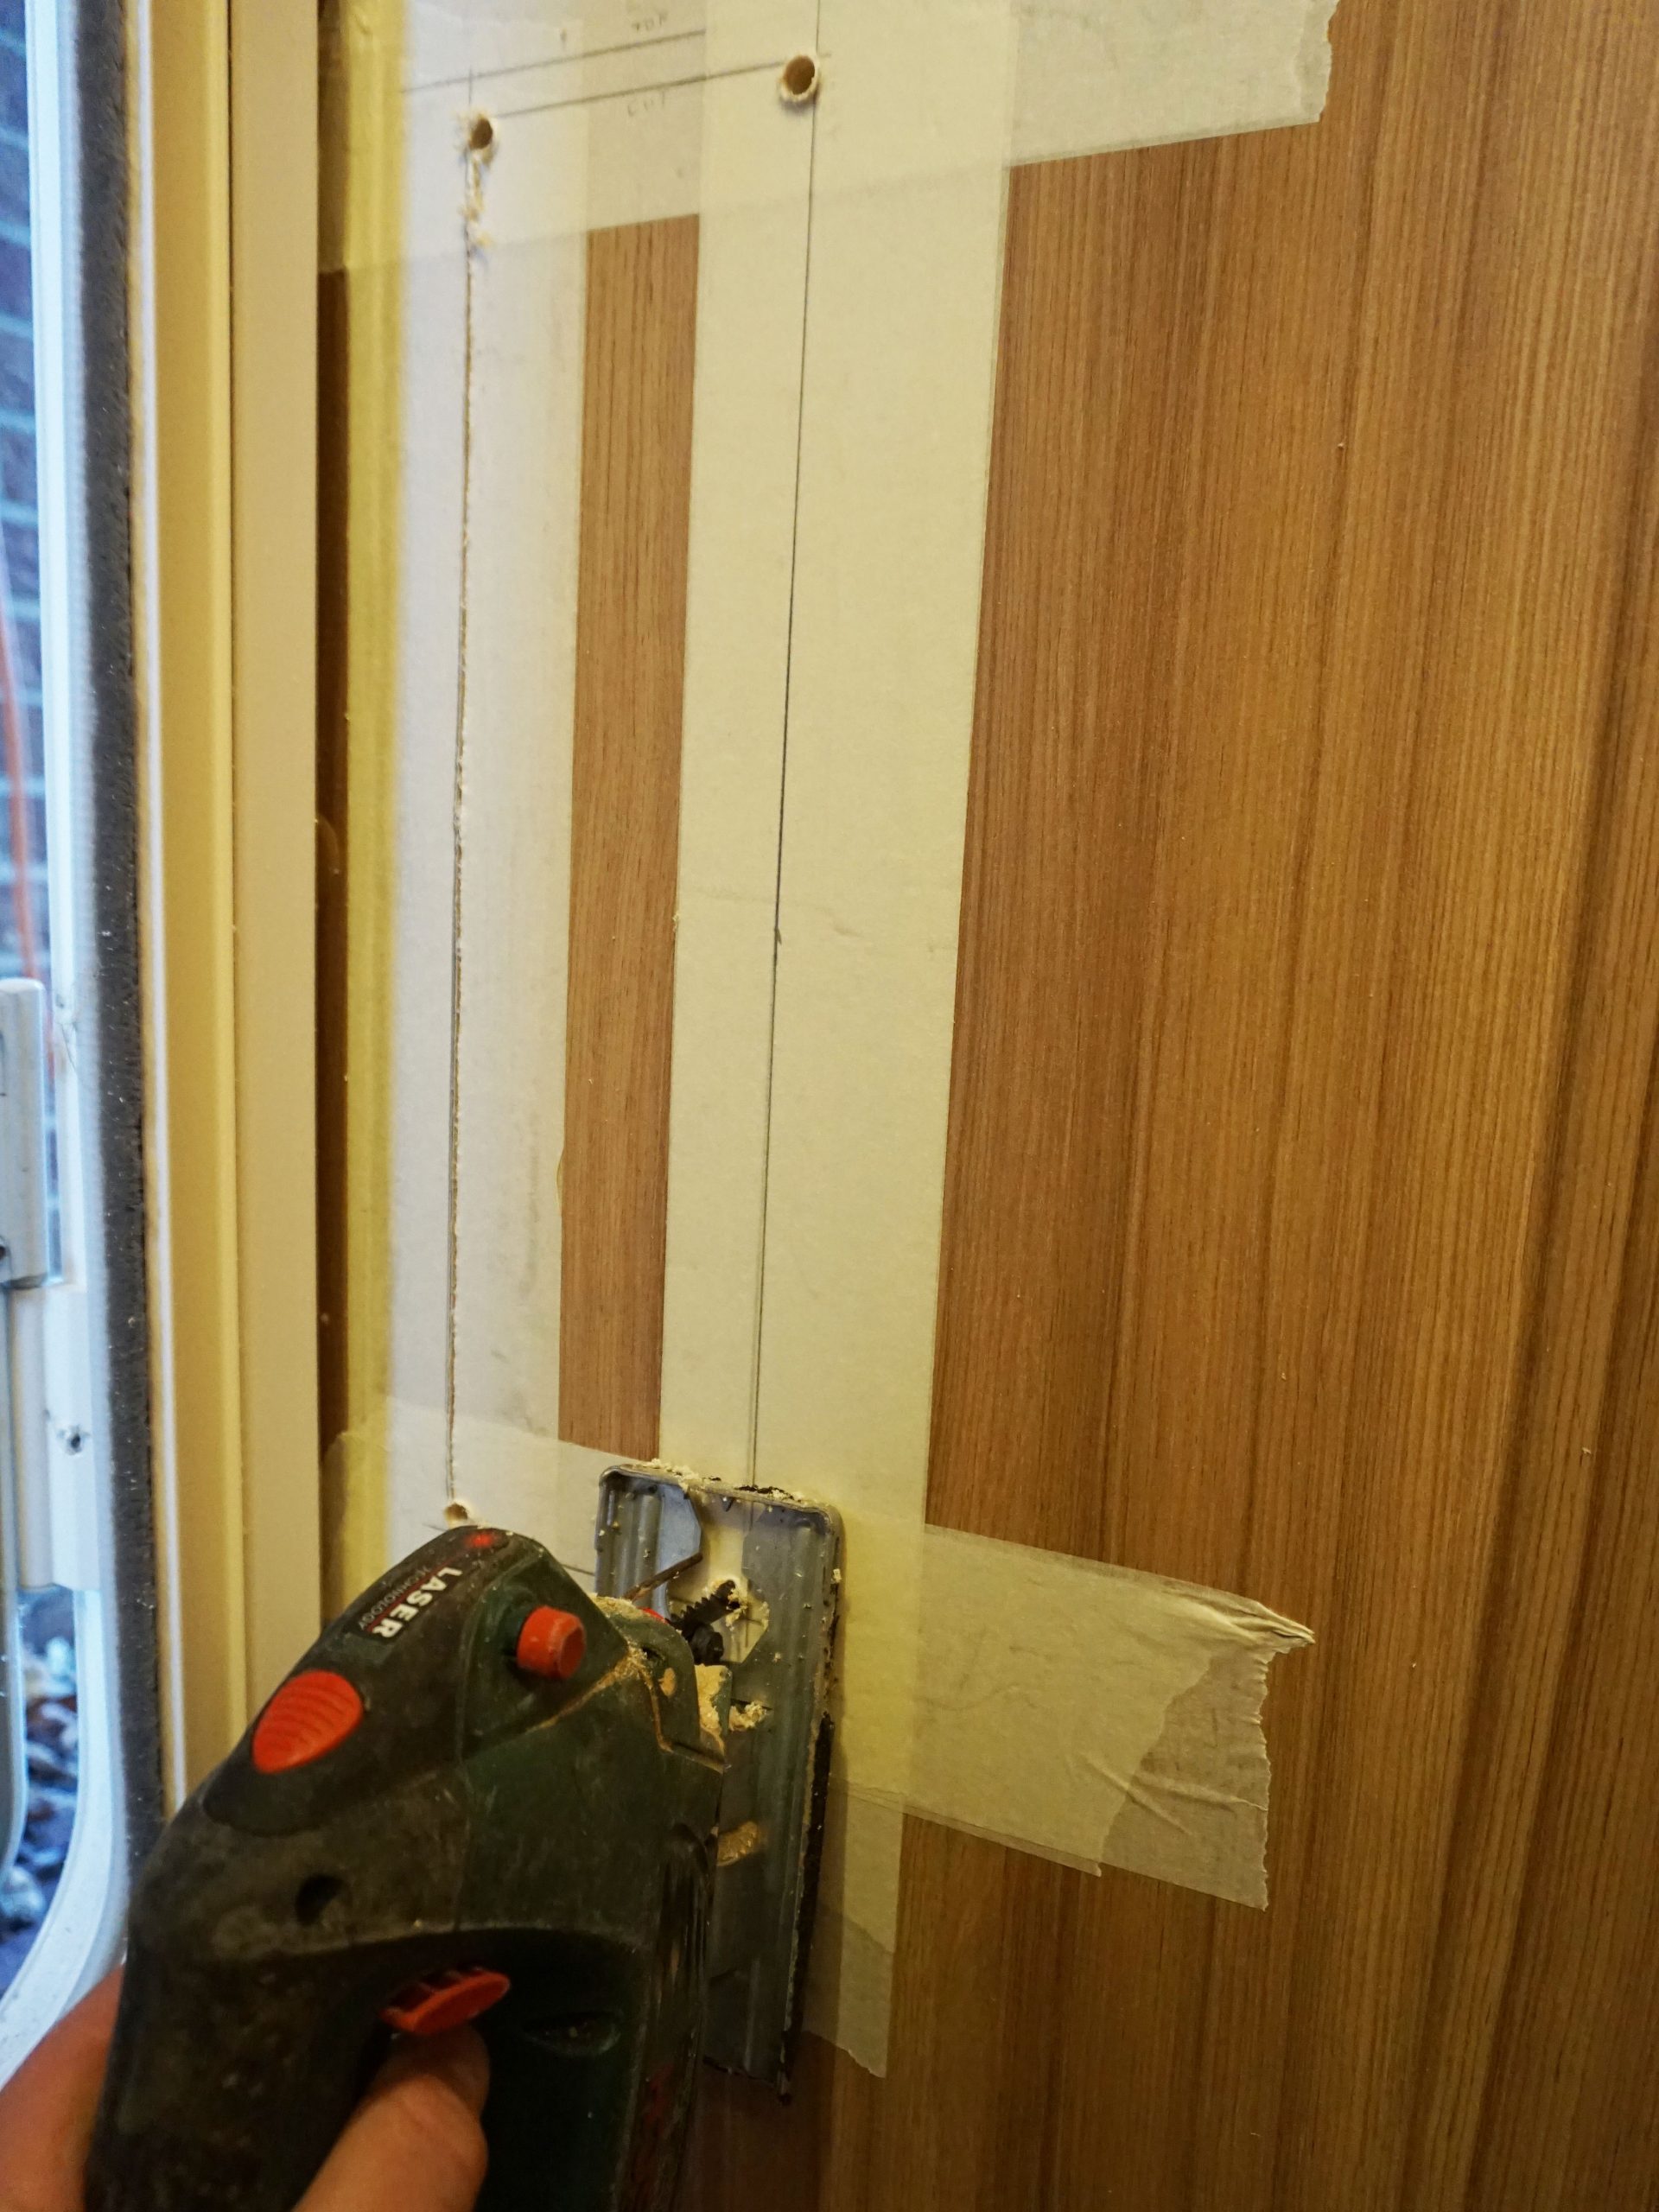
Trim and sand the box before positioning it against the wall to mark where your oblong access hole will need to be cut out. This hole has to be a short distance from obstructions to allow clearance for the jigsaw’s baseplate. Any cupboard shelves may need to be temporarily removed.
Apply a double layer of wide masking tape to the outside of the cupboard. This will protect the surface from the jigsaw. Then, measure the inside and outside so the hole can be marked on the outside for cutting. Once you’ve double-checked your markings, drill a hole in each corner to allow access for the jigsaw blade. To prevent jigsaw damage, be sure to hold the baseplate firmly against the surface, and don’t lift it up until the motor comes to a complete rest.
Once you’ve cut your oblong out of the cupboard side, use a file to true up the corners and remove any bumps. Small imperfections don’t matter, as the edges will be covered with the angle trims after you’ve installed the box.
Your box can now be varnished inside and out, but remember to leave the mating edge bare as that will help the glue to hold better. Placing temporary plastic fingers along the edge of the hole will help you position your box more accurately inside the cupboard.
Once your extinguisher is in place the box will be heavy, so don’t rely totally on adhesive to attach it. Use some long, thin screws from the front into the edge of the ply box so that the screw heads will be covered by the edge trims. Remember that PVA does not stick well to non-porous surfaces so, if your van has the usual PVC wood-effect finish, use a cartridge adhesive such as ‘I Can’t Believe It’s Not Nails’. Try a small test first on the off-cut of ply.
A mitre power saw is ideal for cutting timber or aluminium angles, which can also be fixed using the adhesive. Job done!
While such an action must be without risk to life and limb, anything that improves the chances of turning off and removing gas bottles reduces the likelihood of quite a serious explosion