
Penny is popular! As well as being our own frequent touring companion, we have friends who book her every year for Womad and Glastonbury.
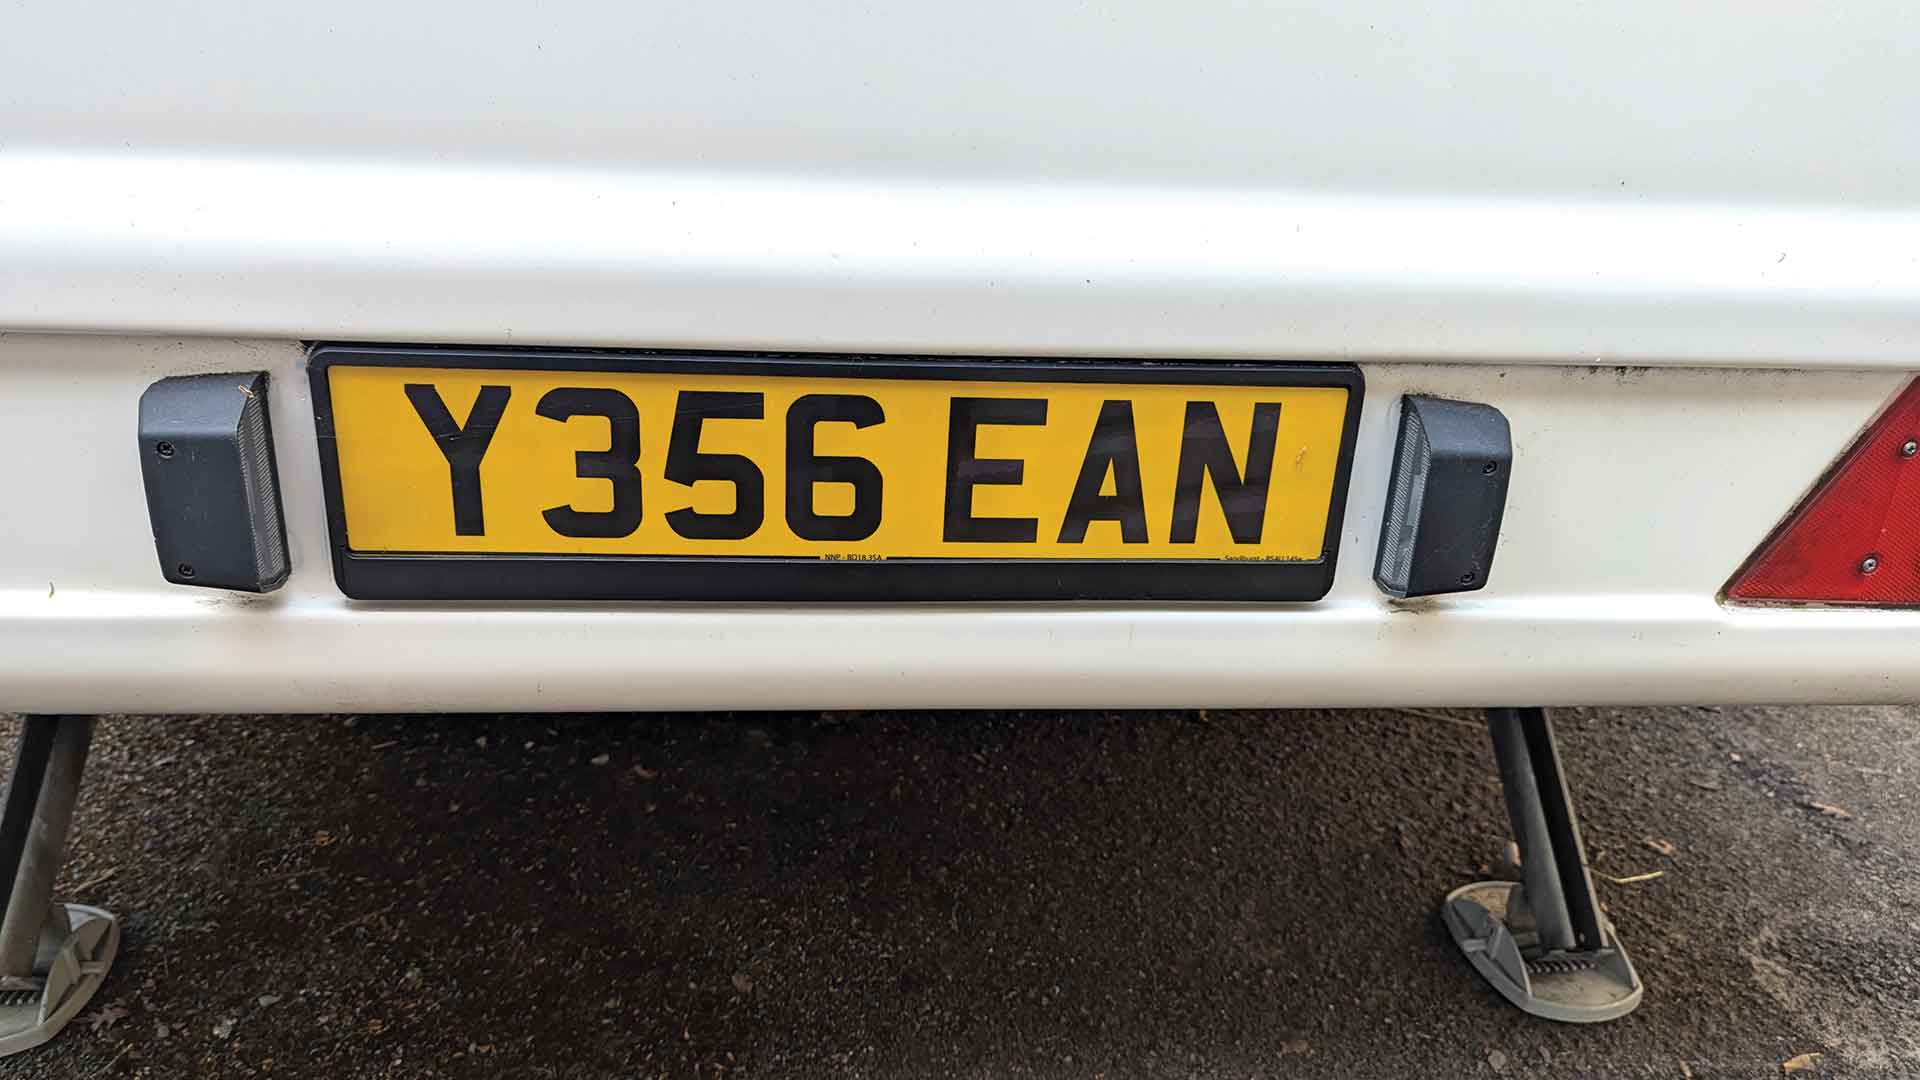
We have no problem lending our 1998 Bailey caravan to people who know what they’re doing, but one persistent annoyance is switching number plates. Sticky pads these days are really sticky and when we are swapping the plates from ours to our friend’s, we feel as though we are going to break something – either the number plate or the caravan back panel.
The easy solution here is a European-style number plate plinth. With these, you simply unclip the plinth surround, swap the plate out and clip it all back. No pulling, no scraping of adhesive and a quick job. I’ve recently been carrying out a few small jobs – for instance, I took a look at how to fix a leaking toilet cassette and also added a caravan door bin – and this seemed a good time to tackle the number plate plinth too.
If you need to regularly swap plates – because you lend out your van or use more than one tug – adding a number plate plinth is a simple upgrade.
Don’t miss other projects I’ve carried out too, including how I updated my caravan’s work surface and what I did to modernise my caravan’s interior fabrics.
How to add a number plate plinth to a caravan
1. Penny had a sticker from a previous tow car stuck to the back panel. We managed to get a scraper under the corner and remove it, along with the remnants of various adhesive pads, from the back panel. It was then thoroughly cleaned and degreased.
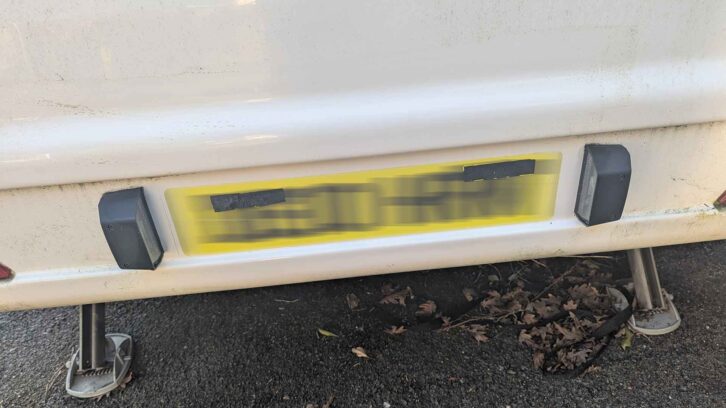
2. The number plate plinth has loads of holes and fixing opportunities, but we wanted to use strong adhesive pads. We had a few of these in the garage already, but to ensure we got a good fixing, we cut the pads into smaller pieces. We then used these pieces to attach to the flat areas on the number plate plinth.

3. We pushed the plinth into place on the back of the van. We put in a few minutes of planning, to make sure that it was level and properly centred up between the number plate lights.
We then applied plenty of pressure to the areas around the pads, to provide good adhesion, so that we could ensure the plate would still be there after the journey.
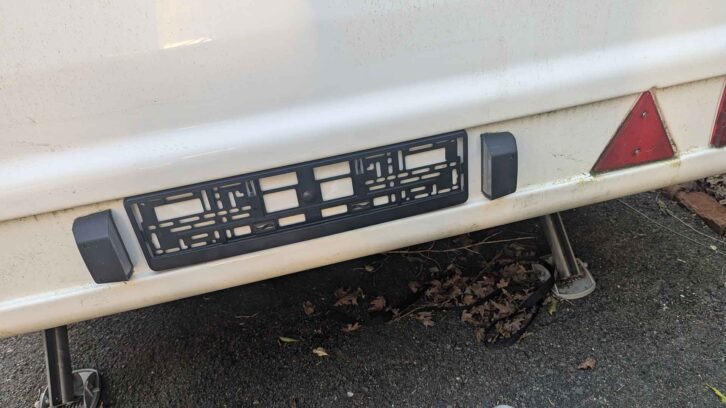
4. Job done! Plates are removed and replaced by popping off the bottom rail of the plinth. The rail is located by plastic poppers, which require reasonable force to secure them. It makes swapping vehicles nice and quick.

If you are lending your tourer to friends, one of the things you will want to ensure is they know how to safely load a caravan safely. It can be an important part of staying safe and legal when you’re on the road.
One other minor project I carried out recently was fitting a door bin to my caravan – it’s a great place for one to go and a relatively straightforward project.
Future Publishing Limited, the publisher of Practical Caravan, provides the information in this article in good faith and makes no representation as to its completeness or accuracy. Individuals carrying out the instructions do so at their own risk and must exercise their independent judgement in determining the appropriateness of the advice to their circumstances and skill level. Individuals should take appropriate safety precautions and be aware of the risk of electrocution when dealing with electrical products. To the fullest extent permitted by law, neither Future nor its employees or agents shall have any liability in connection with the use of this information. You should check that any van warranty will not be affected before proceeding with DIY projects.
If you’ve enjoyed reading this article, why not get the latest news, reviews and features delivered direct to your door or inbox every month. Take advantage of our brilliant Practical Caravan magazine SUBSCRIBERS’ OFFER and SIGN UP TO OUR NEWSLETTER for regular weekly updates on all things caravan related.