

I often hear people wondering how to fit a radio in a caravan, and whether or not it would be complicated.
Many don’t bother using them, but simply rely on their phone for streaming, or use the caravan TV to listen to their preferred station.
In most of our previous vans, I’ve upgraded the radio units, and at the same time hardwired them to a permanent live feed from the battery, so they keep their memory and don’t have to be set up every time the van master switch is turned off.
Of course, the downside is that there is a very small drain on the van’s battery; but if your battery is in good condition and you have a caravan solar panel or access to an electrical hook-up, this shouldn’t be a problem.
An overview of caravan radios
Radios fitted in caravans are designed for cars, so they have a permanent live feed and one that’s switched by the ignition, so it will turn on and work. Caravan manufacturers usually connect the two, so they are fed from the switched connection.
As we recently changed our van, I took the opportunity to upgrade and hardwire the radio.
The first thing to do is to safely disconnect the battery (after disconnecting from any mains supply and taking out the fuse to the solar panel).
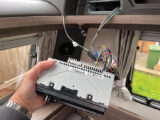
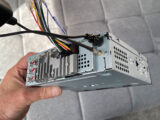
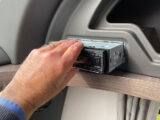
Then remove the old radio. This usually means unclipping a facia surround and using keys supplied with the caravan so the unit slides out of its cage.
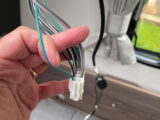
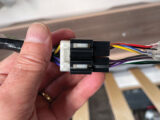
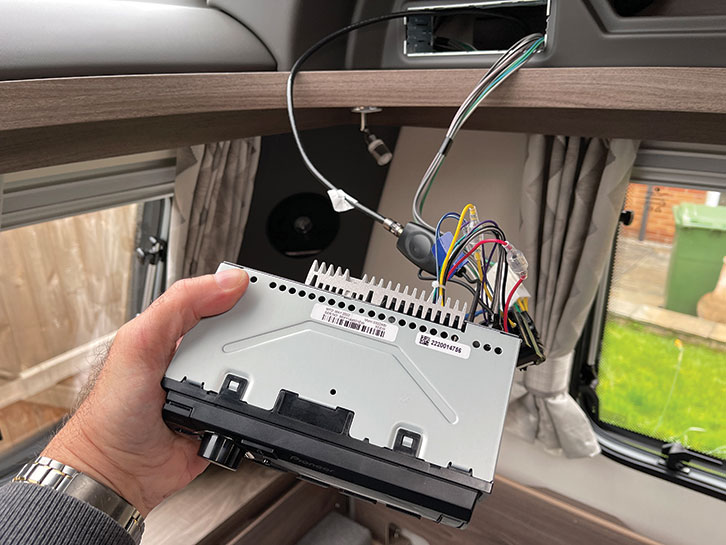
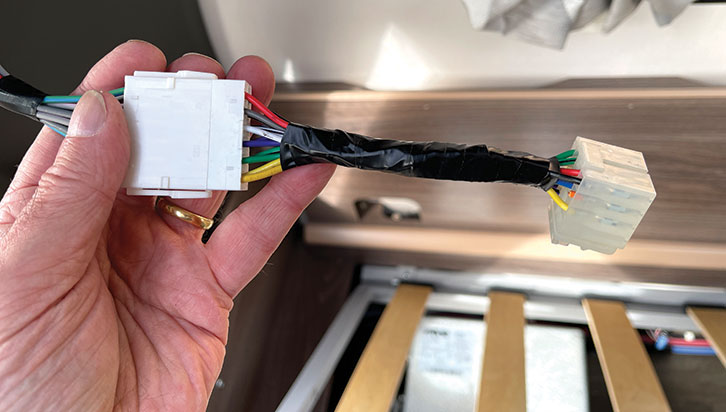
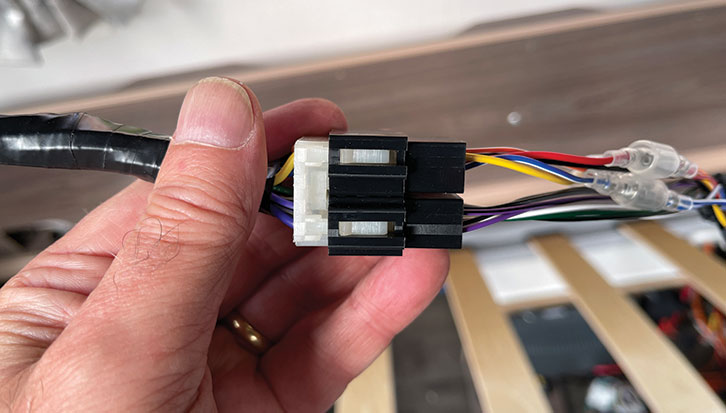
With the radio unit out, carefully pull out the wiring/connections/aerial leads and disconnect them all from the radio. Each radio that I’ve had seems to come with different connectors, but they should all be ISO connections, meaning that as in our case, where the old connection was a single block and the new one had two smaller connection blocks, they all fit together and will only fit in one way, so that you can’t get this wrong.
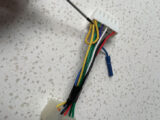
You might find, also as in our case, that there is a short link with a plug on either end that goes between the van’s wiring harness and the ISO connection block. You can disconnect this, so that it’s going to be easier to work with. Again, it will only connect in the correct way.
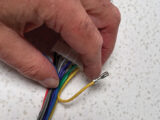
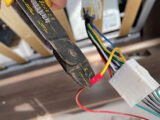
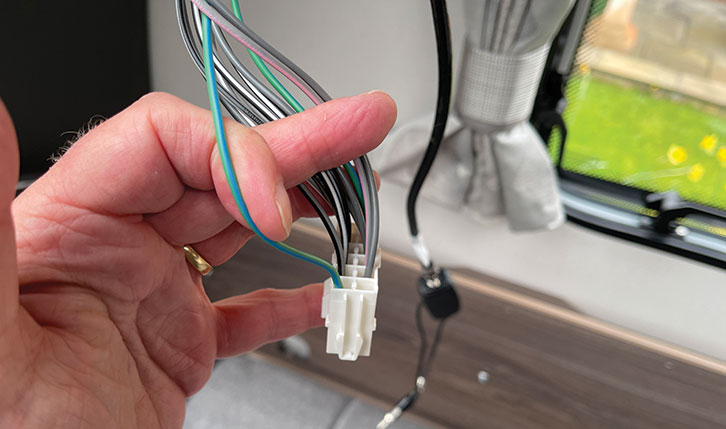
Having disconnected the link, it is time to look at the wiring. The yellow wire is the one that should be the permanent live feed. On ours, the power was supplied from the caravan (via the master switch and a green and blue wire) to what would normally be a spare connection (that is, nothing going to the radio unit), and a link loop had been put between that and the connection intended to give the live feed.
Using a very thin flat-bladed screwdriver, I disconnected this link from the slot where it would connect to the one from the caravan. The feed (blue and green wire) from the caravan was now redundant, but as it wouldn’t connect to anything, I simply left it alone.
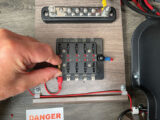
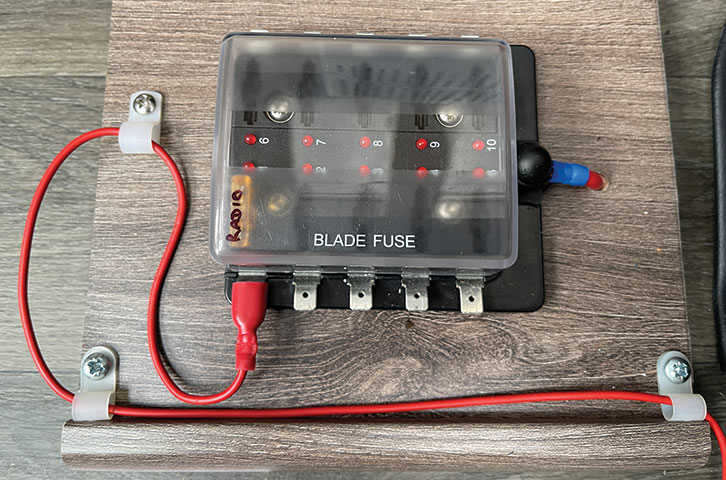
Now came the tricky part! Rather than connecting directly to the battery, I have installed a 12V power distribution unit under the front offside bunk, and running a wire from that to the radio proved difficult.
We’ve had other caravans where there have been plenty of gaps to feed wires through, but I suppose credit must go to our current manufacturer that there were no such gaps.
Eventually I managed it, making sure the wire was cable-tied out of the way and kept tidy as I did so.
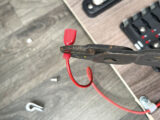
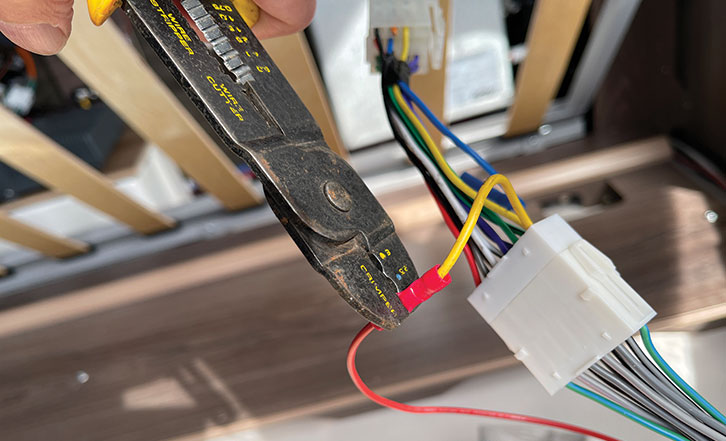
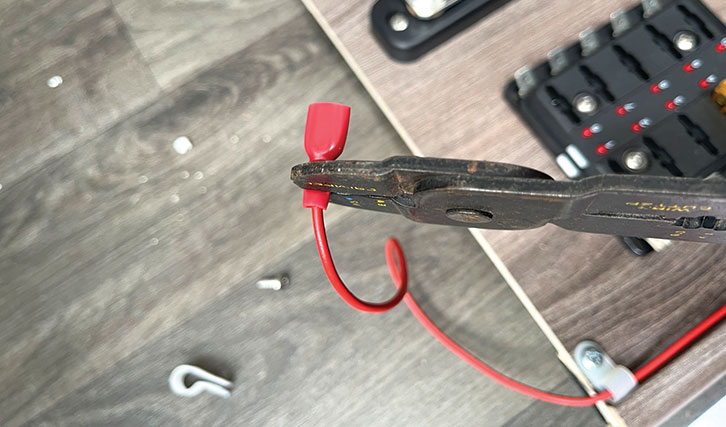
Using a crimp connection, I connected the short yellow link wire to the wire that I’d fed up from the bunk, then crimped an insulated female spade terminal to the other end (under the bunk). If you are connecting directly to the battery, include a fuse holder in your wiring (5A is plenty high enough rating).
Connecting a caravan radio
With that done, it was time to connect and fit the radio. The cage that holds our old and new radios is the same, but they do differ, depending on the radio make, so you’ll have to check and might have to swap them.
As I mentioned earlier, all the connections should simply plug together irrespective of whether it’s a single big block or a pair of smaller ones.
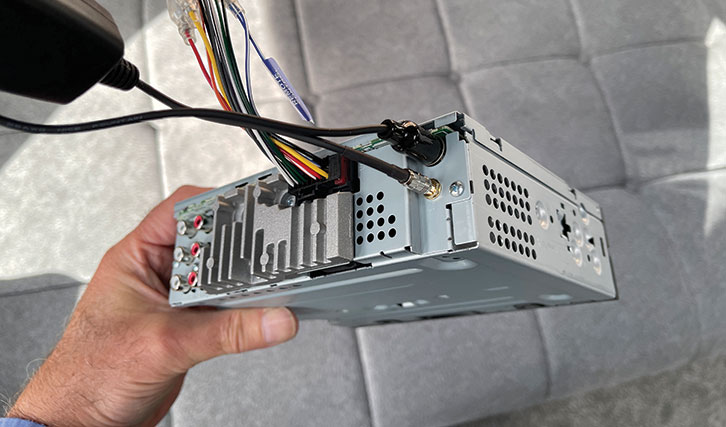
Plug the various radio connections (from the power feed/speakers and so on) and the radio aerial (not forgetting the DAB if fitted!) into the back of the radio, then slide the radio into the cage until it clicks into place.
Before finally fitting the facia surround, it was time to test that everything worked.
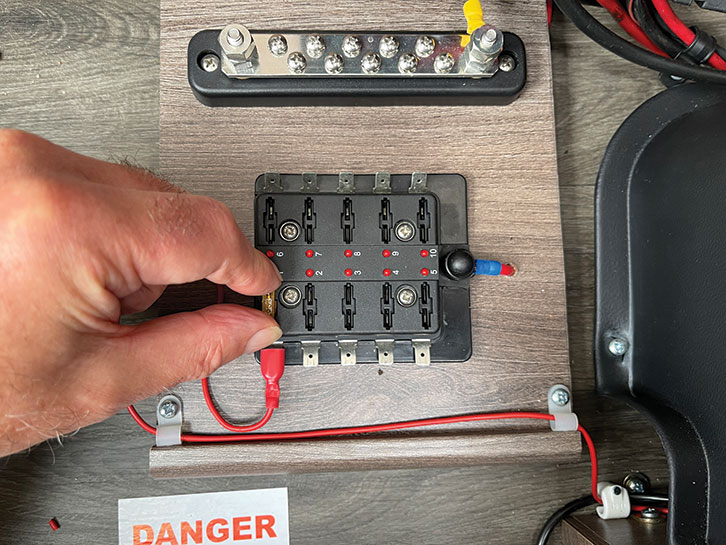
First, I connected the spade terminal to the power unit underneath the bunk, then I reconnected the caravan battery. A 5A fuse was inserted into the relevant slot in the power unit and the caravan master switch was turned on.
After turning on the radio, I spent the usual ‘quite a while’ working my way through the various settings, including channel memories and the clock, which all worked.
Then came the moment of truth, and I switched off the caravan master switch and went off to have a cuppa.
Returning to the van a while later, after switching on the master switch, I turned on the radio (the point where usually, you spend the rest of your break working through the settings again!). I’m pleased to report that everything worked just as it should, and the radio had also retained its memory.
The fuse to the solar panel was refitted, and the radio’s facia surround was attached.
I could then relax, sit back and enjoy the music for a while, because the job was complete.
Of course, if in future the situation arises where I have to remove the caravan battery for any reason, we will lose those very handy memory settings; but at least I’ll only have to reprogram them when I reconnect the battery again, rather than every single time that we arrive at a campsite.
- If you’re looking for another project to try out, our guide to how to fit a seven-pin 12S socket to your towbar.
How to fit a radio in a caravan – a step by step guide:
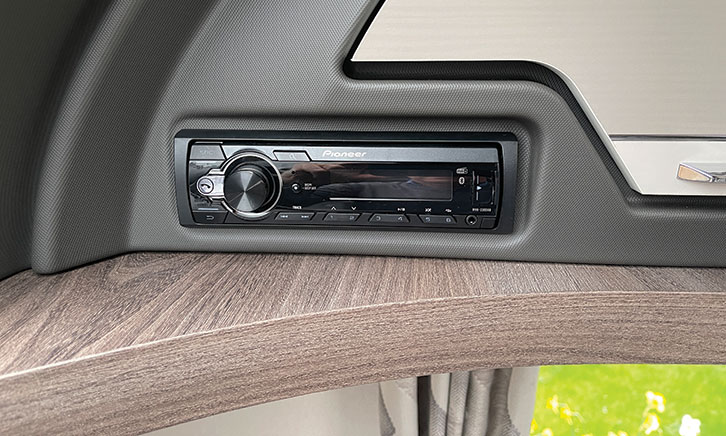
1. The original radio fitted in the caravan.
2. The first step is to remove the unit.
3. Link harness between the van and the ISO connectors.
4. Link between the caravan power feed and the yellow permanent feed wire.

5. Unclip this link from the block.

6. The now redundant power feed from the caravan master switch.
7. Crimp the new feed wire from the power source to the yellow link wire.
8. Crimp a female spade terminal to the other end of the feed wire.
9. Connect blocks and connections to radio, including aerial and DAB leads.
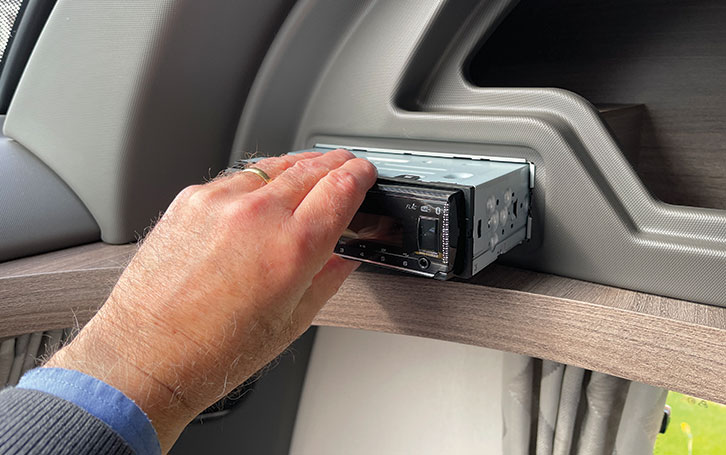
10. Now fit the new radio into the cage.
11. Make the connections at the power unit and insert a fuse.
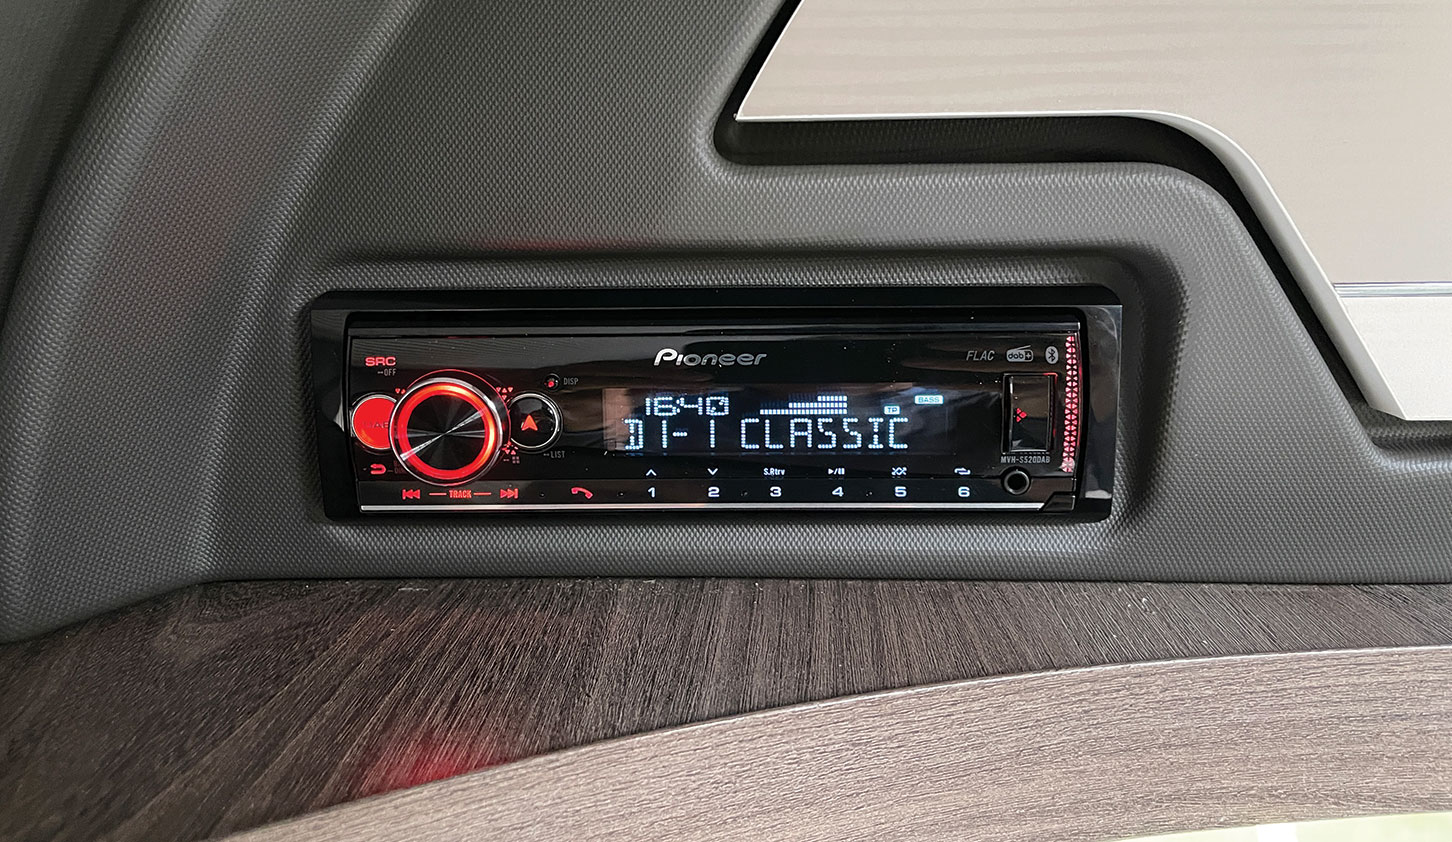
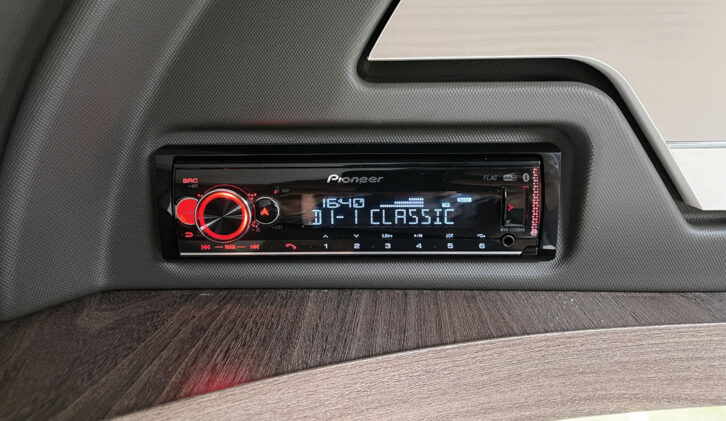
12. The newly fitted caravan radio.
After more DIY guides? Then why not try these:
- We explain how to fit a 12V power distribution point.
- A useful DIY skill is soldering – find out how to solder.
Future Publishing Limited, the publisher of Practical Caravan, provides the information in this article in good faith and makes no representation as to its completeness or accuracy. Individuals carrying out the instructions do so at their own risk and must exercise their independent judgement in determining the appropriateness of the advice to their circumstances and skill level. Individuals should take appropriate safety precautions and be aware of the risk of electrocution when dealing with electrical products. To the fullest extent permitted by law, neither Future nor its employees or agents shall have any liability in connection with the use of this information. You should check that any van warranty will not be affected before proceeding with DIY projects.
If you’ve enjoyed reading this article, why not get the latest news, reviews and features delivered direct to your door or inbox every month. Take advantage of our brilliant Practical Caravan magazine SUBSCRIBERS’ OFFER and SIGN UP TO OUR NEWSLETTER for regular weekly updates on all things caravan related.