It may be something many of us have heard of, but few of us appreciate how to solder, what it is and just how much we rely on it.
Most of the electronic gizmos – phones, computers, caravan TVs and the like – that we take for granted these days use solder to interconnect their internal components and hold them in position.
Despite this, there are also few people who have much knowledge of basic soldering techniques and how to solder things together.
That is a pity, because being able to solder offers the ability to repair myriad things, such as connectors, to join wires together and to complete many other DIY tasks.
Here, we outline the rudiments of what solder is and the skills needed for successful soldering – you can also check out our caravan DIY guide for other tasks you can carry out on your ‘van.
What is solder?
Modern solders consist mainly of tin. Previously, high levels of lead were included but, since its toxicity was identified, it has been progressively phased out.
The solder material chosen has to have a low melting point (usually around 180-300°), well below the melting point of the materials being bonded.
Soldering
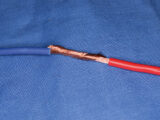
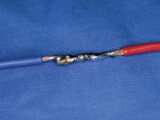
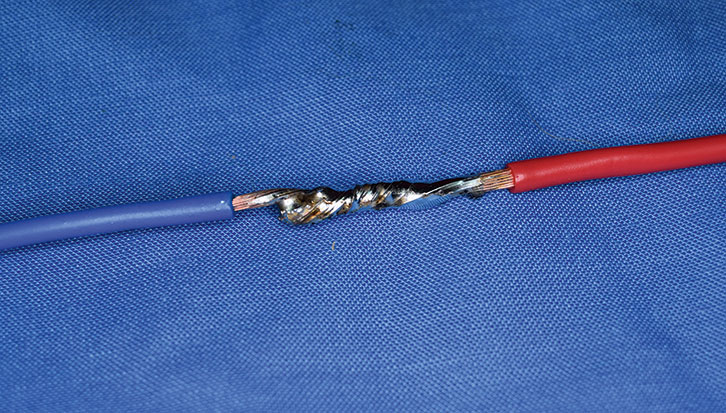
This is the process of heating the items to be joined to a temperature above the melting point of the solder and then ‘flowing’ the solder between the two items, where it bonds them once cooled. To prevent oxidisation, a flux is usually also introduced to the molten solder. This can be an external application, or solder wire with a flux core can be used.

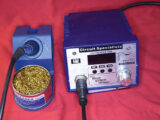
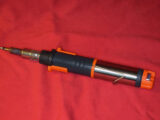
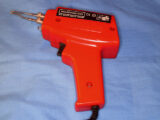
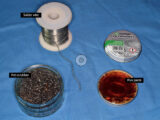
Equipment
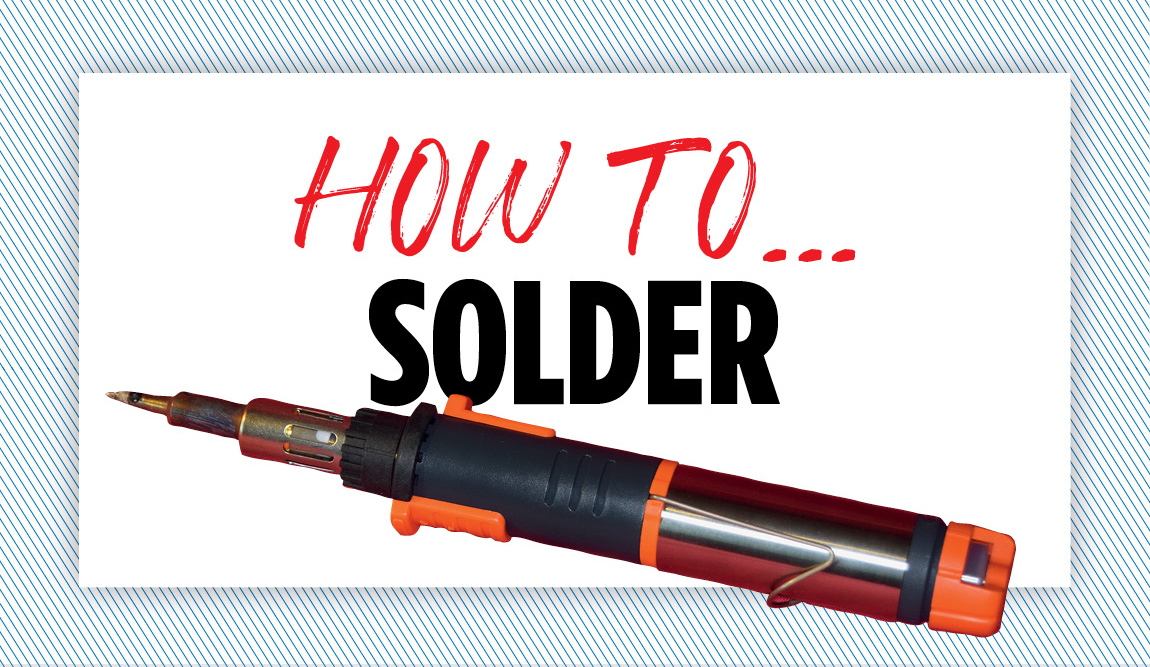
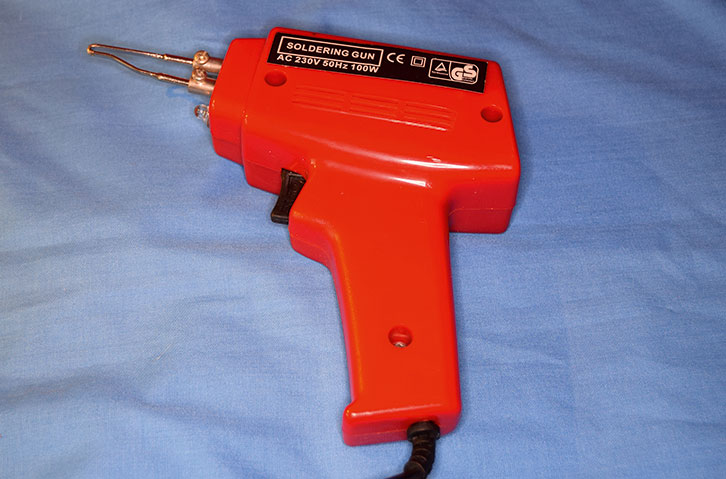
Most soft soldering (the generic term for soldering that uses tin/lead) is carried out with a soldering iron, which is placed on the items to be joined, raising their temperature to the point where the solder melts and forms the bond.
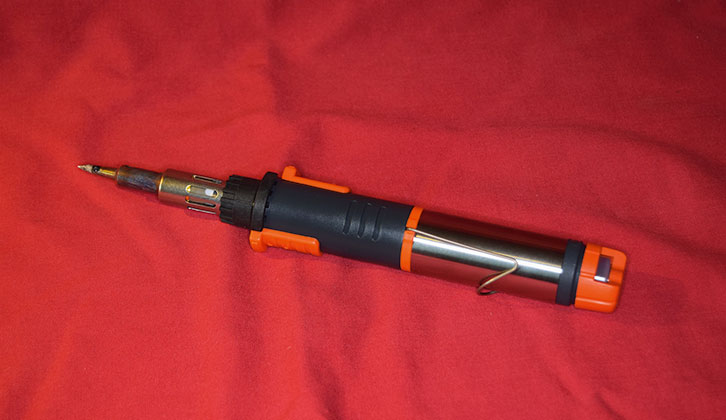
Soldering irons are usually electric, but can be gas if portability is required.
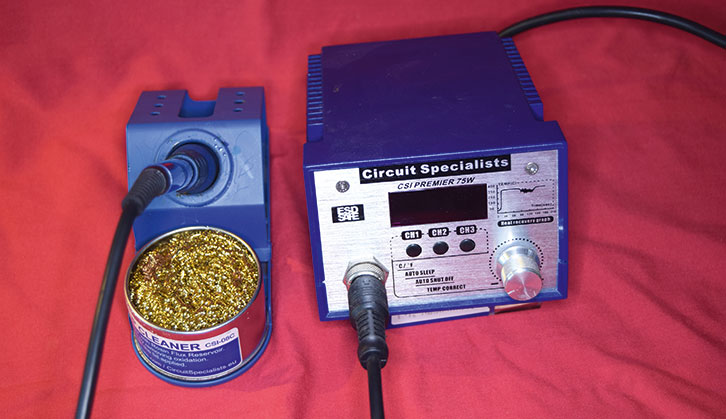
The soldering iron MUST be powerful enough to provide sufficient heat to raise the temperature of the WHOLE constituent parts of the job above the melting point of the solder being used.
Failure to heed this very important point often leads to dry joints; that is, joints where the solder has not flowed over one or both of the two surfaces to be bonded.
For many larger jobs, such as central heating plumbing, a naked gas blowtorch flame can be used, although of course, great care should be exercised in this, as the risk of starting fires is ever present.
Key considerations of soldering
Materials to be joined
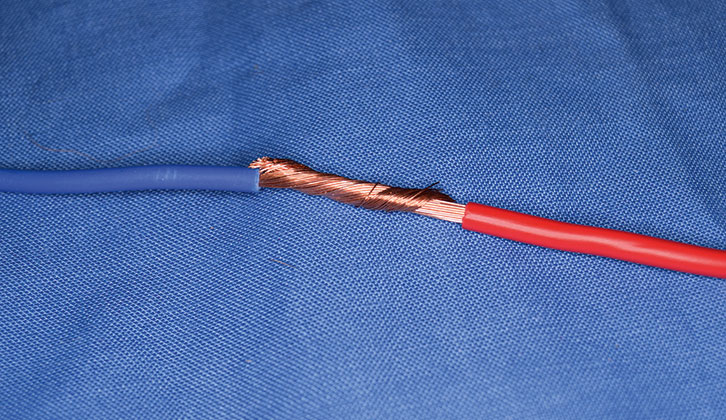
Not all metals can be soft soldered together. The materials most commonly soldered together are copper, brass and bronze. Steel can be soldered, but not readily. Aluminium is not a metal that solders easily and should be avoided.
Gold and silver can also be soldered, but usually only in the hands of experts, because their melting points are close to those of the solder being used and serious damage can result if care is not taken.

Surface preparation
All parts of the metals to be joined must be clean and free from any contaminants, such as paint and so on.
Setting the solder
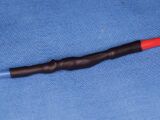
Parts being joined must NOT be moved while the solder is setting, as this will result in a poor quality joint.
Acid-based flux
If an acid-based flux is used, residues must be washed away after soldering, or corrosion might occur at a later date.
After some DIY projects to carry out on your ‘van? How about these?
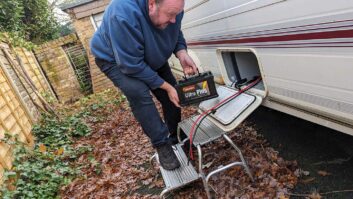
- We take a look at how to fit low-cost wheel stands.
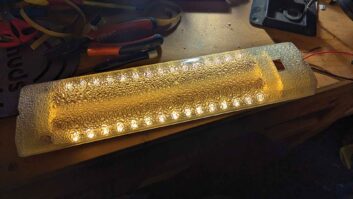
- We talk you through how to brighten your awning light.
- Wondering how to change your water filter? Our guide is here to help!
Future Publishing Limited, the publisher of Practical Caravan, provides the information in this article in good faith and makes no representation as to its completeness or accuracy. Individuals carrying out the instructions do so at their own risk and must exercise their independent judgement in determining the appropriateness of the advice to their circumstances and skill level. Individuals should take appropriate safety precautions and be aware of the risk of electrocution when dealing with electrical products. To the fullest extent permitted by law, neither Future nor its employees or agents shall have any liability in connection with the use of this information. You should check that any van warranty will not be affected before proceeding with DIY projects.
If you’ve enjoyed reading this article, why not get the latest news, reviews and features delivered direct to your door or inbox every month. Take advantage of our brilliant Practical Caravan magazine SUBSCRIBERS’ OFFER and SIGN UP TO OUR NEWSLETTER for regular weekly updates on all things caravan related.