
Caravan awning lights take many forms. The newer tourers tend to have LED arrays mounted, in the main, above the door, although that’s not always the case.
Some have a light bar fitted centrally, which is the optimum position for illuminating the inside of your awning, should one be deployed.
However, older vans have tended to rely on one type of awning light, consisting of a light assembly let into the side of the caravan using a 21W tungsten bulb, accessed via an internal cupboard. It is this type that I have chosen to upgrade here.
The assembly has several shortcomings, the first of which is quite major, namely, it doesn’t allow much light to escape. Another problem is that its 21W tungsten bulb means 21W of heat being generated and dissipated into an internal cupboard. Admittedly, the bulb could be exchanged for an LED equivalent, but the design of the assembly still precludes maximum light dissipation.
This article outlines how to use two white and two red ‘stop and tail’ car LED bulbs in a configuration that provides more light than the tungsten equivalent, with a reduced current consumption, so you can enjoy your evenings spent relaxing in this caravan essential.
The inclusion of red LEDs gives the switchable option of an ‘ambience’ light, for times when white light won’t suit.
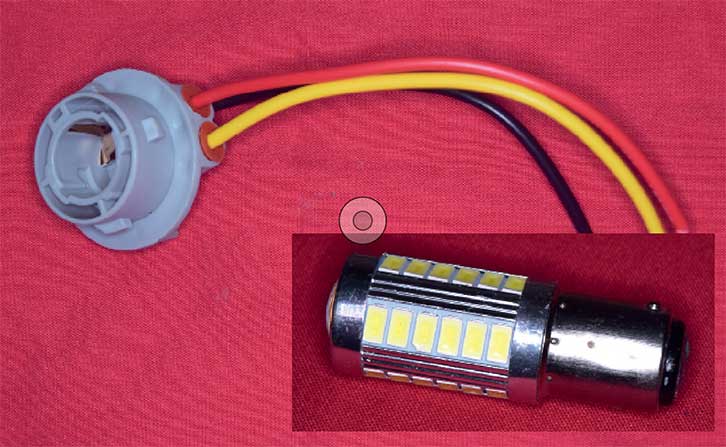
The LED bulbs chosen are of the offset pin variety, thus emulating the standard ‘stop and tail’ tungsten bulb that they will be replacing.
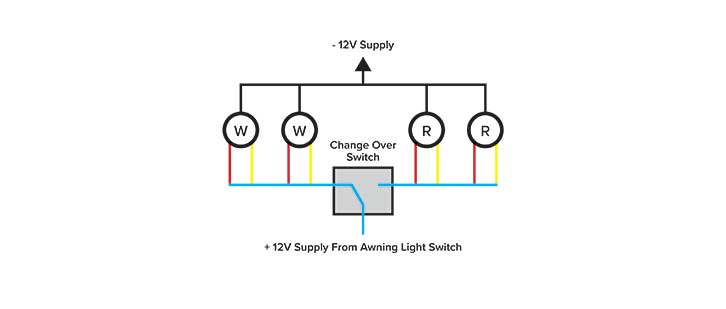
The extra illumination obtained is achieved by wiring both the stop and tail LED elements of the bulb together, so that they are both active at the same time.
The majority of replacement LED bulbs for cars have a CAN Bus provision (see below), which in simple terms, means they have an internal resistor in parallel with the LED elements.
This is done to ensure that sufficient current is drawn so as NOT to activate the ‘bulb failed’ electronic sensors in many modern cars. The LED part of the bulb by itself draws only a small current and might cause false triggering.
Although this resistor draws current from the supply, which is then wasted in the form of dissipated heat, the total current drawn by each bulb is still only 125mA, so the collective current of both bulbs running at any one time is 250mA, equating to 3W.
This is much lower than the 21W that would be drawn by using the original tungsten bulb, while also offering the benefit of more light.
The CAN Bus
The CAN (Controller Area Network) Bus is a protocol designed to work in conjunction with vehicle ECUs (Electronic Control Units), which provide a range of controls and diagnostics via OBD II (On Board Diagnostics), a system that is fitted to all modern vehicles.
To brighten your awning light, you will need:
Tools Required
- Conventional toolkit (pliers, screwdrivers and so on)
- Connector crimp tool
- Drill and drill bits
- 25mm hole cutter
Parts list
- Two white and two red LED 1157 BAY15D P21/5W car reverse back brake stop tail light bulbs
- One changeover switch 1 pole 250V 3A 21 x 15mm black rocker switch
- One waterproof IP65 electronic junction box, ABS plastic electrical project junction dims: 200 x 120 x 75mm
- Four BAY15D bulb holder dual contact offset pin stop tail brake light GLB380 1157
- Three 3/16” spade connectors
- ‘Choc Block’ connectors to suit
- Two M4x25 screws plus washers and nuts
- Two-part epoxy adhesive
- Eight blue tab crimp connectors
- Assorted lengths of multicore wire
How to brighten your awning light – a step-by-step guide:
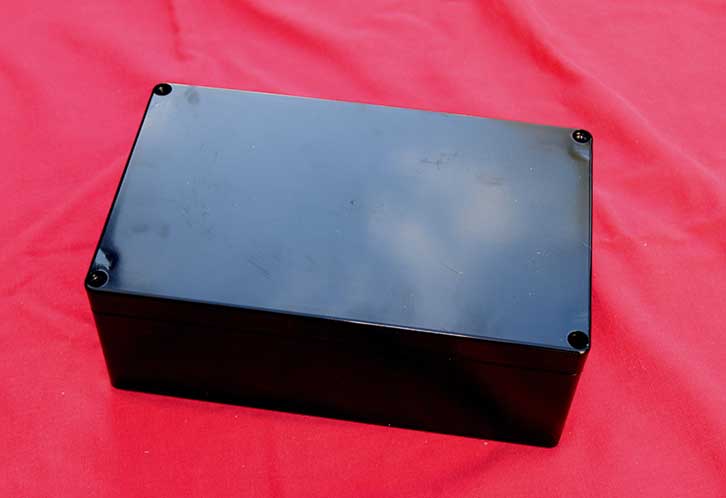
1. The box before processing begins.
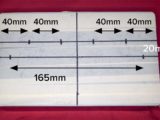
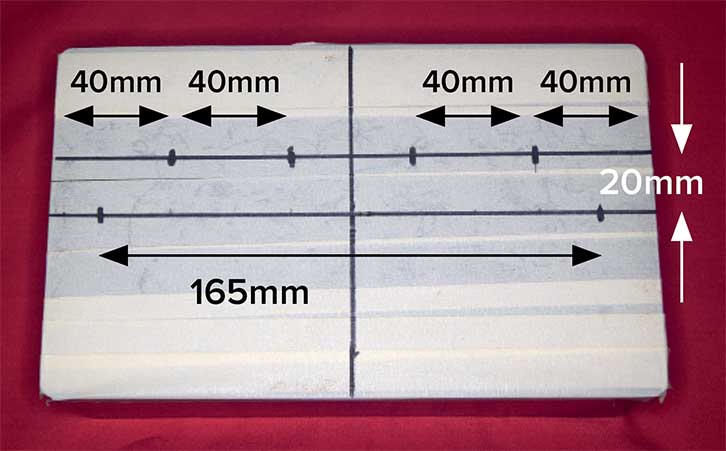
2. Cover the bottom of the box with masking tape and mark up as shown.
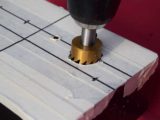
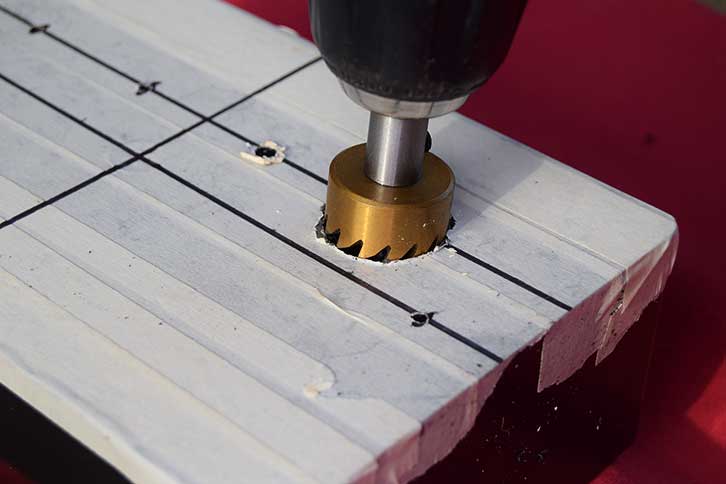
3. Using the hole cutter to make apertures for the four replacement LED bulbs.
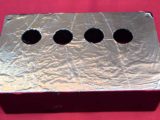
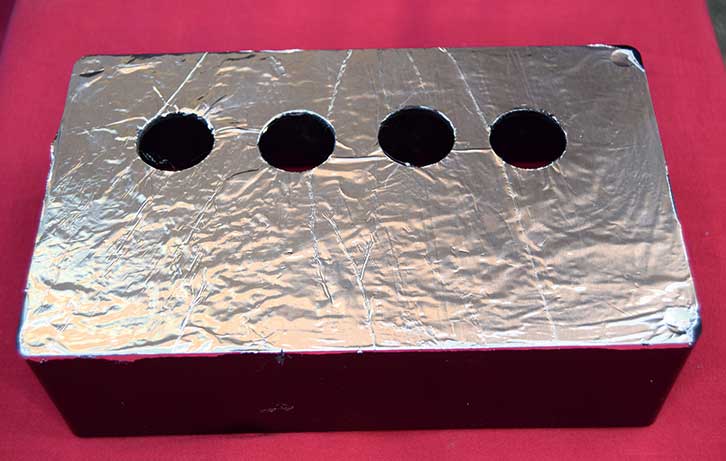
4. Using adhesive, cover the bottom of the box with foil (shiny side up).
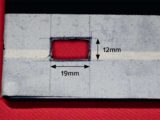
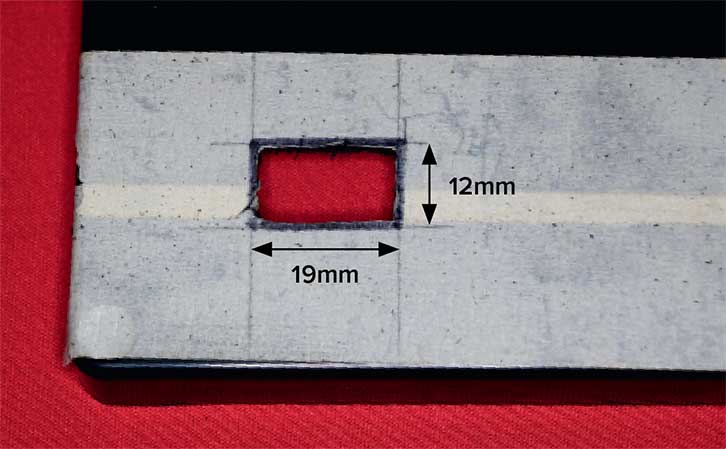
5. Cover the corner of the box lid with masking tape, then drill and file an apperture for the changeover switch as shown.
6. Mount bulb holders as shown and secure in place using adhesive.
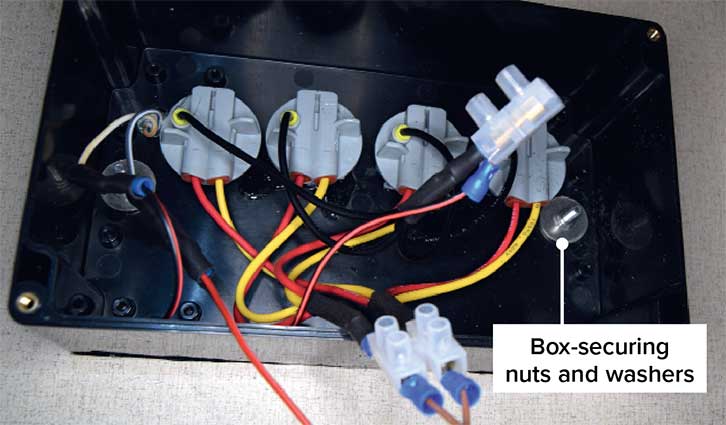
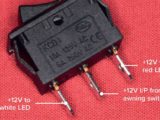
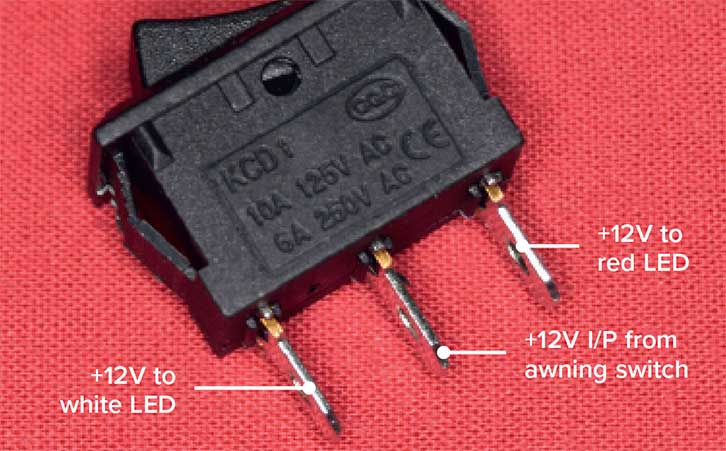
7. Changeover switch connection details.
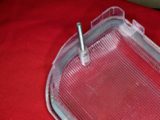
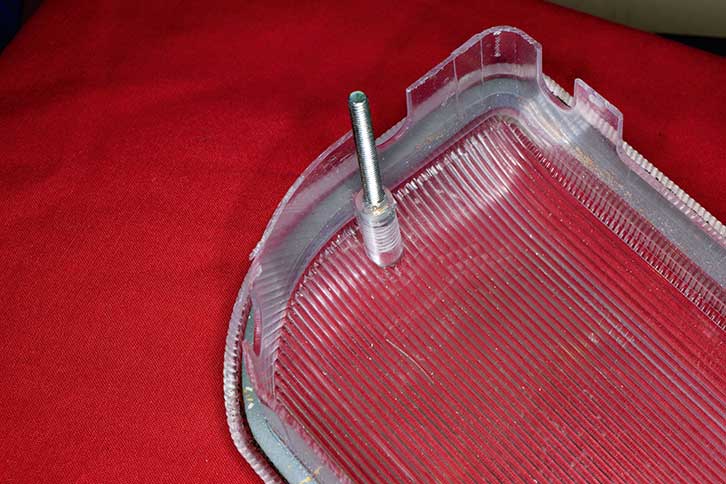
8. Remove the head from two M4x25 screws, then secure into the light lens using resin.
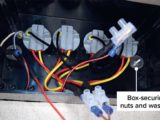
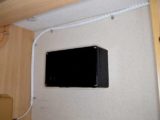
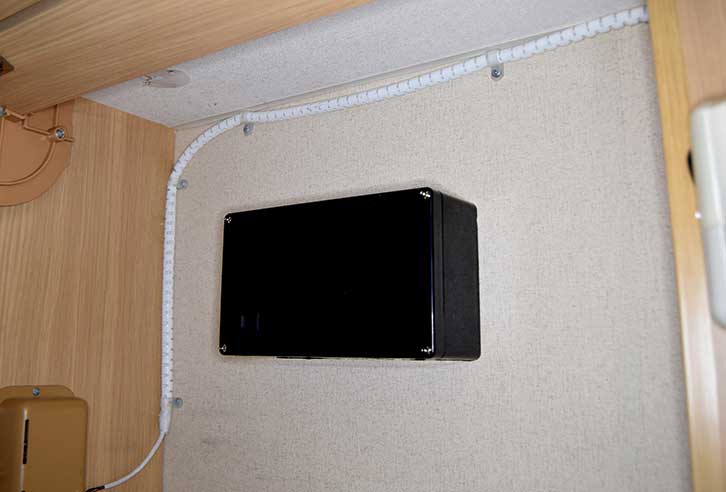
9. Assembled box mounted on the inside of the cupboard, adjacent to external awning light.
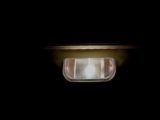
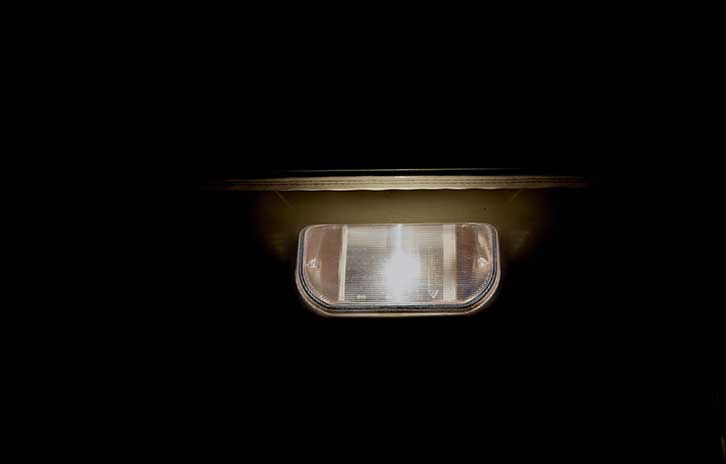
10. The original 21W tungsten bulb provided a comparatively low level of light.
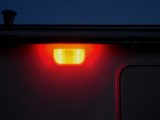
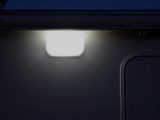
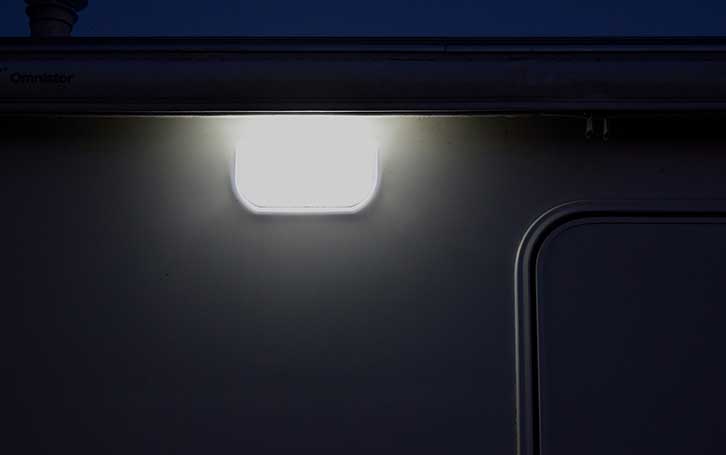
11. The upgraded LED is much brighter.
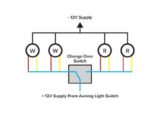
12. Wiring diagram.
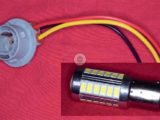
13. Bulb connector.
After more DIY projects? Then why not try these:
- We talk you through the process of cleaning a Carver 4000A Fanmaster and replacing the switch controls.
- We explain how you can replace a jockey wheel.
Future Publishing Limited, the publisher of Practical Caravan, provides the information in this article in good faith and makes no representation as to its completeness or accuracy. Individuals carrying out the instructions do so at their own risk and must exercise their independent judgement in determining the appropriateness of the advice to their circumstances and skill level. Individuals should take appropriate safety precautions and be aware of the risk of electrocution when dealing with electrical products. To the fullest extent permitted by law, neither Future nor its employees or agents shall have any liability in connection with the use of this information. You should check that any van warranty will not be affected before proceeding with DIY projects.
If you’ve enjoyed reading this article, why not get the latest news, reviews and features delivered direct to your door or inbox every month. Take advantage of our brilliant Practical Caravan magazine SUBSCRIBERS’ OFFER and SIGN UP TO OUR NEWSLETTER for regular weekly updates on all things motorhome related.