


Earlier in the year, we made a list of the things that make Penny a little harder to live with than she needs to be.
Many have been sorted already – the plumbing is more reliable, a stabiliser has been fitted and there have been various power and lighting upgrades. One area still languishing near the bottom of the list, however, is the dreary, dog-eared rear lounge.
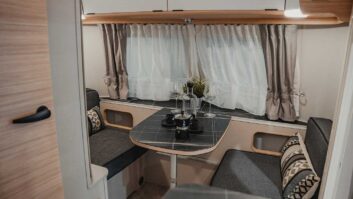
Bailey went to town in the front, with mains lights, spotlights and a ceiling lamp. There’s even a chest of drawers and a drinks cabinet with a pull-out tabletop. At the back, though, it’s all rather basic. Only the rear window has a curtain, there’s just a single ceiling light, and in our case, the blinds are in a sorry state.
The rear one doesn’t retract properly, the offside one is broken, and the whole area could do with cheering up. We’ve already added LED lamps with USB charging sockets and still need to look at getting some cushions, but we also needed to repair the Seitz blinds in our caravan.
State of play
At the front of the van, every blind and flyscreen latches and retracts neatly. Given how often they’re used, that’s a pleasant surprise. As with many caravan fittings, though, lack of use can cause as much trouble as wear and tear. Since touring in Penny, the rear lounge has become our breakfast or dining area, particularly at festivals when we’re too lazy to pack away the main bed up front, and I’m sure you will agree a comfortable space to relax in is a must when you’re on tour, regardless of the type of caravan you own.
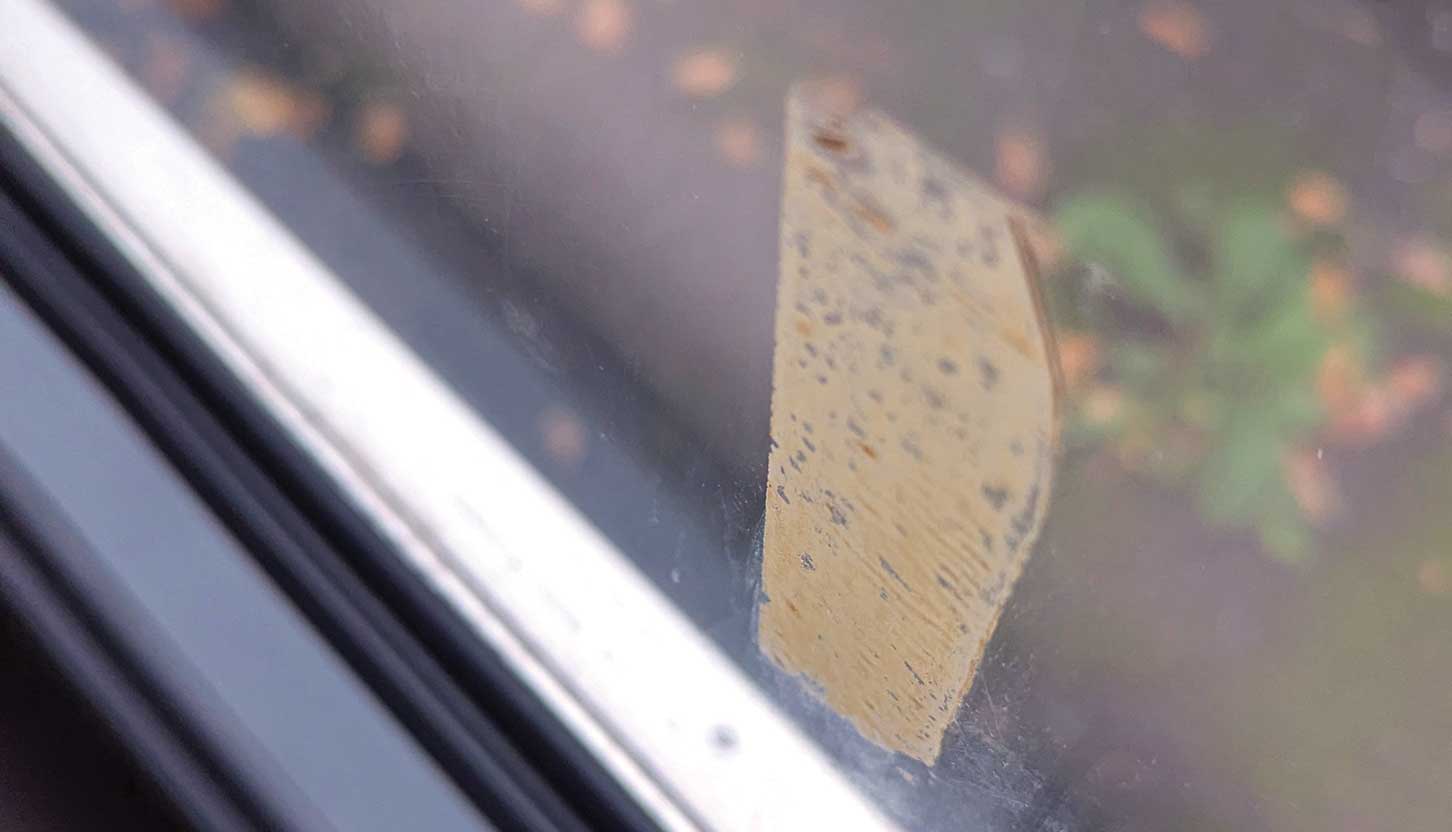
There are three windows back there. The nearside one, by the door, works fine apart from a cracked corner – an easy fix if we can be bothered.
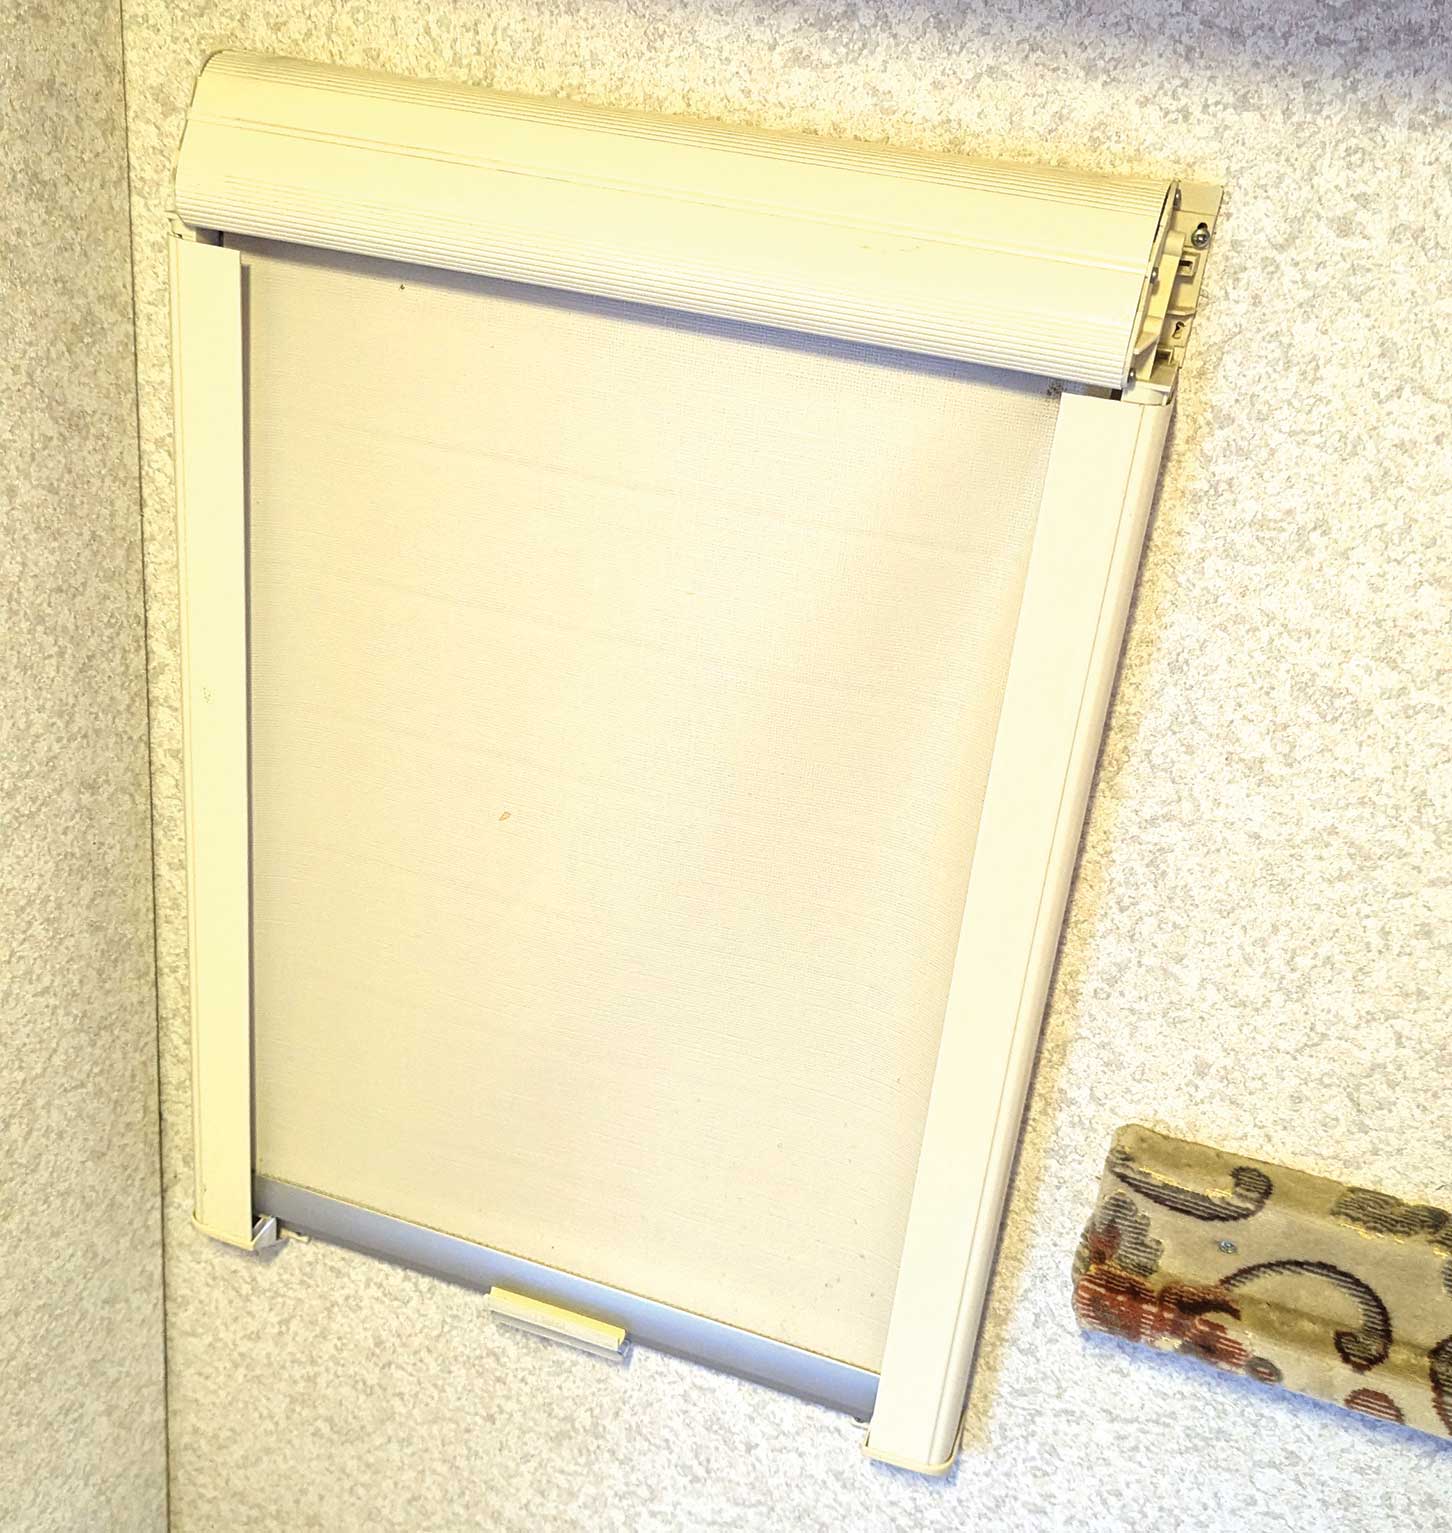
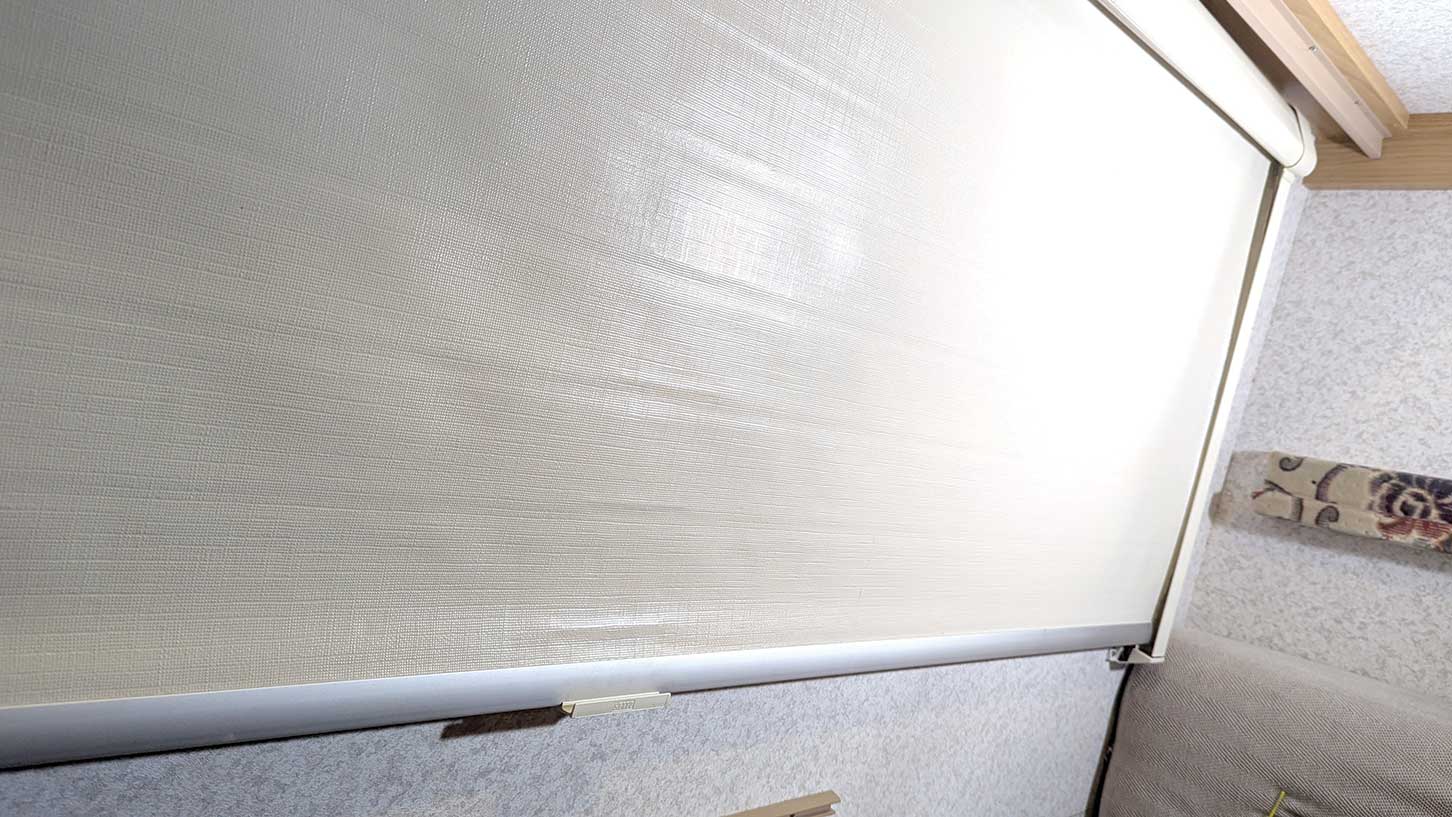
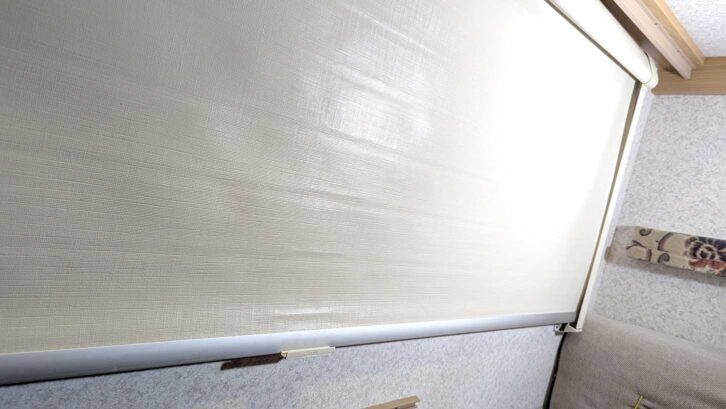
The other two are worse. The wide rear window blind doesn’t do itself any favours with its sheer size. The flyscreen is missing the two claws that latch it open, and the main blind pulls down but barely retracts. The return is slow and gritty – it’s not just a tension issue but something rougher in the mechanism.
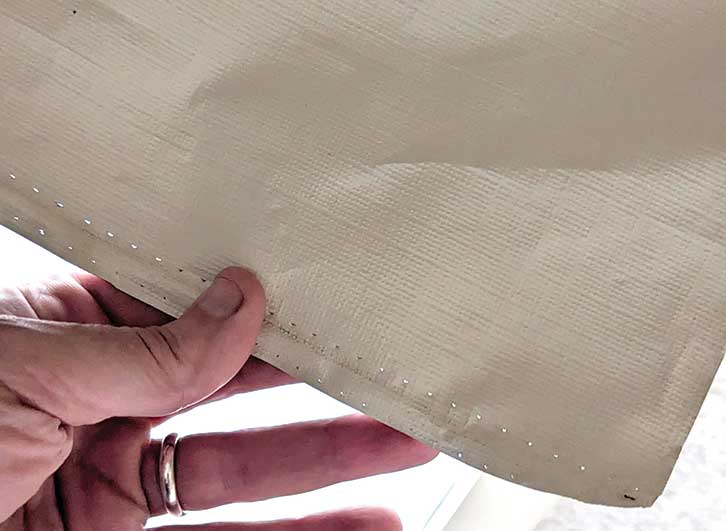
The small window behind the washroom is the worst offender. It’s tucked away and not essential for privacy, which is just as well. The flyscreen still works, but the blind has lost all spring tension and is also missing its aluminium bottom rail, so it can’t be secured when lowered. It now hangs halfway and looks a mess. It was time to reach for the caravan tool kit and get to work.
Starting with the Seitz blind on the small offside window
The small offside window was the obvious place to start. With missing parts and no function, a replacement was the only option. The first question was what to measure – the blind, the frame or the window? Unsure, I measured the lot and then hit eBay.
Penny is fitted with the common Seitz dual-function blinds of the period. They’re modular rather than full cassette units, with a twin-blind body, two guide rails and four corner pieces. Most eBay sellers are caravan breakers, which helps keep prices down. The standard measurement seems to be the overall external width. Ours was around 400mm wide by 600mm deep, so a standard 420mm x 640mm blind looked right.

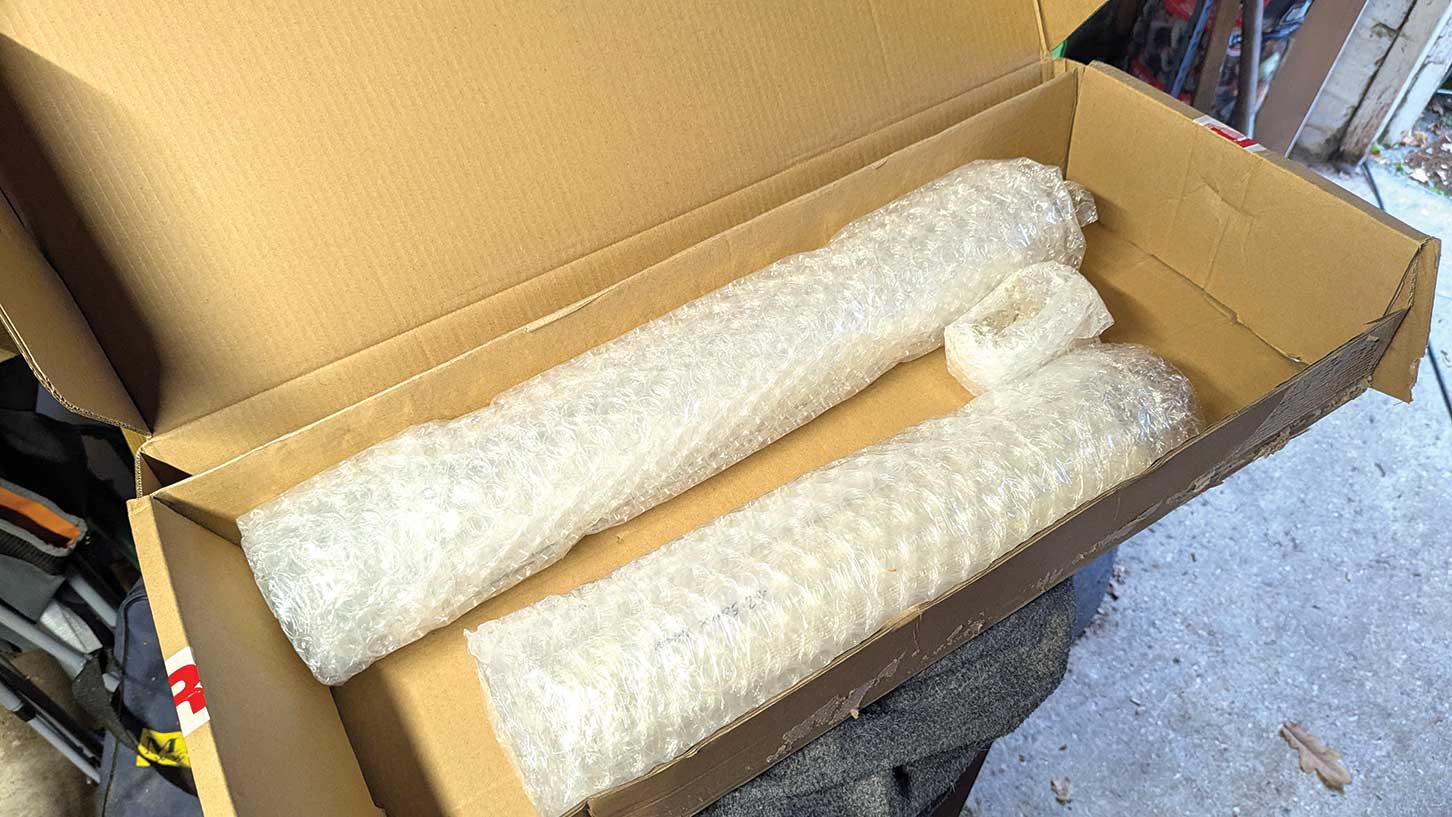
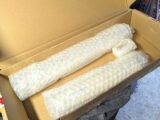
After checking a few listings for intact corners and undamaged screens, we bought one from Northern Caravan Breakers for £39. It arrived, beautifully packed, two days later.
Repairing the first Seitz blind
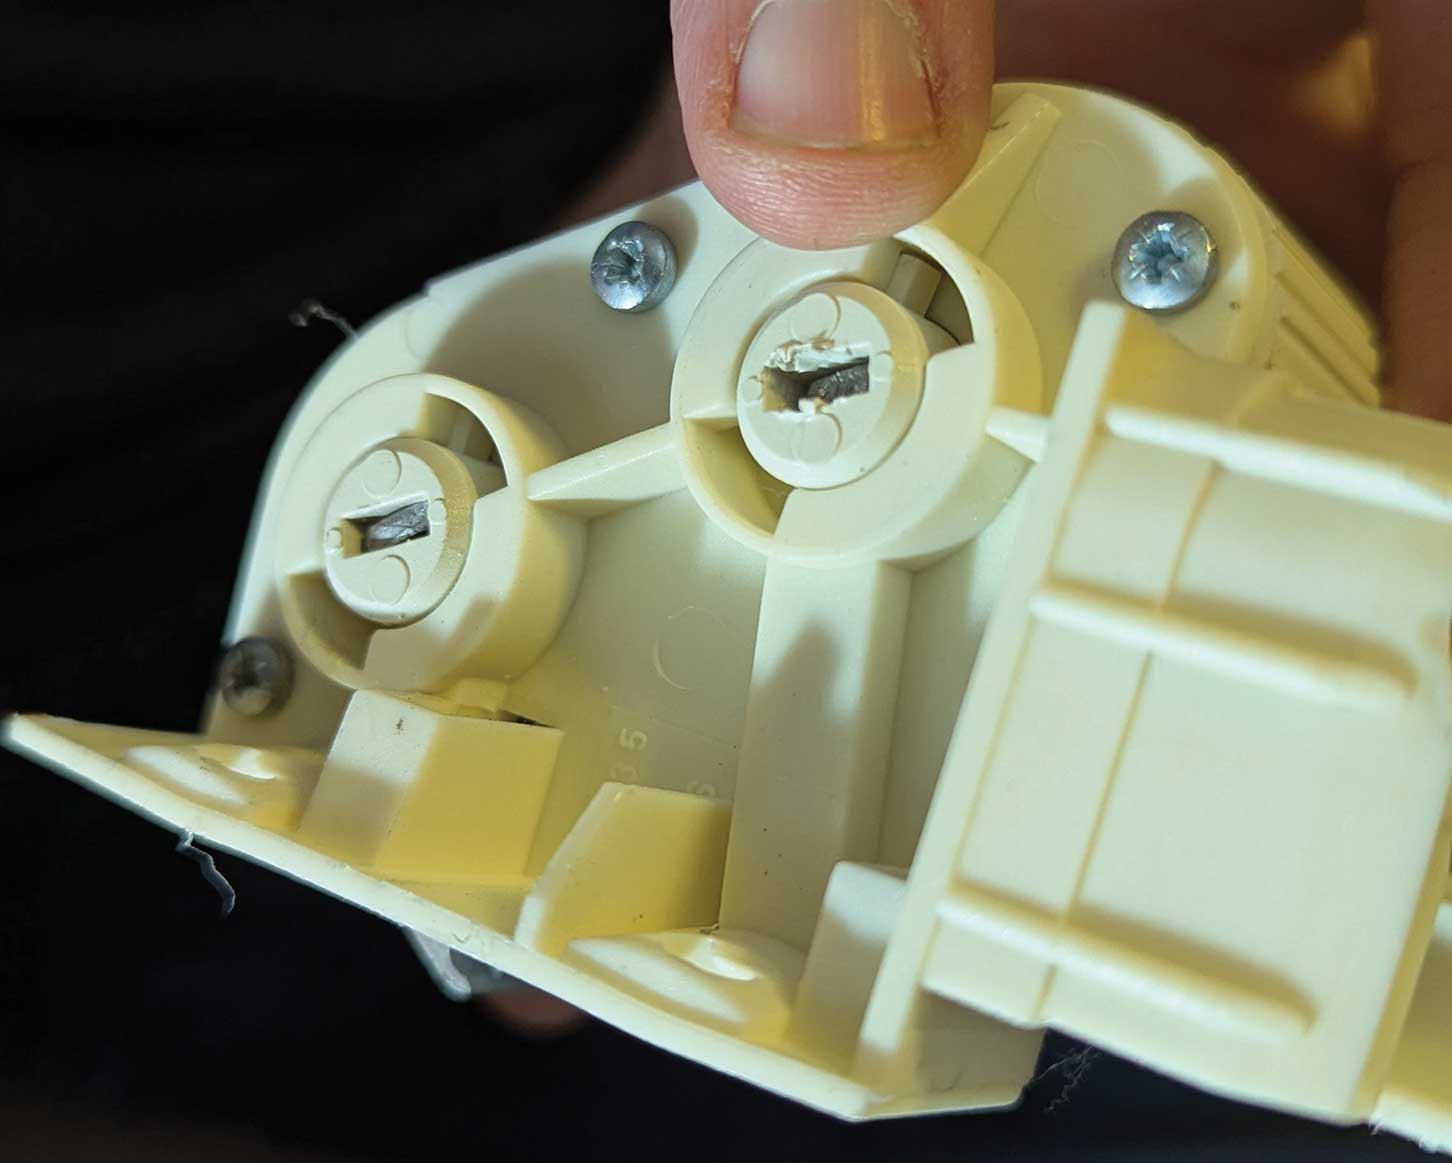
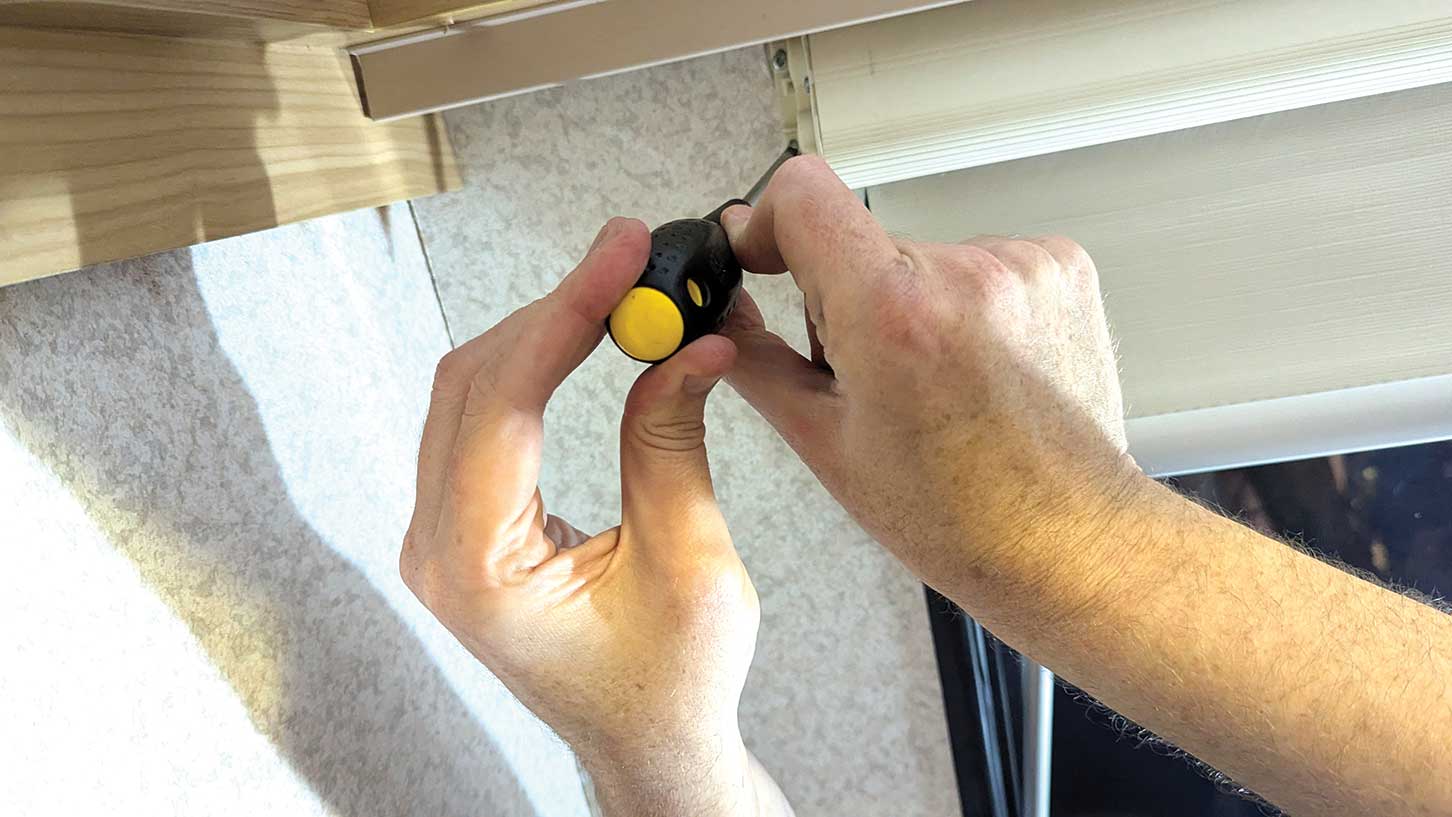
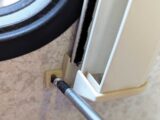
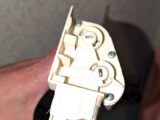
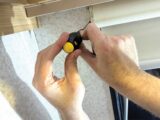
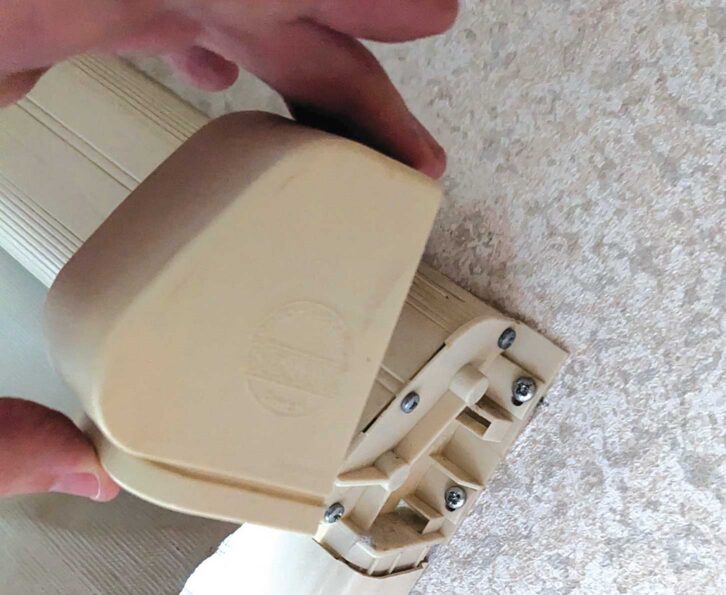
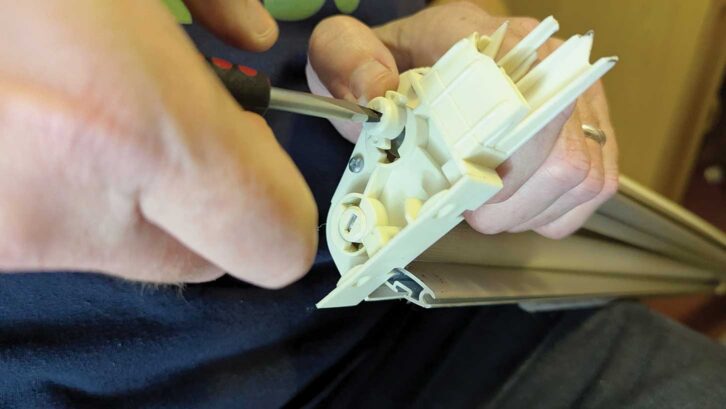
Replacing a Seitz blind in a caravan is straightforward. Start by popping off the top corners – they’re held by two plastic barbs. Facing the window, gently pull them towards you, wiggling as you go until they release. You’ll then see two screws on each side holding the blind cassette to the wall.
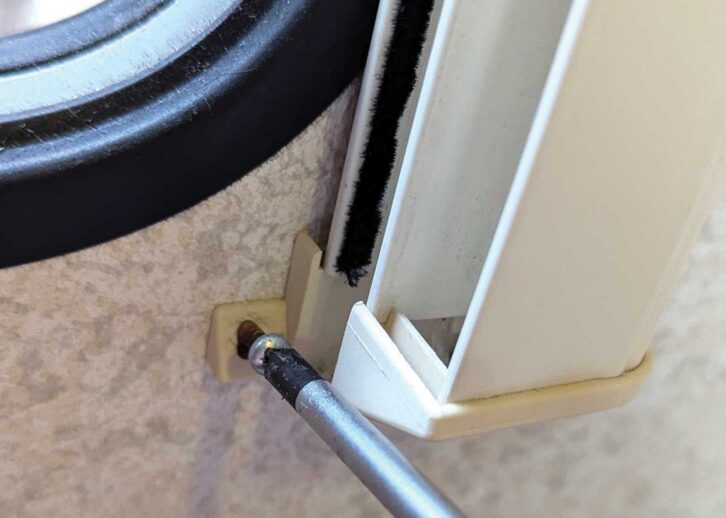
We removed the bottom screws first, then pulled the guides down and away from the cassette. Once the top four screws were out, the whole assembly lifted free.
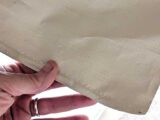
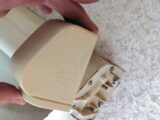
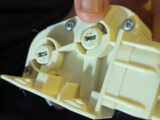
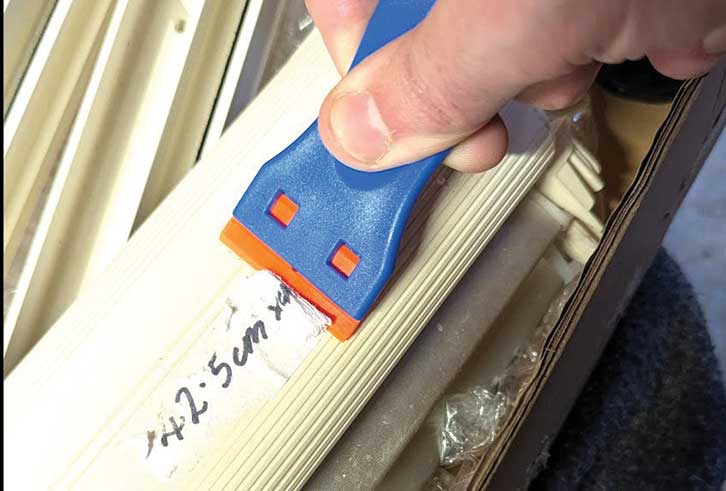
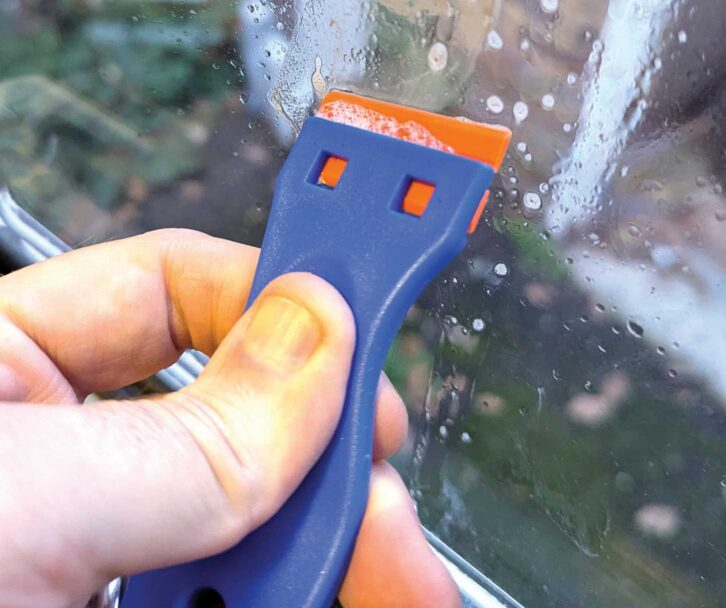
Before fitting the new blind, we gave it a clean and removed the caravan breaker’s sticker. As the casing is plastic, harsh solvents were out, so we used Elbow Grease cleaner with a plastic razor scraper. It made short work of the sticky residue.
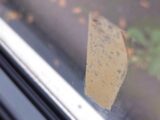
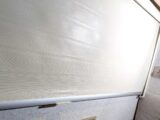
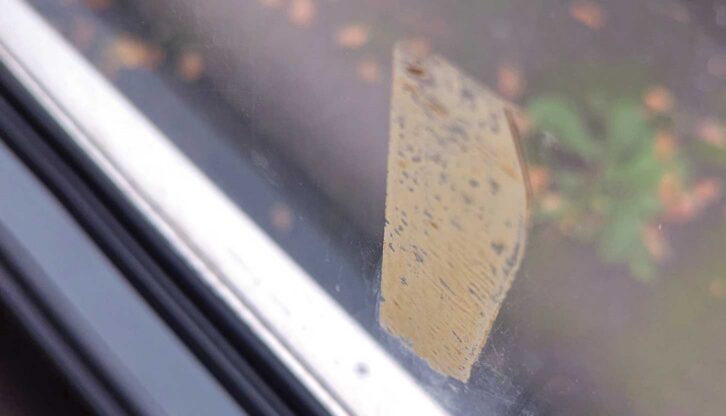
While we had it to hand, we also used it to remove some old parcel tape residue from the back window – WD-40 hadn’t touched it, but Elbow Grease did the job perfectly.
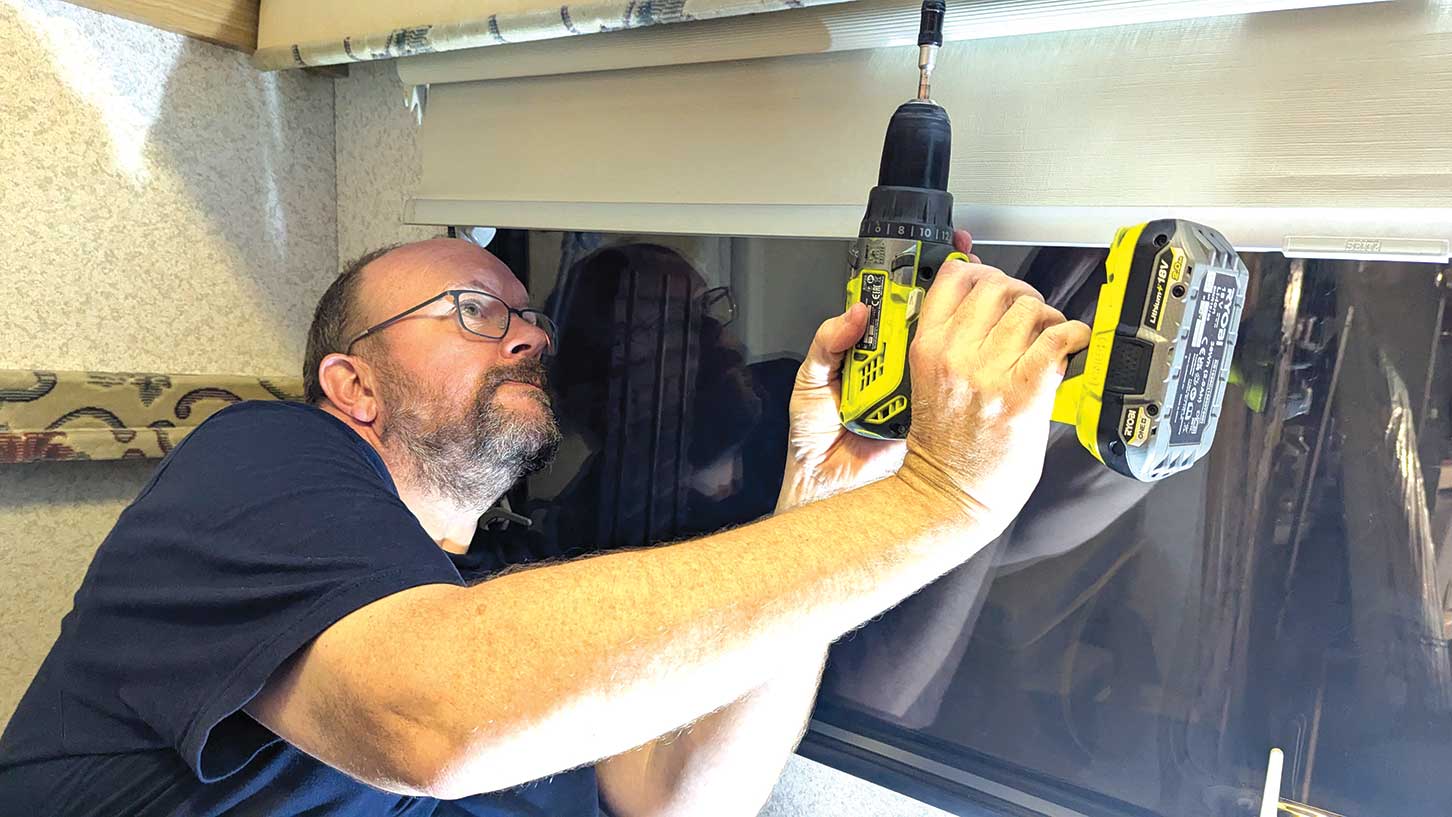
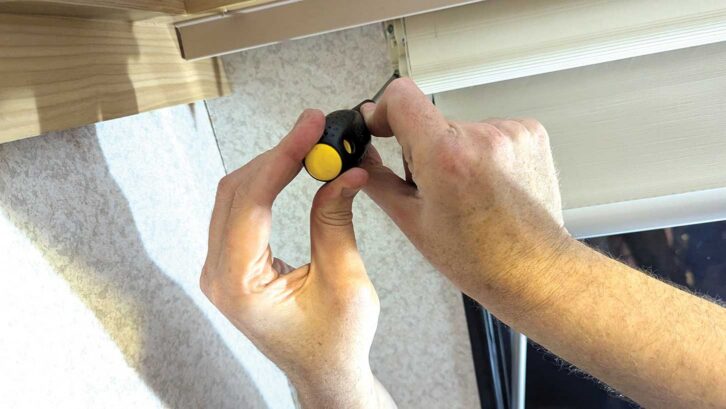
Testing the new blind, both the flyscreen and main blind retracted smoothly – always a good sign. We loosely mounted the cassette to the wall (a bit of play helps when attaching the side rails) and added a quick spray of silicone lubricant in the runners before clipping the rails on.

With the corners screwed in place, we ran the blind up and down a few times, tightening everything gradually until it ran perfectly. Finally, the top corners snapped back in, and our new blind was good to go.
Repairing the rear window blind
The rear window blind was the one I’d been dreading. It’s huge and awkward – over 1500mm across. We suspected the lack of retraction was partly due to the size twisting the unit, but we hoped a bit of re-tensioning would improve things.
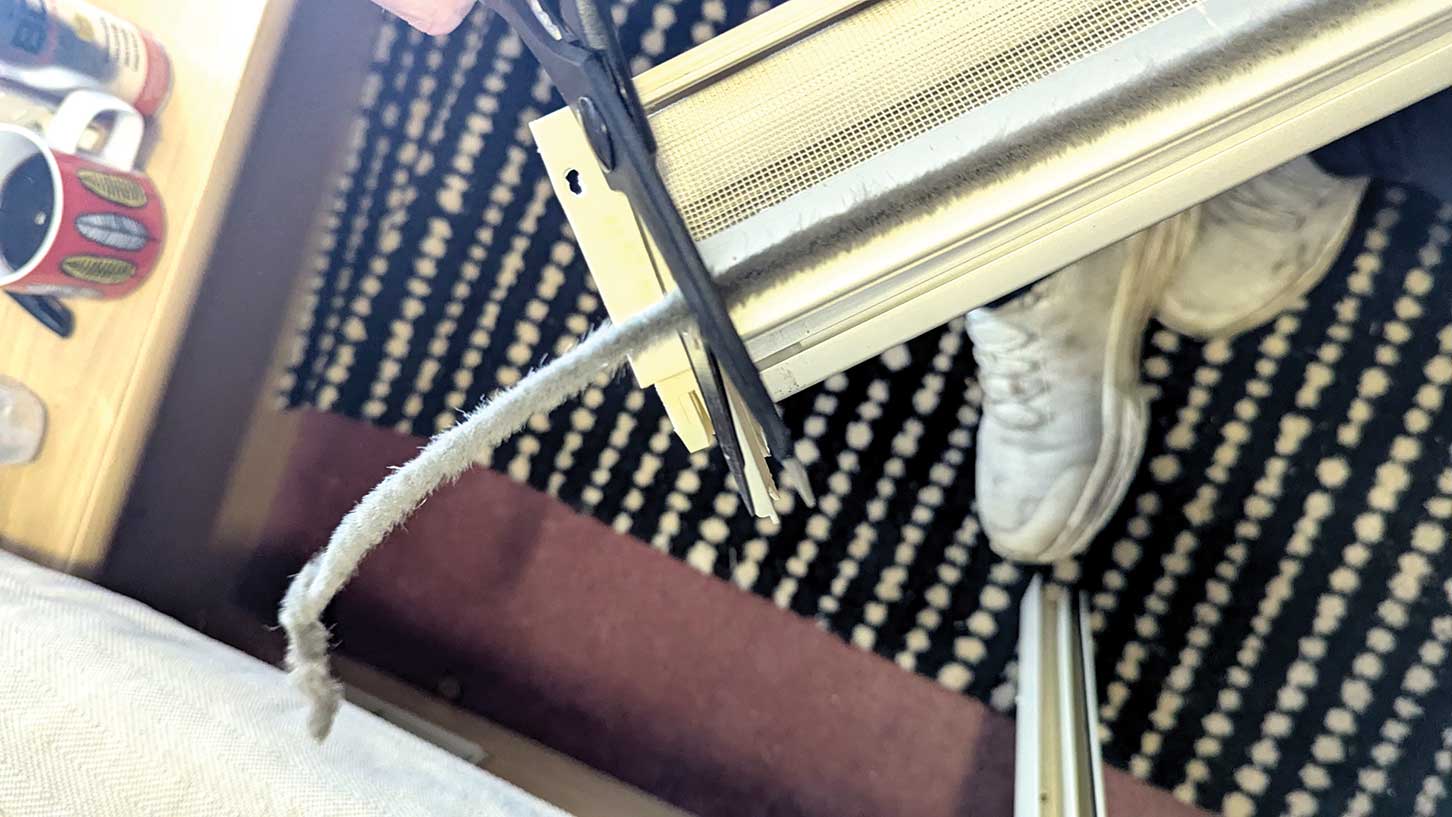
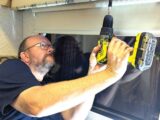
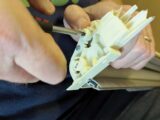
The first job was removing the decorative pelmet that hides the blind and curtain rail. The curtains themselves had to come off first – a fiddly business – to reveal the screws. With the pelmet out of the way, we could remove the blind.
Be warned: once off the wall, the blind’s spring tension makes it twist like a live thing. The design relies on being fixed to a wall for rigidity, so without that, it’s like wrestling a snake. A second pair of hands helps, though screwing the blind temporarily to a bit of timber works well too.


As well as DIY improvements, something else that can make a big difference to a tour is having the right gadgets and accessories. If you’re looking for some inspiration, don’t miss our pick of the caravan upgrades that could enhance any caravanning experience.
Future Publishing Limited, the publisher of Practical Caravan, provides the information in this article in good faith and makes no representation as to its completeness or accuracy. Individuals carrying out the instructions do so at their own risk and must exercise their independent judgement in determining the appropriateness of the advice to their circumstances and skill level. Individuals should take appropriate safety precautions and be aware of the risk of electrocution when dealing with electrical products. To the fullest extent permitted by law, neither Future nor its employees or agents shall have any liability in connection with the use of this information. You should check that any van warranty will not be affected before proceeding with DIY projects.
If you’ve enjoyed reading this article, why not get the latest news, reviews and features delivered direct to your door or inbox every month. Take advantage of our brilliant Practical Caravan magazine SUBSCRIBERS’ OFFER and SIGN UP TO OUR NEWSLETTER for regular weekly updates on all things caravan related.
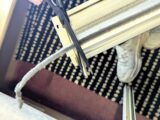
If stiff pleated blinds are left untreated, they are likely to break