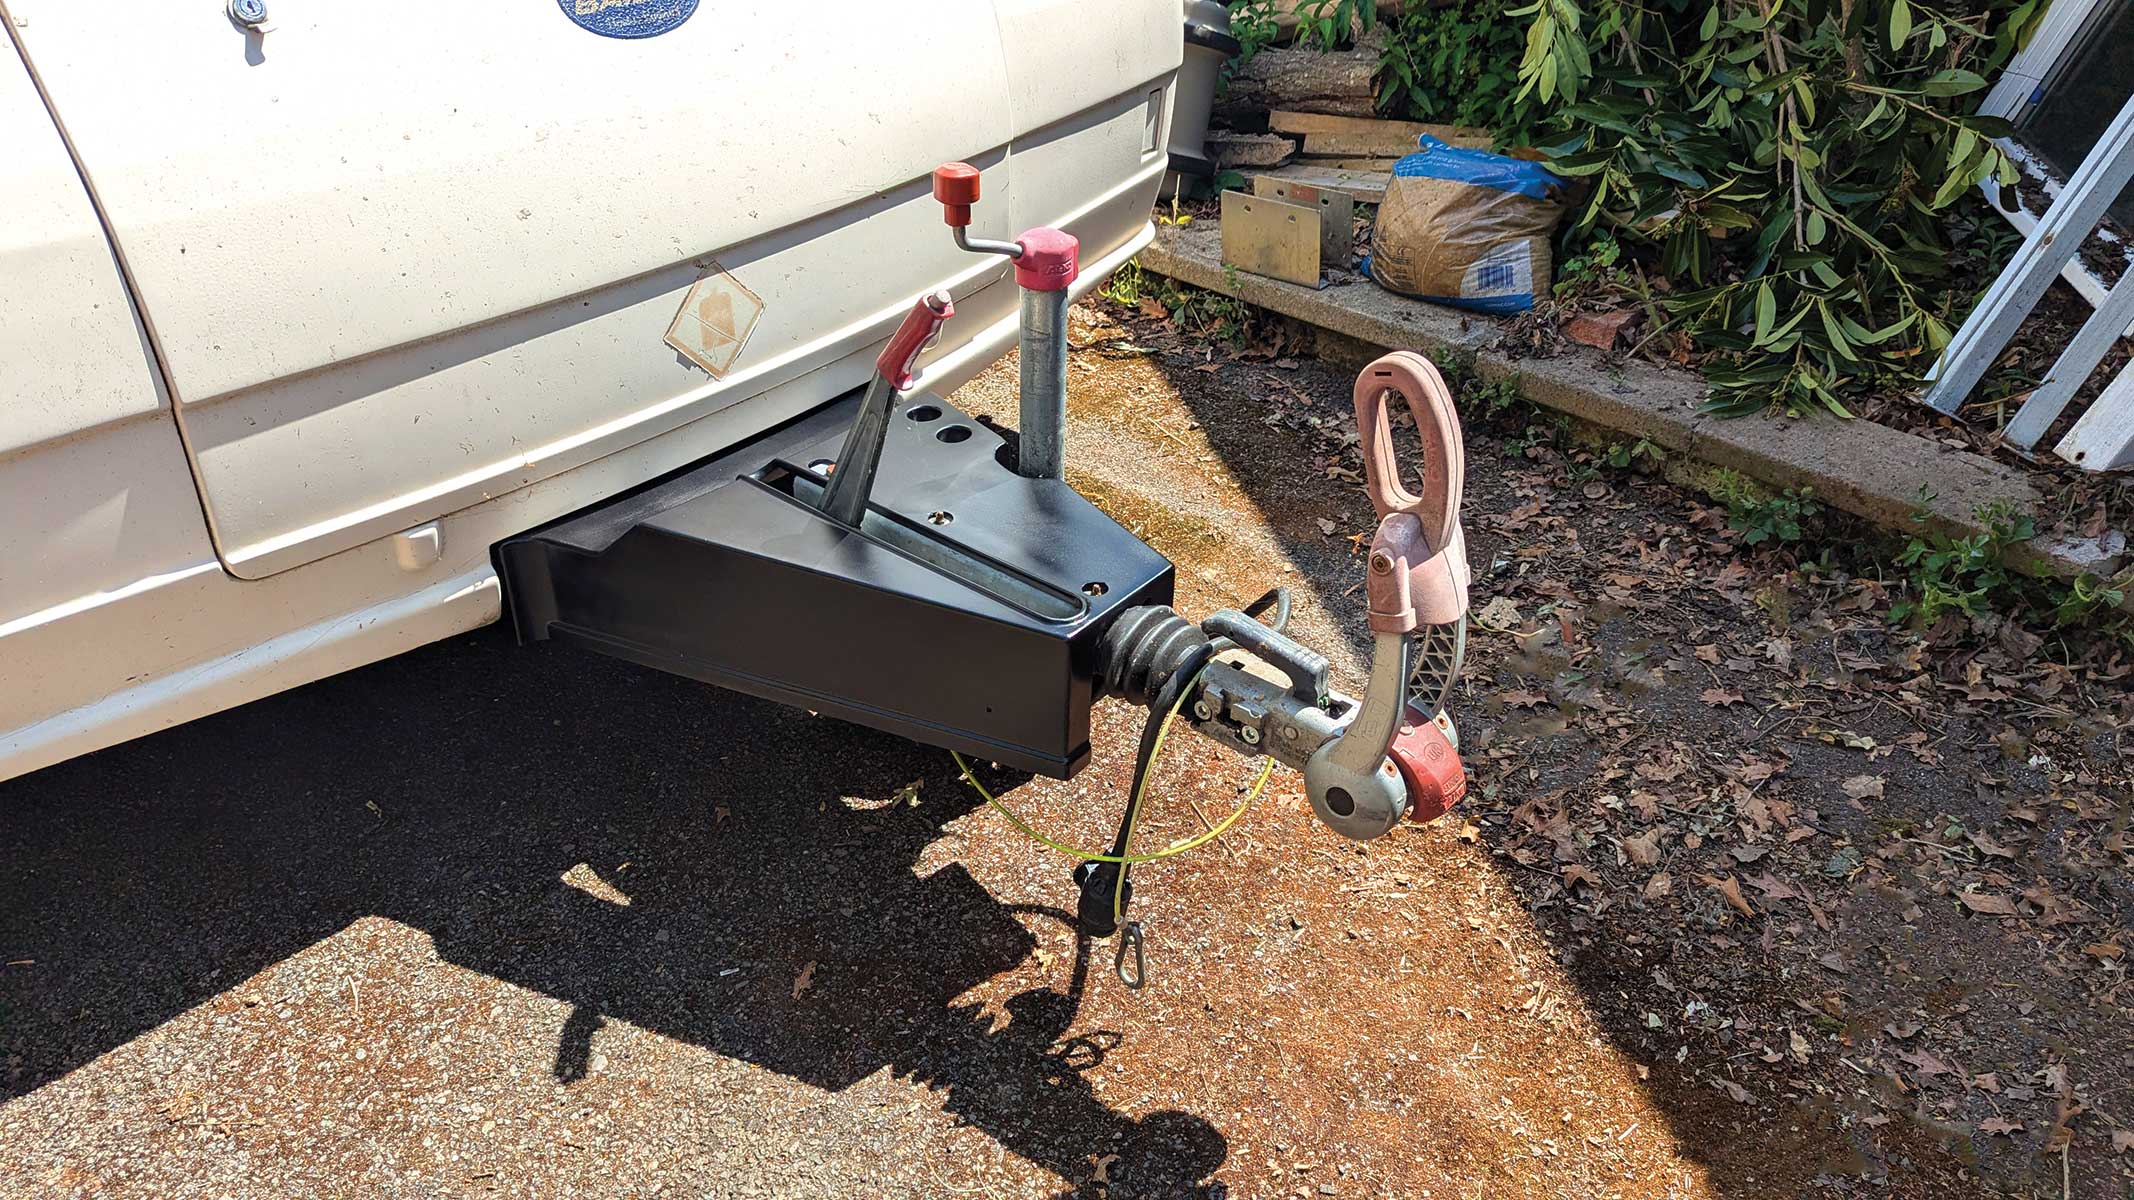
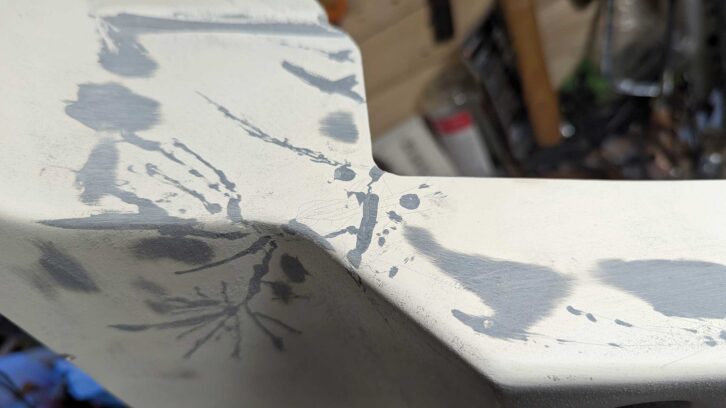
It was actually around 18 months ago that Penny’s A-frame was uncovered for the first time. She’d plainly been fighting and the GRP shroud was beaten up and cracked.
Even the best used caravans can start to look their age, and in the case of Penny, the large piece of plastic covering the chassis at the front looked every one of its 23 years, with extensive cracking and chipping. We considered the naked look, leaving the chassis uncovered, but that looked a little workmanlike for our tastes.
Given that Penny is not particularly pretty, we decided that she needed all the help she could get, so it was time to reach for my caravan tool kit and get to work.
Cracking up
I’ve done a bit of GRP repair in the past, so knew what was needed. There was one actual crack in the fairing which was the worst of the damage. Aside from that, it was chipping and light cracks in the gelcoat top layer of the piece that needed to be repaired. They are time-consuming to do, but it is not that difficult.
The other thing that needed to be attended to was as a result of my previous fix to the gas locker floor. The gas locker has a plastic tray which is the base that carries the cylinders and other tat that you cart around when touring.
In Penny this was badly cracked, so I made a plywood reinforcing plinth to support the shelf edge. It works well but reduced the space available for the A-frame fairing by about 20mm.
After a bit of measuring, I marked the GRP and put strips of tape across it as a guide for my jigsaw. With a fine-toothed blade installed, I trimmed the edge, grateful any chipping would be out of sight. All fitted so it was time to don the dust mask and start repairing the cracks and dings.
Glass-reinforced plastic (or GRP) comprises layers of matting which are bonded together by a plastic resin. The shiny outer surface is the gelcoat which is tough and weather resistant. Most of the damage we have is confined to this layer.
For shallow surface cracks, grinding along the line of the crack to create a V-shaped channel gives you a surface to force new gelcoat into the channel before sanding and finishing. We had dozens of cracks so I used a Dremel with a round sandpaper bit to trace them all.
We got through half a dozen of these bits, creating a lot of dust. It was a fairly horrible job and a close-fitting mask and well-ventilated area to work in are a must.
What started off as quite a small task soon turned into a side project which took place over many months – usually tackled when waiting for sealant or filler on another caravan task to dry. Although caravans are ostensibly white (see what Peter Baber has to say about this when he considers “why are caravans almost always white?“, it’s not until you try and match the colour that you realise just how many shades of Pure Brilliant Caravan there are.
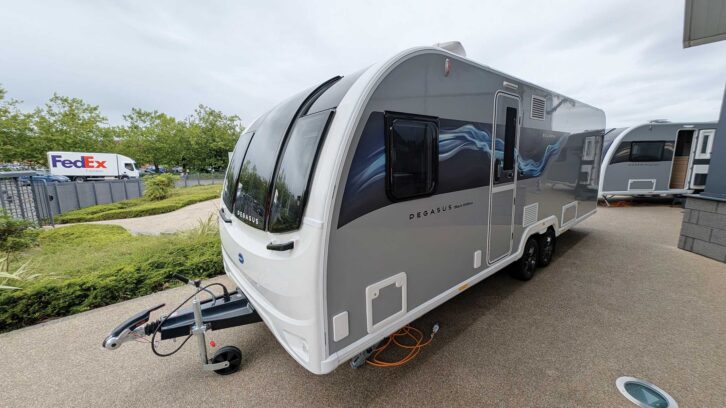
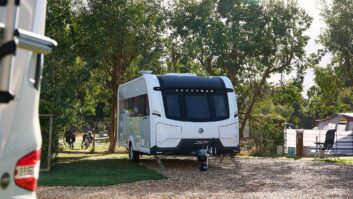
This, and factoring in 25 years of fading paint on the van’s front end, made me a little fretful about getting any sort of colour match. Then, while flicking though a copy of Practical Caravan, I noticed that even Bailey itself doesn’t necessarily worry about colour matching A-frames – its ritzy new Unicorn and Alicanto models sport a sleek, black snout, as seen on the Bailey Unicorn Deluxe Cabrera and the Alicanto Grande Deluxe Sintra.
While we didn’t expect this approach to lead anyone to think Penny was this year’s model, we felt it would add interest. Also, a tin of generic black automotive paint is far easier to find than vintage Bailey beige at a local Halfords on a Saturday afternoon.
Around 30 minutes and £20 later, we were back home and ready to bring Penny bang up to date. Well, at least a little.
First time unlucky
We gave the freshly filled and sanded fairing a coat of filler primer and stood back to admire our work. Grim! Every tiny mark, chip and fill showed through the finish, so we went back and sanded again, and filled, and sanded.
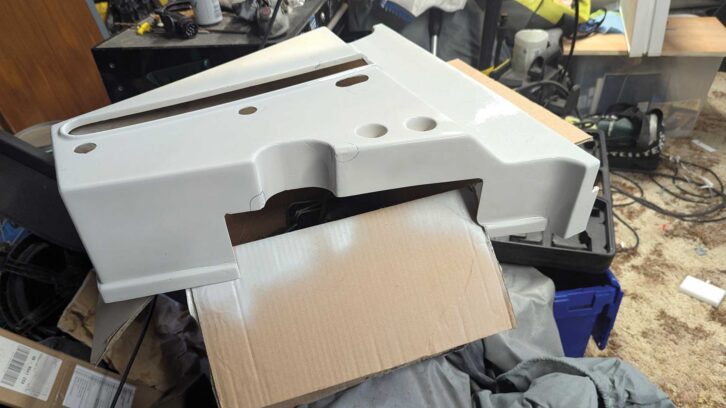
Eventually, we got things in tolerable shape, being meticulous to wipe down the dust between coats. The first topcoat was equally as frightening as the first filler coat, but with constant small improvements, we gradually edged to a tolerable finish. Final polishing still needs to be completed, but the finish is appropriately glossy straight from the can.
With the painting completed, we thoroughly wiped down the exposed parts of the Delamere’s A-frame with some brake cleaner, ready to accept the foam double-sided adhesive
tape that we were using to fix the fairing in place.
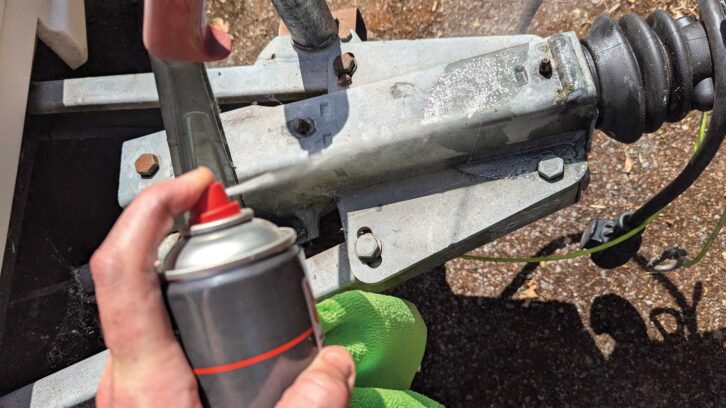
We cut two 250mm strips of the foam, pressed them into the rough glass mat of the fairing, and then peeled off the backing tape, ready to press the assembly into place.
These modern foam adhesives are seriously strong, so you only really get one go at pushing things into place and getting it all lined-up nicely. That alignment is key because if it is a bit off, your handbrake may not properly engage or some other fouling may occur. We had a few practice runs before pulling off the tapes and pushing it into place.
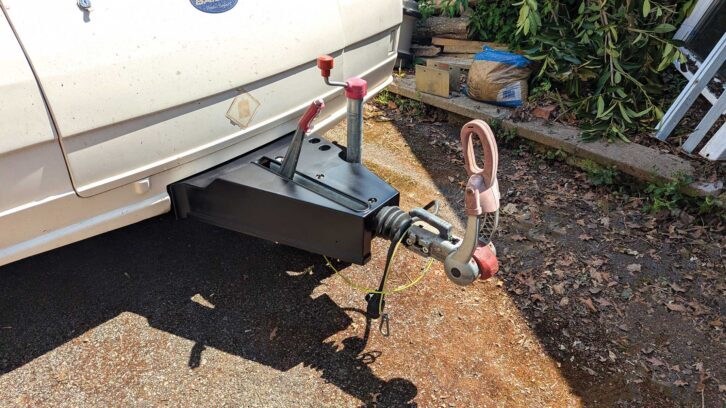
The overall finish is smart, but still befitting a van with more than 25 years of holidays under its Al-Ko chassis.
The gloss-black finish is quite unforgiving, so there are a few odd blemishes on show, but the overall look is a lot sharper than before. At £25-worth of materials (and a lot of time) we’re pretty pleased with the end result.
If you’d like to see more work that I’ve carried out on Penny, don’t miss where I explain how we fixed the soft floor in the rear corners of our caravan or how I repaired the Seltz blinds in my caravan, too.
Future Publishing Limited, the publisher of Practical Caravan, provides the information in this article in good faith and makes no representation as to its completeness or accuracy. Individuals carrying out the instructions do so at their own risk and must exercise their independent judgement in determining the appropriateness of the advice to their circumstances and skill level. Individuals should take appropriate safety precautions and be aware of the risk of electrocution when dealing with electrical products. To the fullest extent permitted by law, neither Future nor its employees or agents shall have any liability in connection with the use of this information. You should check that any van warranty will not be affected before proceeding with DIY projects.
If you’ve enjoyed reading this article, why not get the latest news, reviews and features delivered direct to your door or inbox every month. Take advantage of our brilliant Practical Motorhome magazine SUBSCRIBERS’ OFFER and SIGN UP TO OUR NEWSLETTER for regular weekly updates on all things motorhome related.