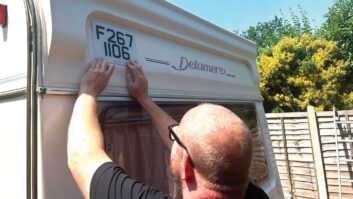






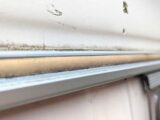

Rot in the floor of our 1998 budget Bailey was a timely reminder that caravans often start to deteriorate on the quiet, and the best ways to avoid that are to proactively go searching for potential problems. During a bit of routine prodding and poking, I found a little area that looked prime for a perk-up on the back wall of the caravan.
It was in the mid-2000s that the trend for single-piece caravan sidewalls became popular. Prior to that, it was popular for caravans to be assembled from smaller pieces of aluminium that were bonded together with a strip covering the joins screwed over the top. It works well enough, but extra screw holes and joins mean more places for water to find its way under the skin.
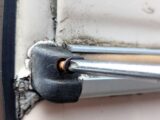
We had no evidence that water was breaching Penny’s perimeters (see: our guide to caravan water ingress), but there was significant evidence that things were starting to break down on the back wall. The old trim was rock hard, there was evidence of deterioration and the end caps were starting to sprout moss. A good place to start!
You can also see how I went about dealing with the soft floor in the rear corners of my caravan, and also take a look at what I did to smarten up the A-frame fairing on Penny too.
One bit at a time
The problem with repairs such as this is that they can be like pulling at a thread. Remove one bit of trim – another shows up as a problem, and before you know it, you have a caravan in bits on your driveway. We were determined to stick to small areas, fixing things as we went.
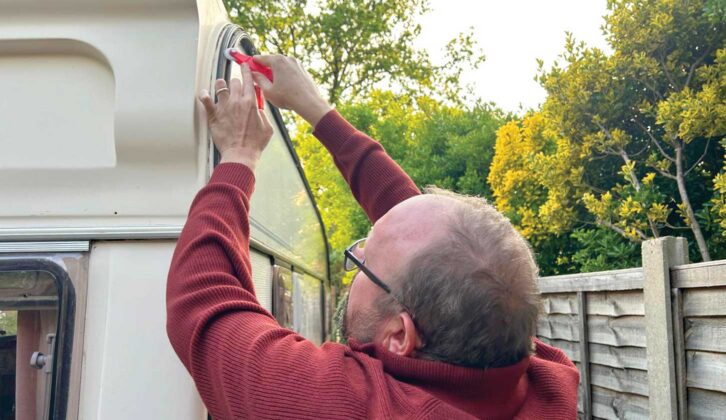
If this is your first foray into caravan damp prevention and repair, there are a few golden rules that will help lift your mood. First up, you’re going to want to choose the right weather conditions, just as you would if you were cleaning a caravan. To replace the Herzim trim, I’d advise picking a nice day to do the work. There’s nothing worse than stripping your caravan’s weatherstrips only to find there is a monsoon on the way.
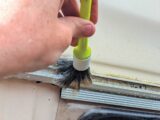
The other thing to bear in mind is that 90% of the job is cleaning. Anything that you plan to reseal needs to be spotless before you start sticking things back, or you are asking for trouble. New sealant typically doesn’t like sticking to old sealant, and the result can be a leaky caravan from the very place you thought you had just protected.
See what I’d previously done to prevent any water running down the rear of my caravan from getting to the floor, too.
What is Herzim trim?
The oddly named plastic insert that fits in your caravan extrusions to cover the screwheads is named after the Herzim Manufacturing Company of Detroit, which invented it.
The flexible vinyl insert is the industry standard for hiding unsightly screws and waterproofing the aluminium rails on boats and vans.
It is now a generic trademark like Hoover and used for all inset trims of the type.
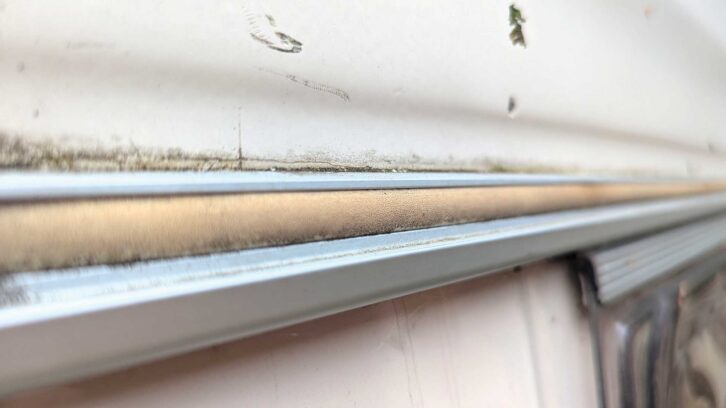
A quick Google for Herzim trim brings up loads of suppliers, but the helpful YouTube tutorial videos put up by Seals Direct meant that I settled on them as the supplier of choice.
The video tutorials showed the presenter using a Herzim trim tool. Having installed this trim in the past with a pair of electrical screwdrivers and several hours of my time, I was well up for a labour-saving device; so I took the plunge with a few metres of what I hoped was the correct trim and a £10 tool, which would be a handy addition to my caravan toolbox.

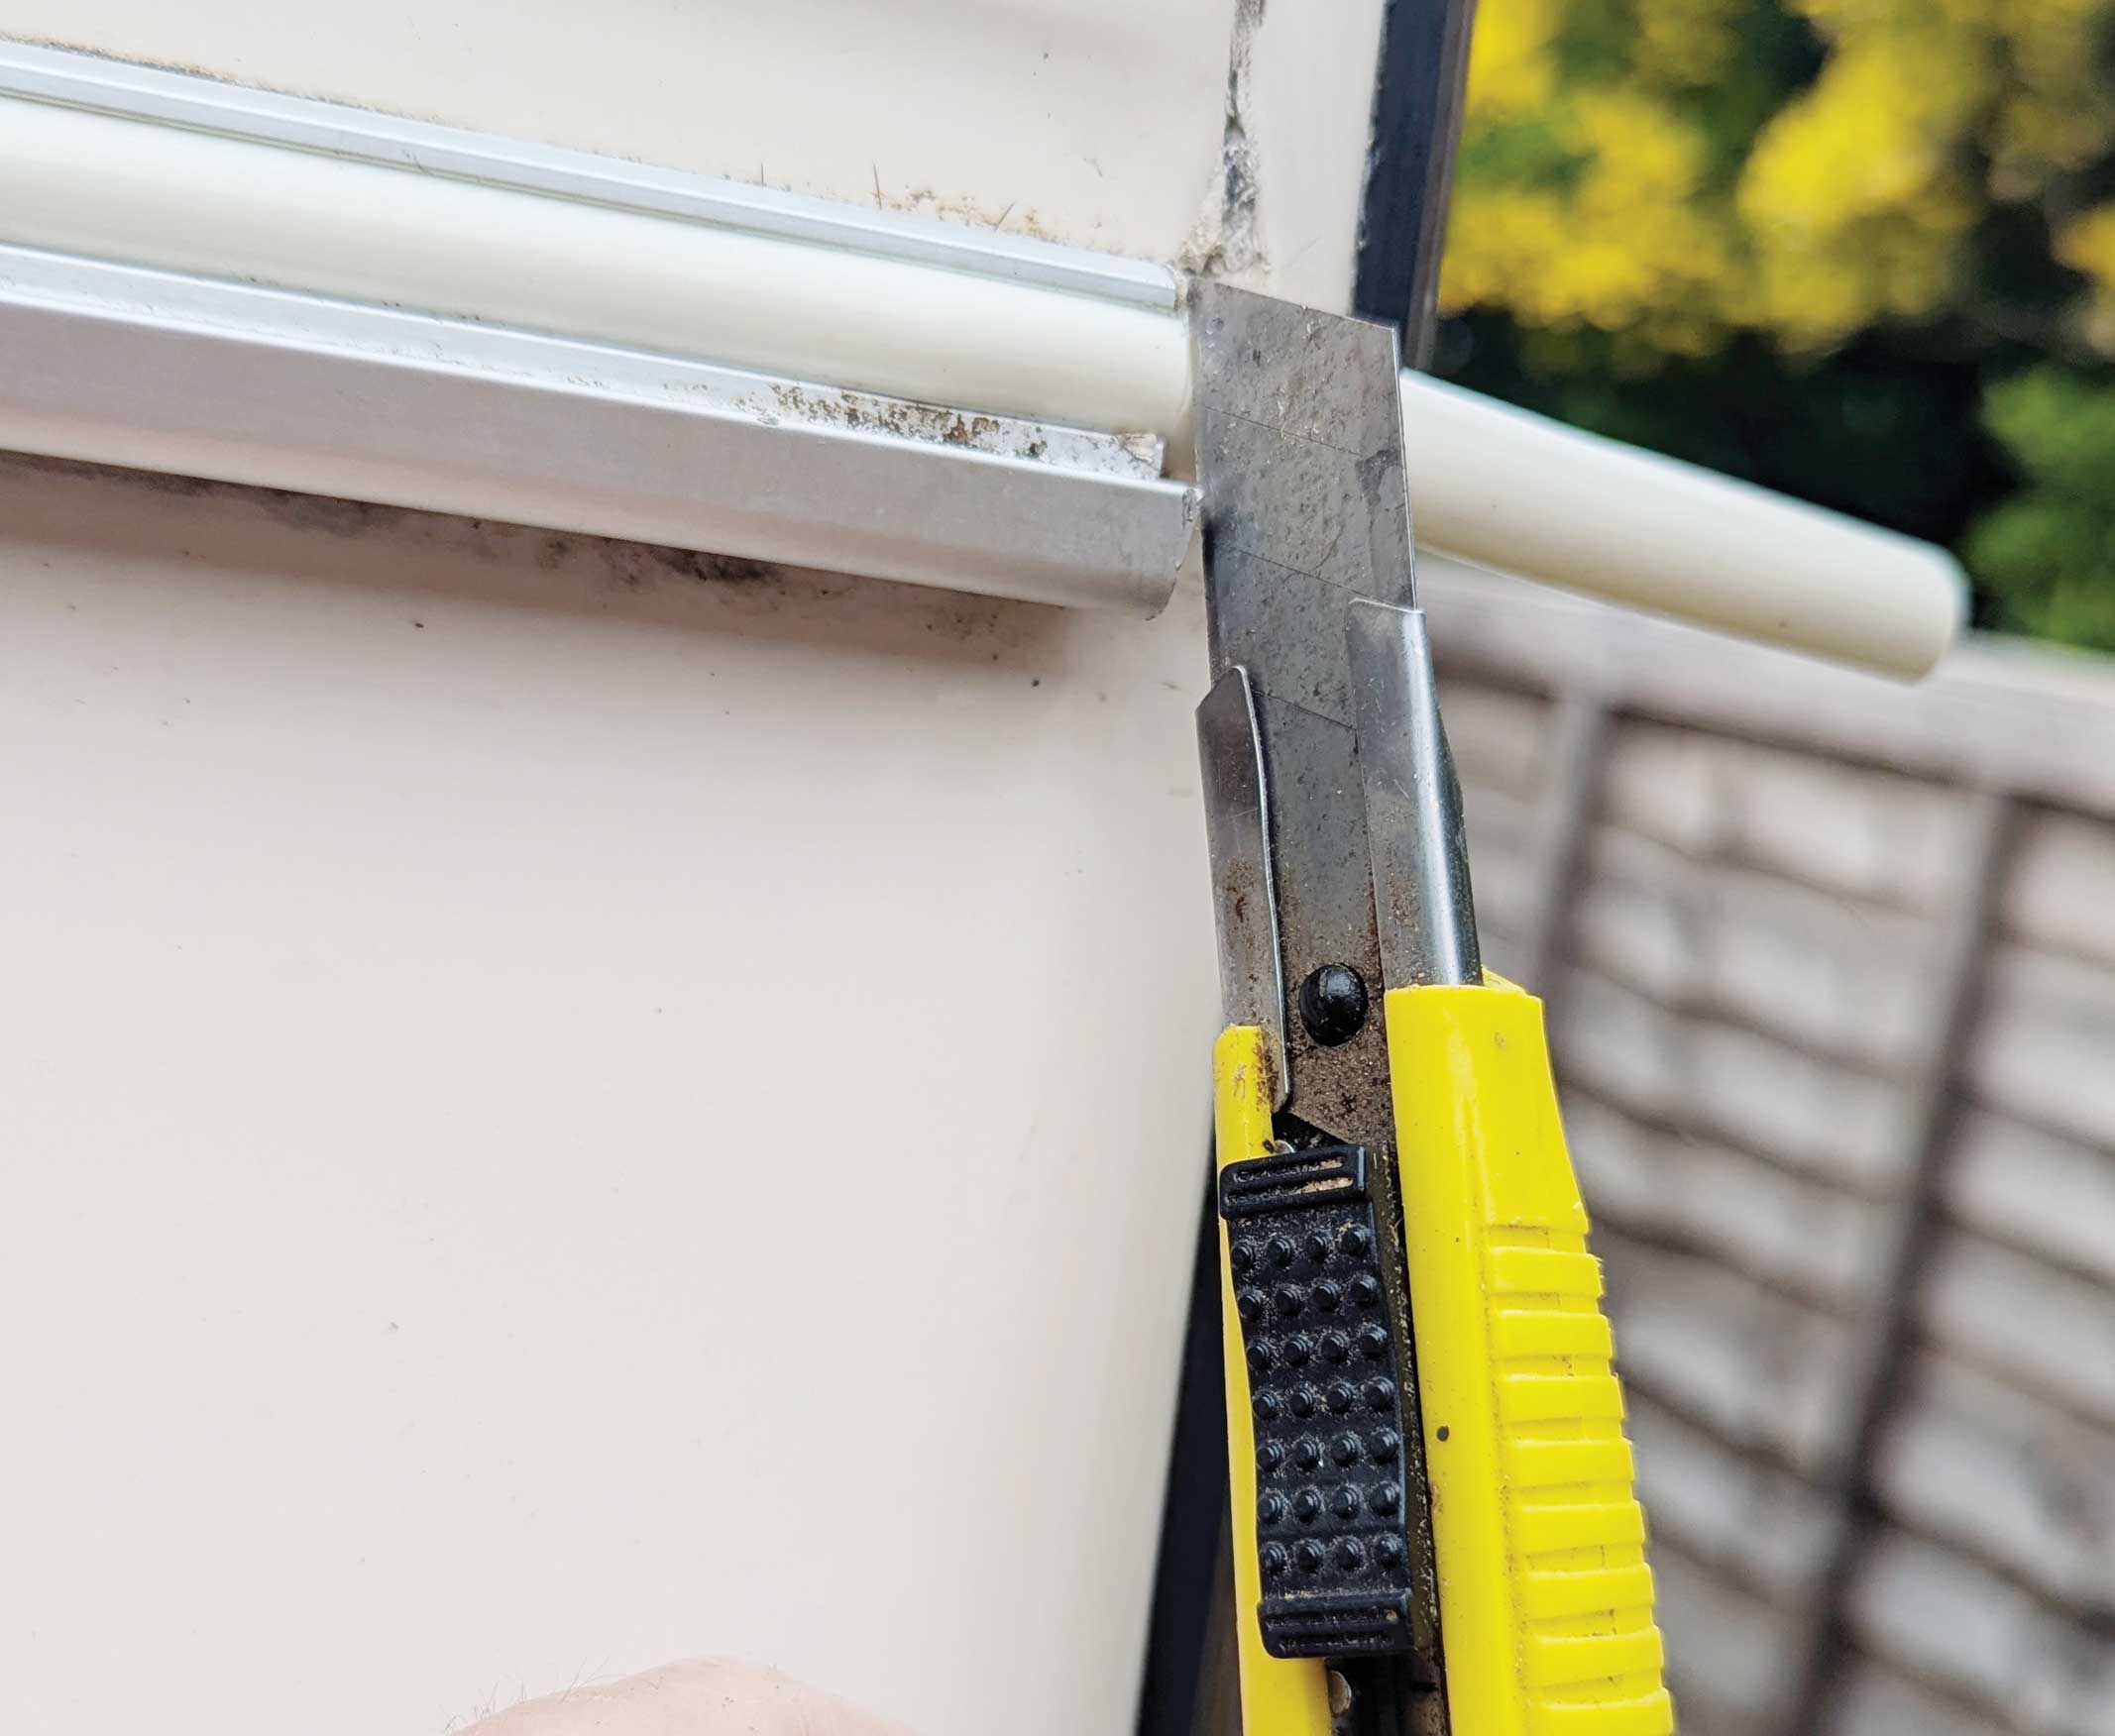
Following advice on its website, I removed a small section of trim from the caravan to measure it. I also measured the channel in the rail that I removed it from.
There are many different sizes available, but given that the trim seemed to measure around 11mm and the rail at around 8mm, I settled on a 12mm trim.
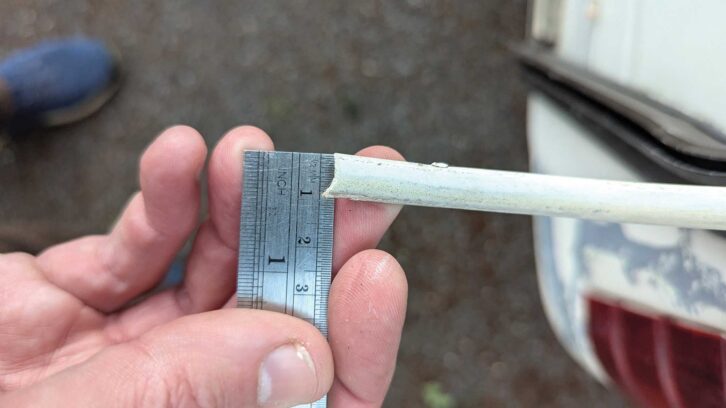
I went for a slightly creamy white to match the van’s colour, but there are dozens of colours to choose from.
Putting it back together
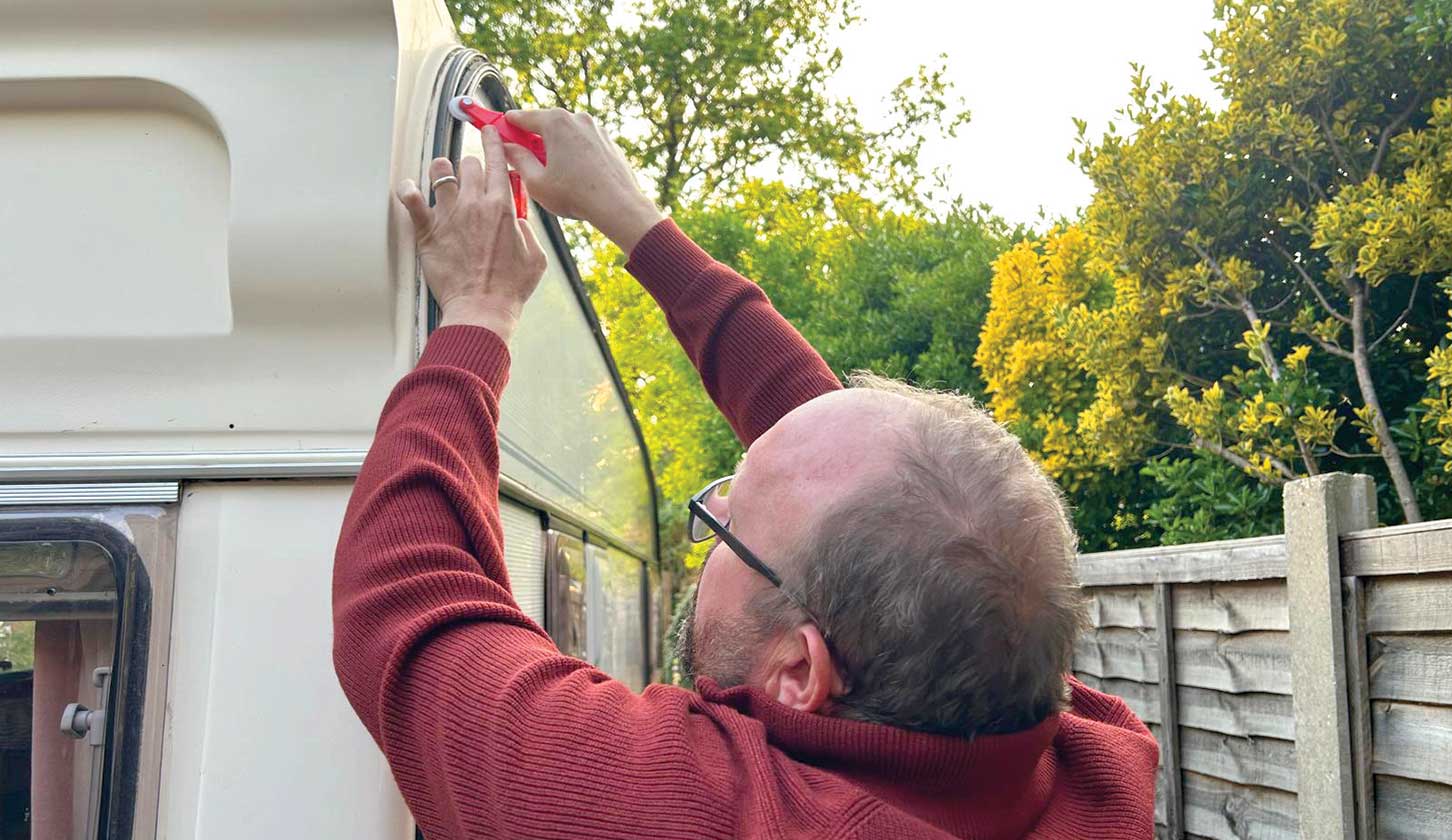
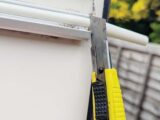
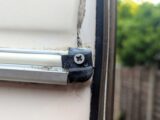
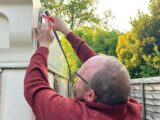
A couple of days later, a nicely packaged box arrived from Seals Direct and I set about the task. It is quite straightforward to do, but I started with the straight rail above the rear window as it looks in a bit of a state and the end caps also looked the worse for wear. I could remove and reseal these as part of the job.
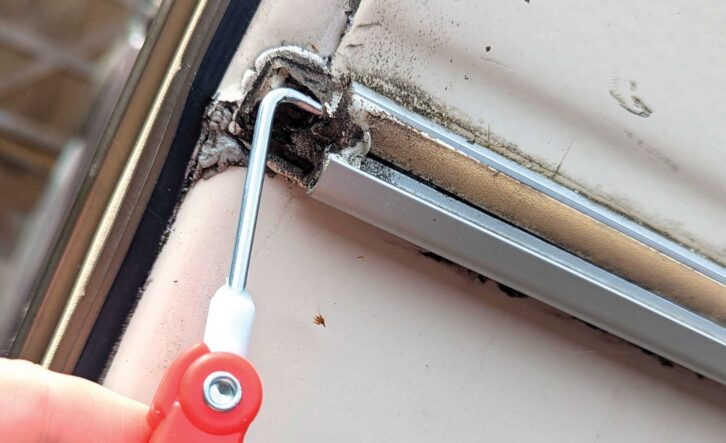
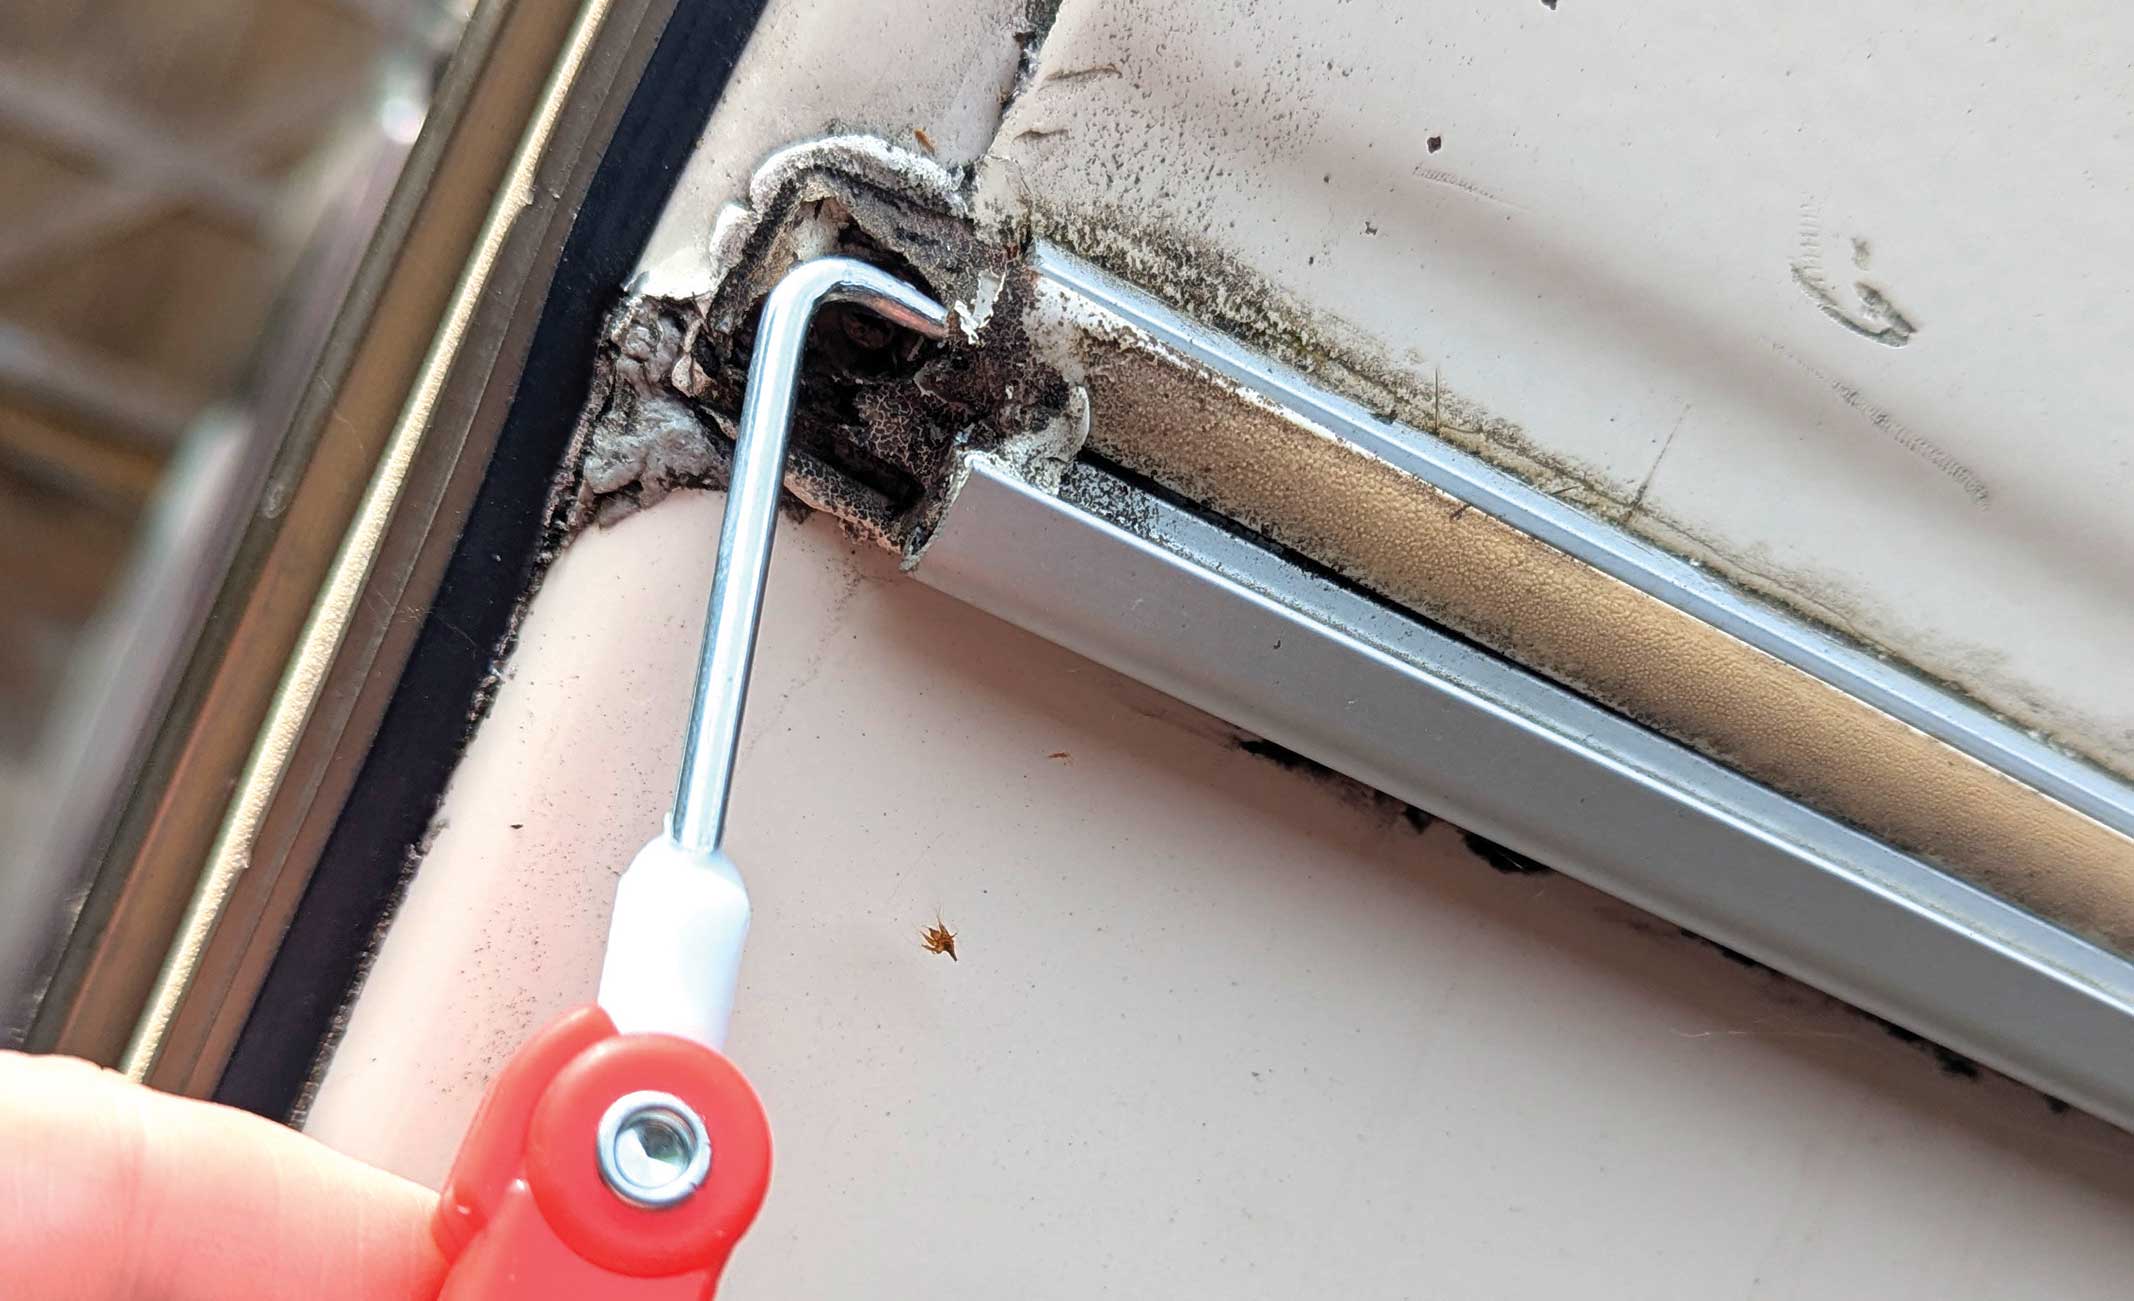
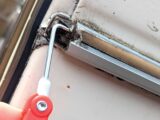
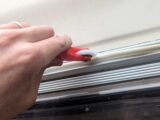
The Herzim trim tool has a spiteful little hook on one end for digging out the old trim, and a roller on the other for reseating the new.
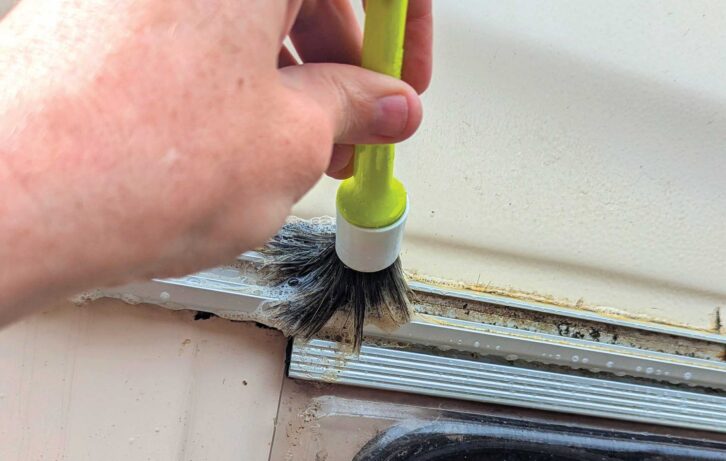
I wouldn’t say it made the job a pleasure, because it’s quite fiddly and boring, but it does make it a lot less frustrating than my previous efforts without the tool to hand.
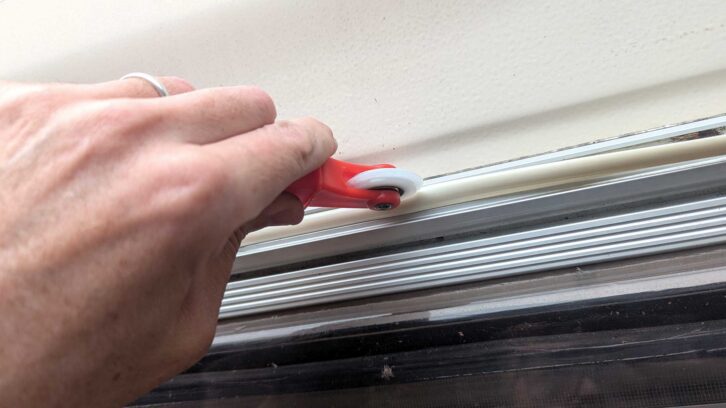
Replacing the Herzim trim took around an hour, thanks to the cleaning up, removing a crusty looking old screw in the rail and generally ensuring things were in good shape.
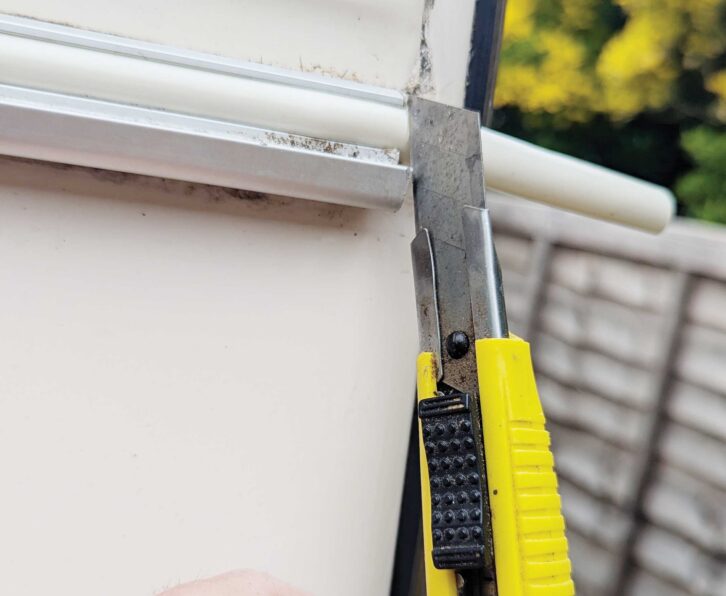
I was expecting to be wowed with my handiwork, but honestly? I’m not terribly thrilled with how it looks.
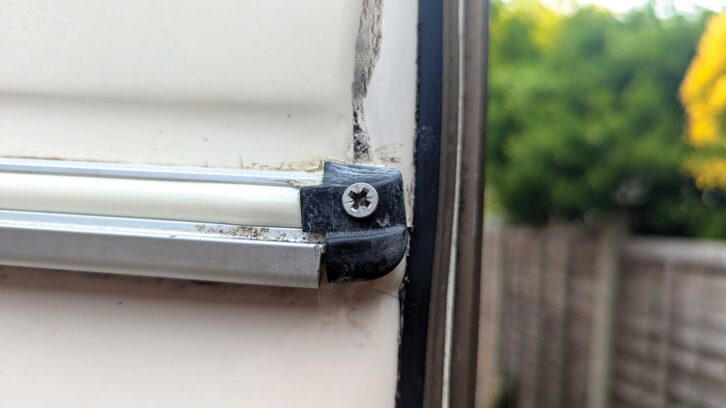
It’s definitely smarter than the old trim that was there before, and will now protect the van better. But this new trim shows bumps where each screwhead is installed along the rail.

It is keeping the weather off the screws, the end caps are newly sealed and the Herzim trim tool worked like a charm. But I’ll be scouring the internet for ways to get a smoother finish before I start resealing the awning rails.
Something else you may want for your tool kit is a socket set – if this applies to you, we can help, as we share our picks for the best socket set.
Future Publishing Limited, the publisher of Practical Caravan, provides the information in this article in good faith and makes no representation as to its completeness or accuracy. Individuals carrying out the instructions do so at their own risk and must exercise their independent judgement in determining the appropriateness of the advice to their circumstances and skill level. Individuals should take appropriate safety precautions and be aware of the risk of electrocution when dealing with electrical products. To the fullest extent permitted by law, neither Future nor its employees or agents shall have any liability in connection with the use of this information. You should check that any van warranty will not be affected before proceeding with DIY projects.
If you’ve enjoyed reading this article, why not get the latest news, reviews and features delivered direct to your door or inbox every month. Take advantage of our brilliant Practical Caravan magazine SUBSCRIBERS’ OFFER and SIGN UP TO OUR NEWSLETTER for regular weekly updates on all things caravan related.