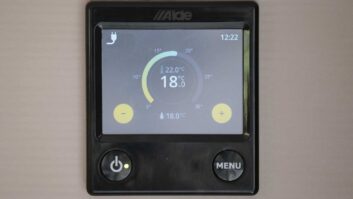
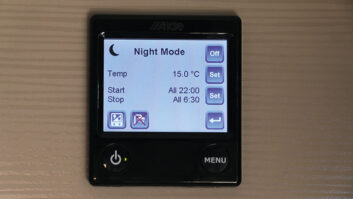
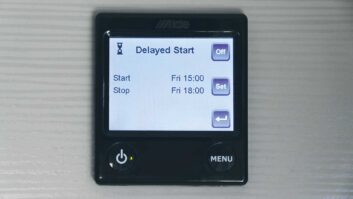
When we are away at a caravan park, neighbours have asked me on more than one occasion, “Does your Alde control panel disturb you at night? Ours does, it’s so bright.”
The honest answer to that is no, it hasn’t. But I do know what people mean.
The layouts that we’ve had with Alde heating have not left us facing the panel when we’re in bed, although if the panel is on the Bright screen setting, there can be a fair amount of glow emanating from it.
Left as it is, I can quite see how you might have a disturbed night, especially if you face the control panel from the bed.
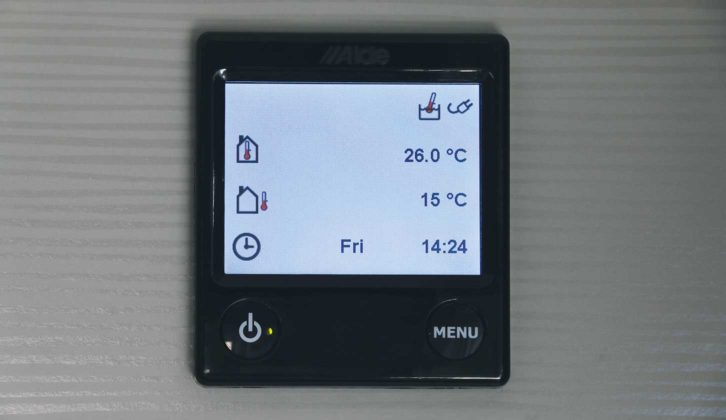
Luckily, one of the features of the clever Alde system is the option to select screen inversion, where, rather than having black icons and text on a white background, you can have white icons and text on a black background.
Alternatively, you can have the panel totally dark, in which case, a light touch anywhere on the screen will wake it up for approximately 30 seconds.
Here is my step-by-step guide on how to invert an Alde control screen. Of course, should you want to revert to the Bright screen at any time, the procedure is just the same. If you have the newer model, I also talk you through the process of inverting an Alde 3030 control panel screen display.
- We share our caravan window care tips, explaining what you can do to keep them scratch-free
Customised screen
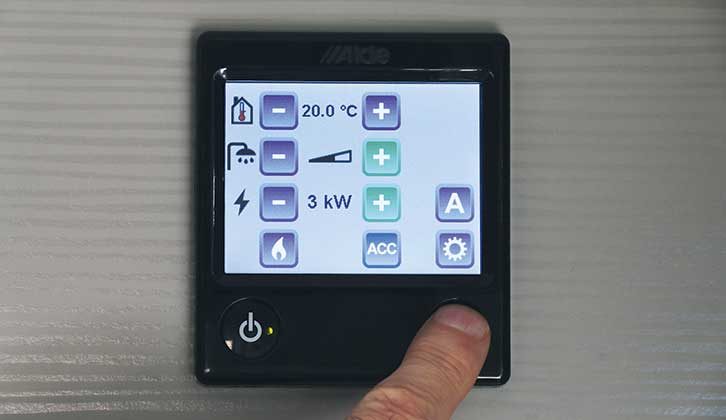
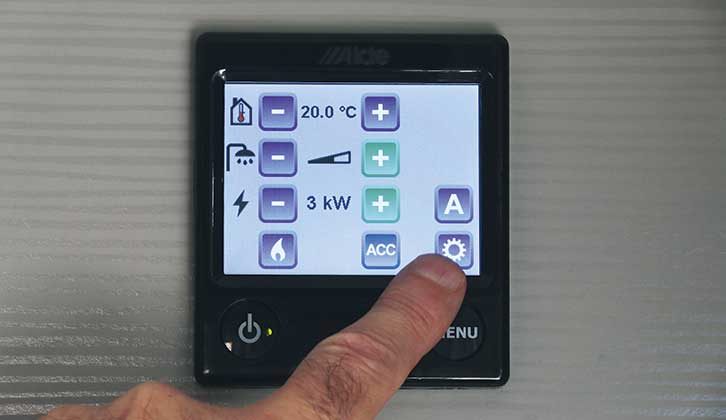
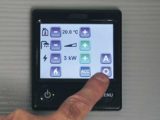
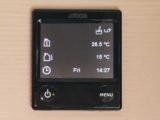
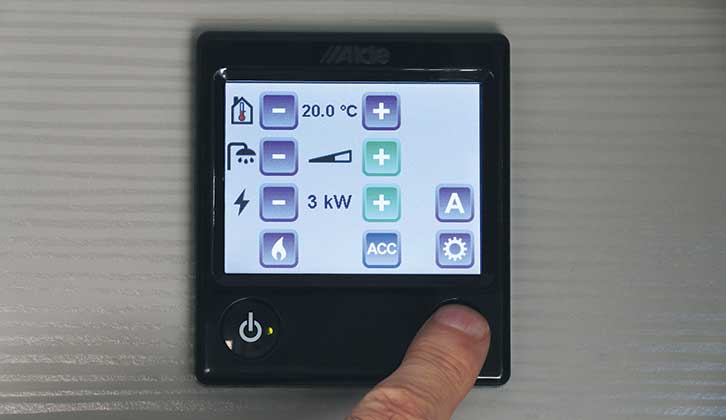
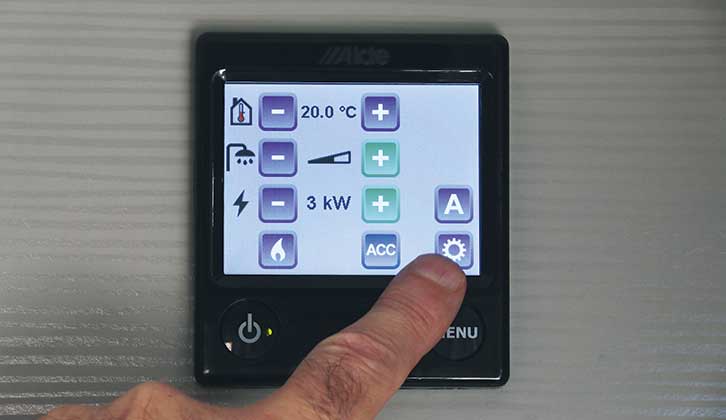
Starting with the 3020’s Home screen, press the Menu button (bottom right of the panel) and then touch the Settings icon (bottom right). Bear in mind that your screen might not display all of the icons that ours does, because we’ve added a Flow pre-heater and an outside temperature sensor – both are available as cost options, the Flow being an Alde installation, and the exterior temperature sensor a simple DIY fit.
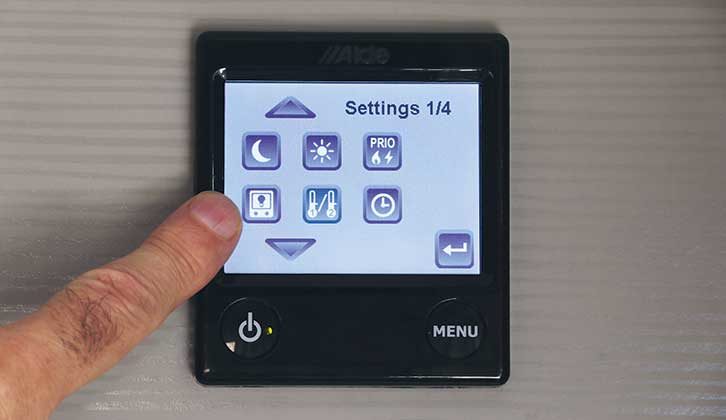
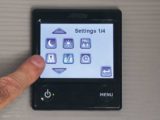
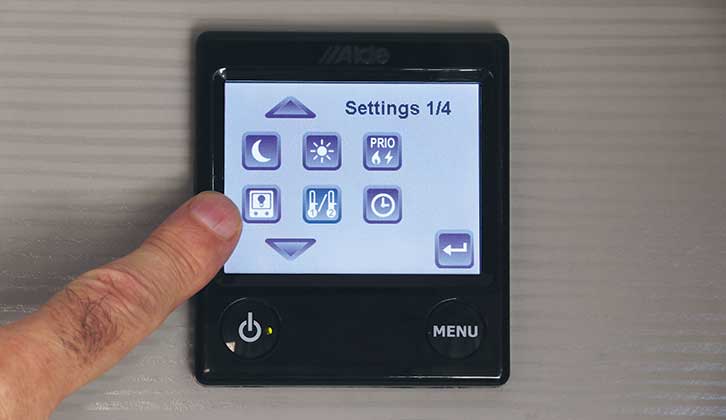
On page 1 of 4 (first screen after touching the Settings icon), the icon at the bottom left is the one that will alter the screen display.
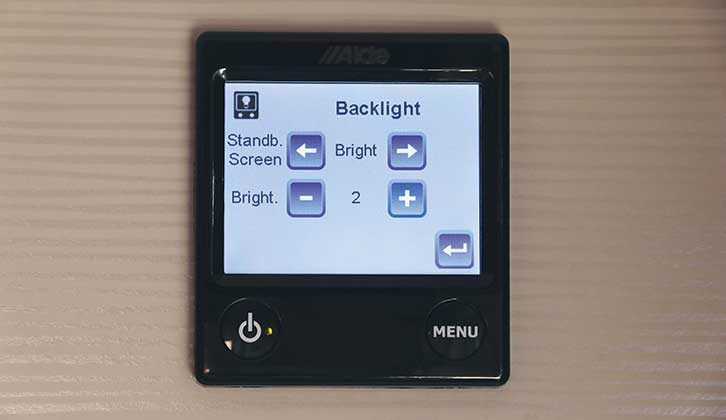
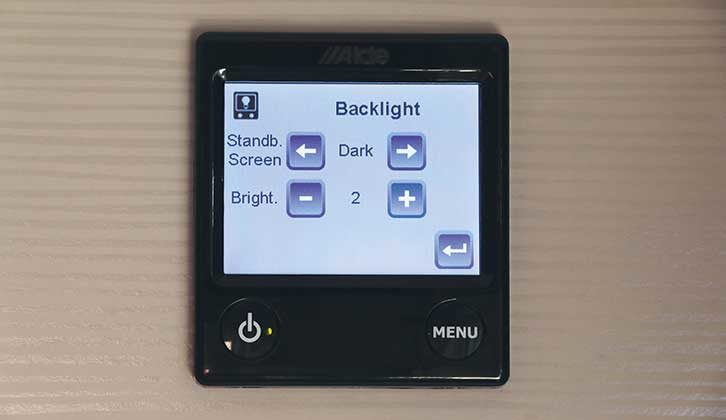
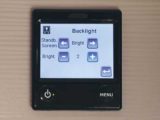
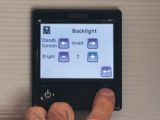
Touch that icon and the next screen will offer you various choices. For the Standby Screen, you can select Bright. You also have the option just below that button to adjust the brightness slightly – this does make a small difference to the Bright screen and is the only one that can be adjusted.
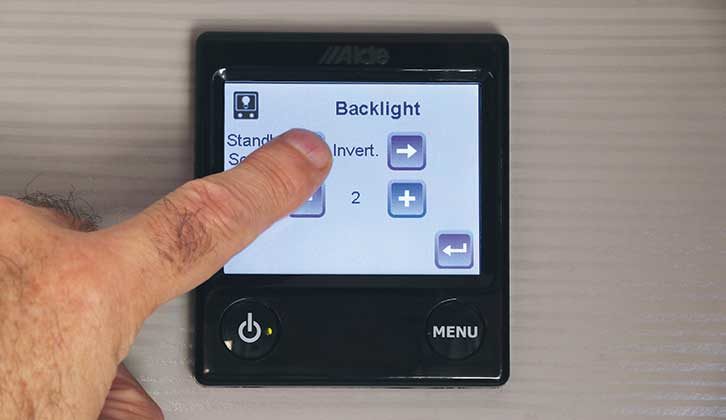
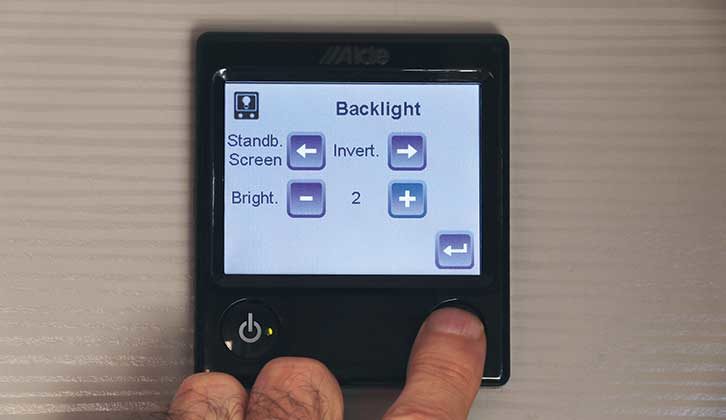
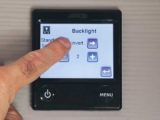
Touching the Right or Left arrow takes you through the choices of Bright, Invert or Dark. Select Invert and then press the Menu button (bottom right) twice, which takes you back to the Home screen. Now, as described above, this will appear in Invert mode.
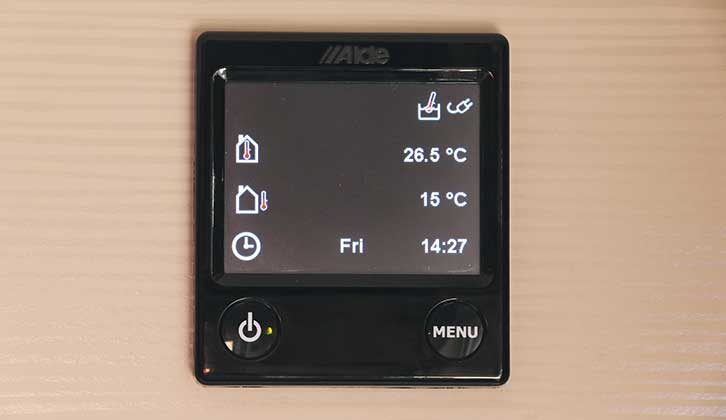
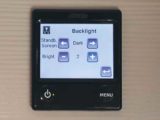
Should you wish to turn off the screen completely, repeat the process, but select Dark. This time, when you press the Menu button twice to return to the Home screen, the screen will appear inverted for a few seconds, before going off.
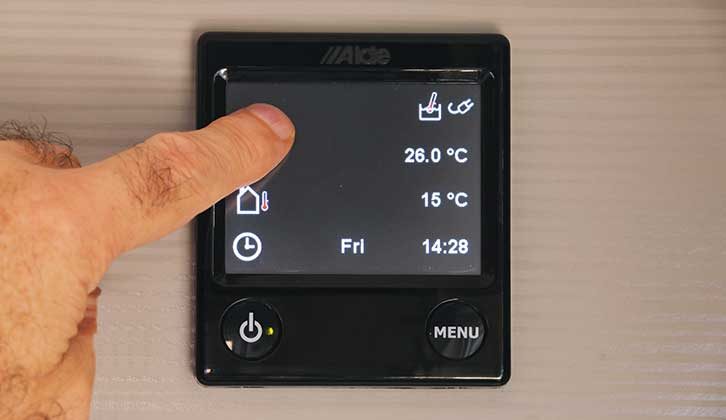
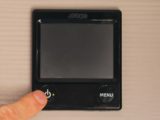
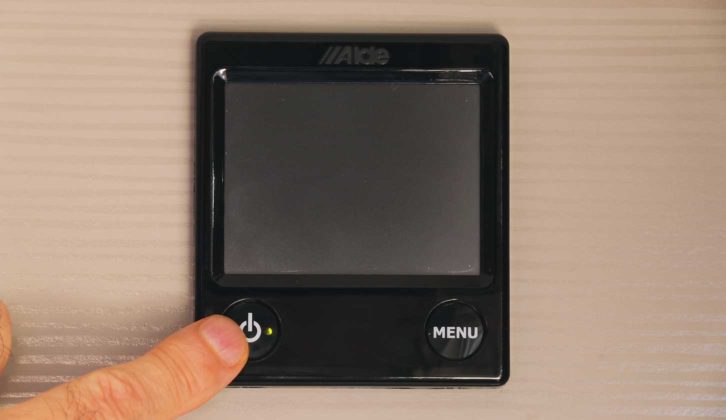
You can check the system is still operating by one of two methods. First, the green LED on the On/Off button (bottom left) will be lit. If the system is switched off, the LED will not be displayed. The second way is simply to touch the panel, to display the inverted Home screen for about 30 seconds.
To switch the screen display back to Invert or Bright at any time, just repeat the process. Do this a few times and you won’t even have to think about it, and in the meantime, enjoy the darkness and a good night’s sleep! Now if only there was a way of turning off the bright blue LEDs on the fridge…
A step by step guide to how to invert an Alde control screen
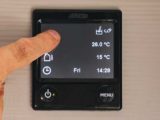
1. First, press the Menu button (bottom right).
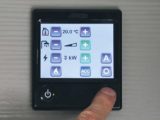
2. Then, touch the Settings icon.
3. Next, touch the Screen icon.
4. You’ll now be presented with these options for the appearance of the Standby Screen.
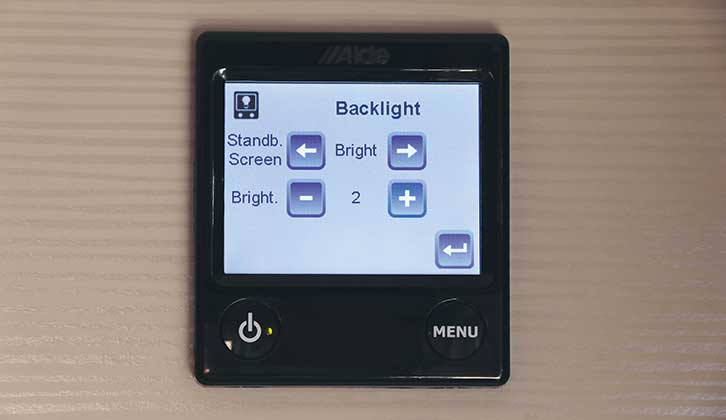
5. By touching the Right or Left arrow, you can change the screen selection to Invert.
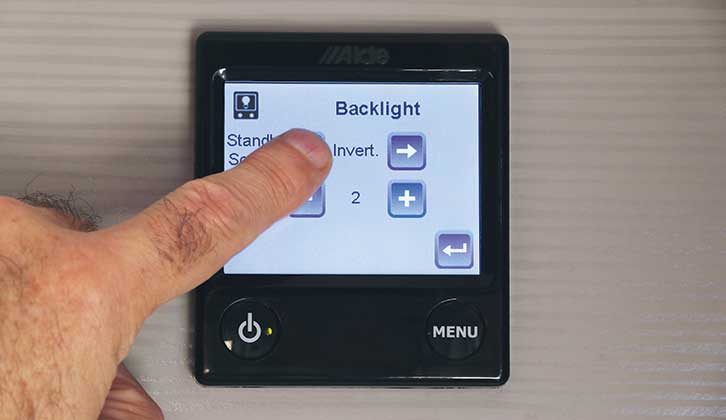
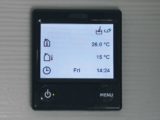
6. Now, simply press the Menu button again, and you’ll be returned to the Home screen.
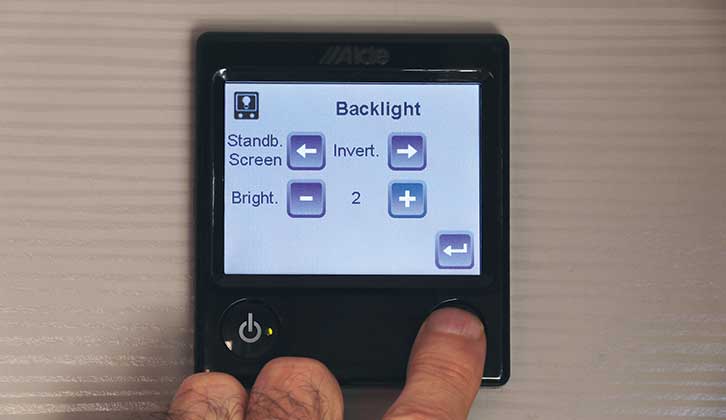
7. The Home screen in Invert mode.
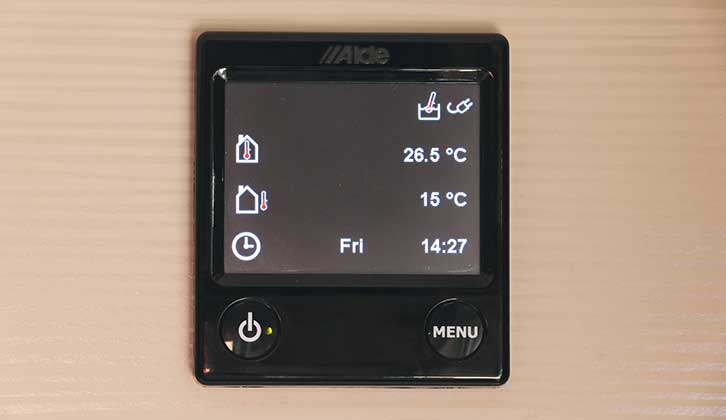
8. Repeat the process to select Dark screen.
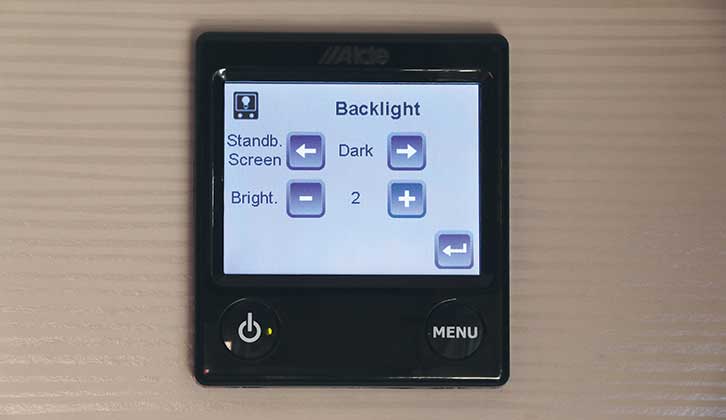
9. Check the LED is on, or touch the screen.
Looking for more DIY projects to try out? Then how about these:
- We explain how to replace a jockey wheel
- We talk you through the process of fitting an Al-Ko side-lift jack
Future Publishing Limited, the publisher of Practical Caravan, provides the information in this article in good faith and makes no representation as to its completeness or accuracy. Individuals carrying out the instructions do so at their own risk and must exercise their independent judgement in determining the appropriateness of the advice to their circumstances. Individuals should take appropriate safety precautions and be aware of the risk of electrocution when dealing with electrical products. To the fullest extent permitted by law, neither Future nor its employees or agents shall have any liability in connection with the use of this information. You should check that any van warranty will not be affected before proceeding with DIY projects.
If you’ve enjoyed reading this article, why not get the latest news, reviews and features delivered direct to your door or inbox every month. Take advantage of our brilliant Practical Caravan magazine SUBSCRIBERS’ OFFER and SIGN UP TO OUR NEWSLETTER for regular weekly updates on all things motorhome related.
