


I’d previously planned to repair Penny’s damaged and shabby towing electrics, but an unexpected smashed front locker floor in the same area became the priority instead.
Penny is a 1998 Bailey caravan that we bought on Facebook Marketplace for £1,200, and we knew there would be work to do to get her back to here best. It wasn’t just a case of cleaning a caravan – some improvement work would be needed too.
Now, with the unexpected issues I encountered while carrying out DIY on my caravan resolved, efforts once again centred on the towing electrics. As explained in a previous instalment, Penny has been converted from the old-style 12N and 12S plugs to the current 13-pin standard, but this is best described as a ‘budget’ install.
It worked, so there wasn’t much wrong with it, but the 13-pin plug is designed to have a single cable run into it. Penny had two cables squeezed into the socket, which meant the plug couldn’t be sealed against the elements, and because the cables up to the plug were of different lengths, managing them when hooked up was a bit of a nightmare.
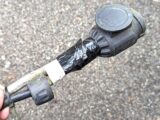
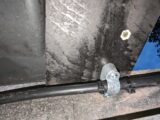
The previous owner managed the cables with a lot of cable ties, but having these wrapped around the braking apparatus made me feel uncomfortable. I removed the clips and tried to manage the cables by pulling up the slack and twisting the cable to make it less likely to sag in transit. As the photos show, this was a terrible failure and now I had an even bigger mess to address – and nobody but myself to blame. We’ll chalk that experience up as a caravanning mistake to avoid.
To add just a little bit more pressure, we had booked four nights away in the New Forest for the following week, so the towing electrics work needed doing quickly, too.
The plan of action to repair the towing electrics
The neatest solution to repair and improve things was pretty obvious. Take the two cables going to the existing plug, cut them underneath the van, and join the two to a modern 13-pin compatible cable. The single cable would look a lot neater and, because it would seal into the plug, should prove more reliable in service, as well.
The first thing I needed to do was buy some stuff. A new length of 13-core cable, a new plug and a few other bits and bobs to get the job done. There are a few pounds to be saved by buying the plug and cable separately, but life is too short for wiring up fiddly little plugs, so I opted to buy a pre-wired cable and plug from Discount Towing Supplies on eBay.
The total cost was £35, but given that the cable is typically around £12 per metre if you shop around, getting the plug pre-wired felt like good value.
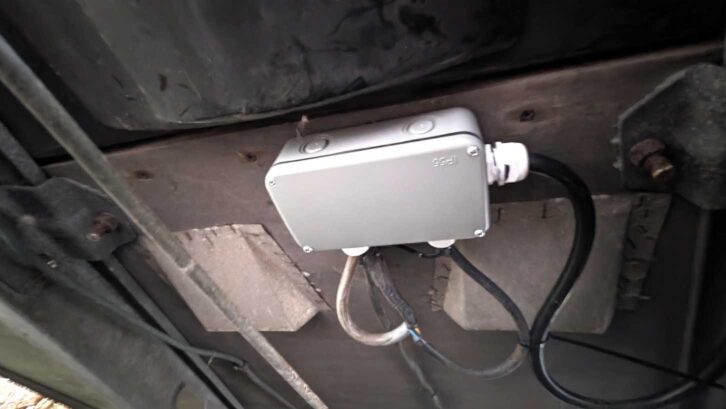
In addition, I picked up a weatherproof box and gland fittings, so the cable joins were kept out of the weather, and a length of terminal block to join the cables.
With all of the shopping now done, there was nothing left to do but crawl under the caravan and get started.
Cable is costly and mistakes when cutting and fitting could be expensive, so I spent a good hour offering up the new cable, measuring the remains of the old ones and working out where to locate the junction box.
I decided that the leading edge of the caravan floor, under the van and adjacent to where the old 12S cable went up into the van, looked a good spot.

With that settled, I could start working out the length of cable required. You need to have enough cable ahead of the hitch head to give enough slack in the cable to allow the caravan to turn without pulling taut, but not so much slack that the cable drags on the floor. I decided that 800mm of cable ahead of the hitch head would be about right, but I also wanted to try to engineer a little adjustable slack in the cable for fine-tuning.
With cable lengths worked out, I marked it with a strip of masking tape before taking the cable back to my bench to prepare it. For my own peace of mind, I decided to prepare the cable in the garage, putting off going underneath the van for as long as I could.
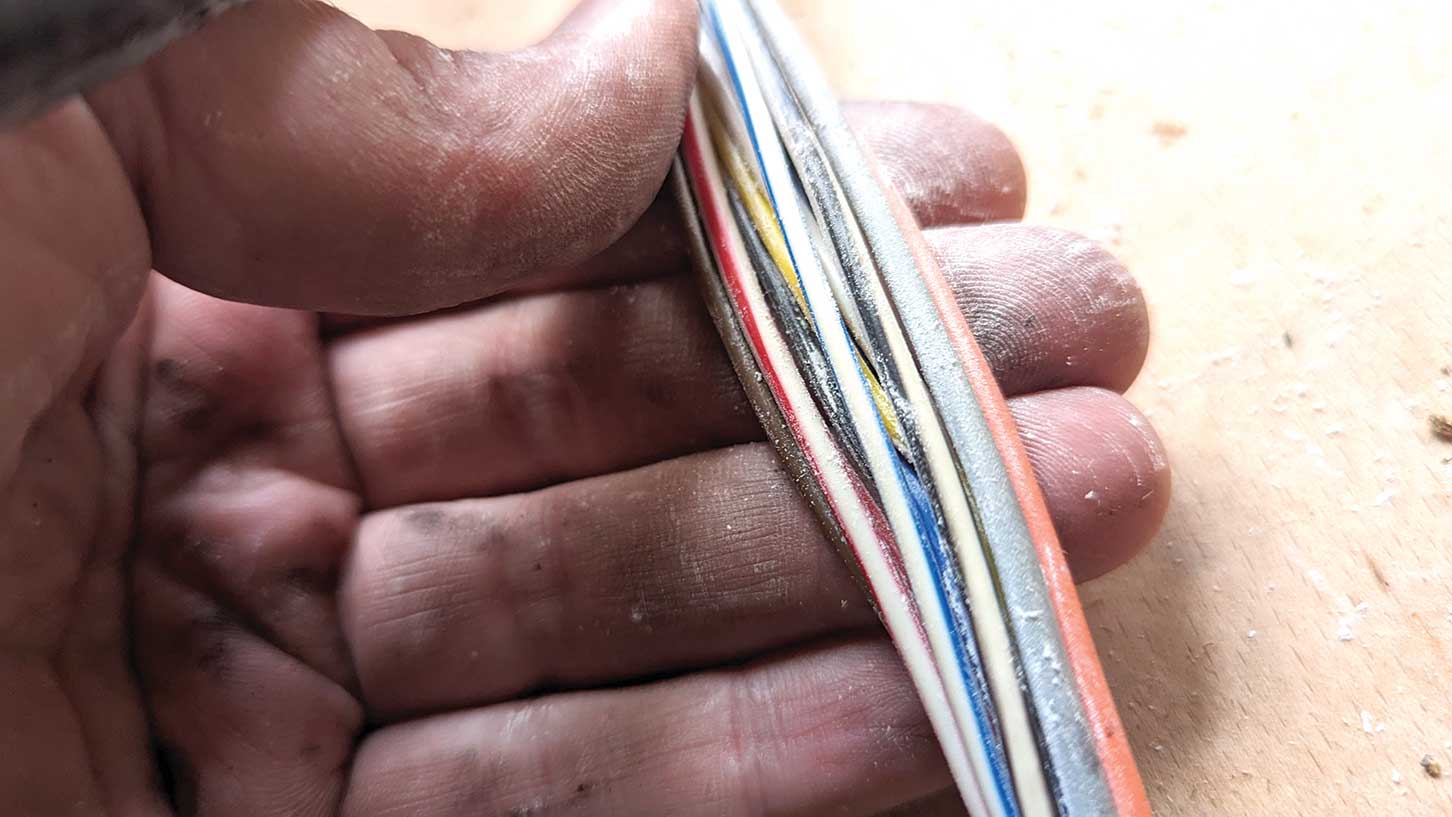
To prepare the cable, I cut around 400mm from the total length and then stripped back around 150mm of the outer sheathing of the remainder. Removing the outer needs a sharp blade in a Stanley knife and a degree of judgment to cut the outer without nicking the insulation on the smaller cables within. If you are not used to trimming cable, it makes good sense to practise this manoeuvre first, using any spare bits that you’ve trimmed off, before you cut into the bit that you’re going to need.
The worst bit of repairing the towing electrics
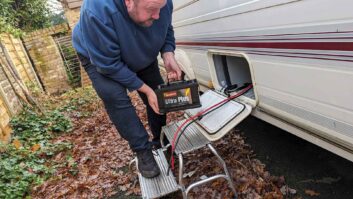
With that done, we had to go out and start the awkward job of making the connections under the caravan.
I hate working underneath the van, but sometimes, like now, there is no alternative. It’s where the cables are.

After safely securing the caravan, the old cables attached to the van needed to be cut and prepared in the same way as the new one, for neat, clean cable ends to work with.
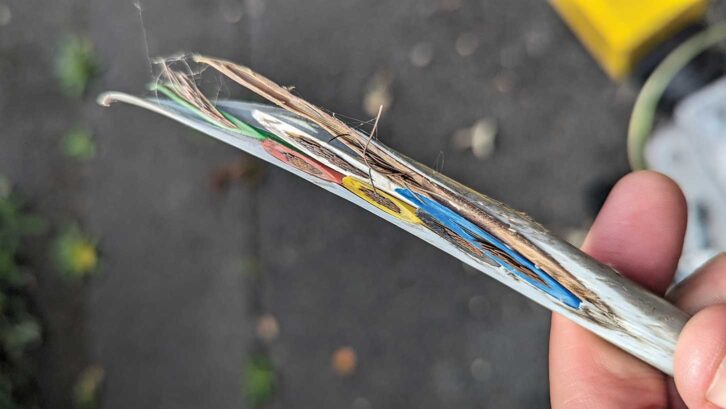
Again, there is a fair bit of measuring and working out required, to ensure you don’t leave yourself short of cable. Also, in the case of the 12S one, we had to remove the end, which had shredded by being dragged along the road.
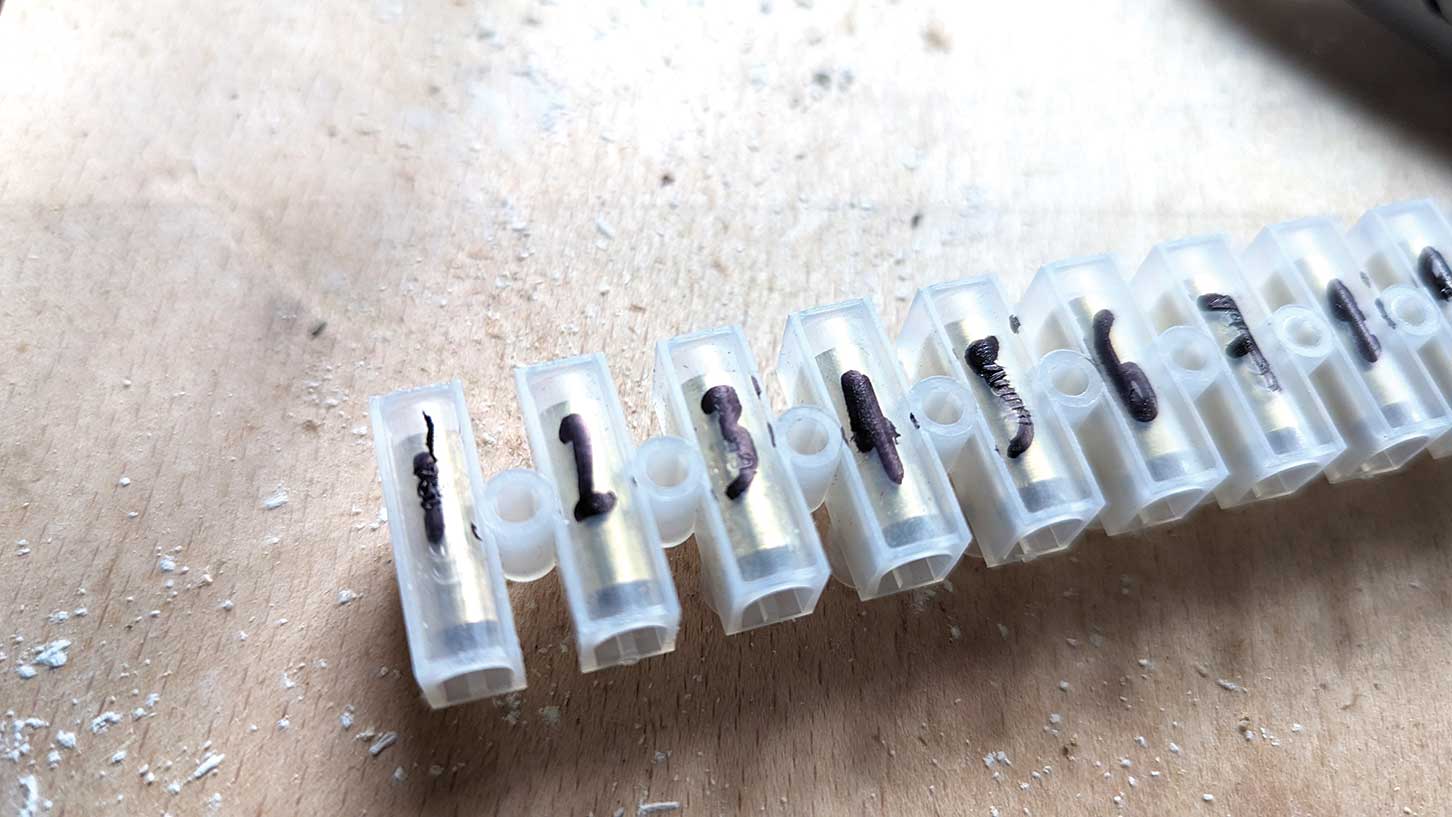
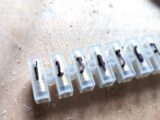
The actual wiring itself is very straightforward – basically mapping two old cables to one new one. It would probably be a 10-minute job, if you weren’t on your back, on a draughty driveway in the dark (and you weren’t old enough to need reading glasses!). We did need to cut back several individual cables to reduce clutter in the junction box, but by the time all 12 wires were hooked up using a length of terminal block, it was a bit of a snug fit. We hooked up the car for a quick test that everything was working as it should, before fitting the rubber seal and the lid.
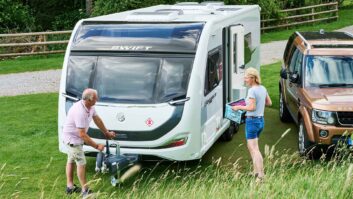
The final part of the job was fine-tuning how much cable would be ahead of the hitch. To make the amount of cable ahead of the hitch adjustable, I screwed a guide to the floor of the caravan just before the A-frame and threaded the new 13-pin cable through it.

Take up the slack
With the car attached to the van, I estimated the slack needed in the cable to allow the car to turn fully left and right without putting tension on the cable.
Once I was happy that I had sufficient movement, I placed cable ties on either side of my guide clamp, which locked it in place. With that complete, this horrible, fiddly but ultimately quite easy job was done.
Ready for our trip to the New Forest, we set off for a few days of autumn sunshine. After packing and hitching up the caravan, and with the dog in the car, we pootled off to Red Shoot Camping Park, near Ringwood, to enjoy our efforts, and as likely as not, find more things we need to fix!
Carrying out a gas check
The towing electrics weren’t my only area of focus this month. Repairing the front locker floor last month meant we could secure the gas fitting to the floor and assess the van’s gas system.
Gas work in a privately owned van is not covered by the same regulations as domestic installations, and the guidelines call for a competent person to undertake any work.

As luck would have it, my Dad is a retired gas fitter, so I pointed him at the caravan.
Unused gas system
The previous owner said they never used the gas system. As mentioned, our van has had the standard three-way fridge removed, and a small mains unit popped in its place.
This meant that somewhere, there was a gas supply pipe not going anywhere, so I asked the old fella to take a look.
The rubber gas hose in vans is date stamped and replacement is recommended every five years. Ours was 12 years overdue.
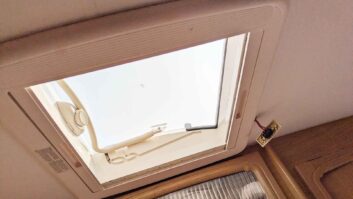
Sure enough, pulling the fridge vents revealed an uncapped gas pipe. On my Dad’s advice, I ordered a length of flexible gas hose, a propane regulator and an 8mm stop end to seal the system and restore it to function.
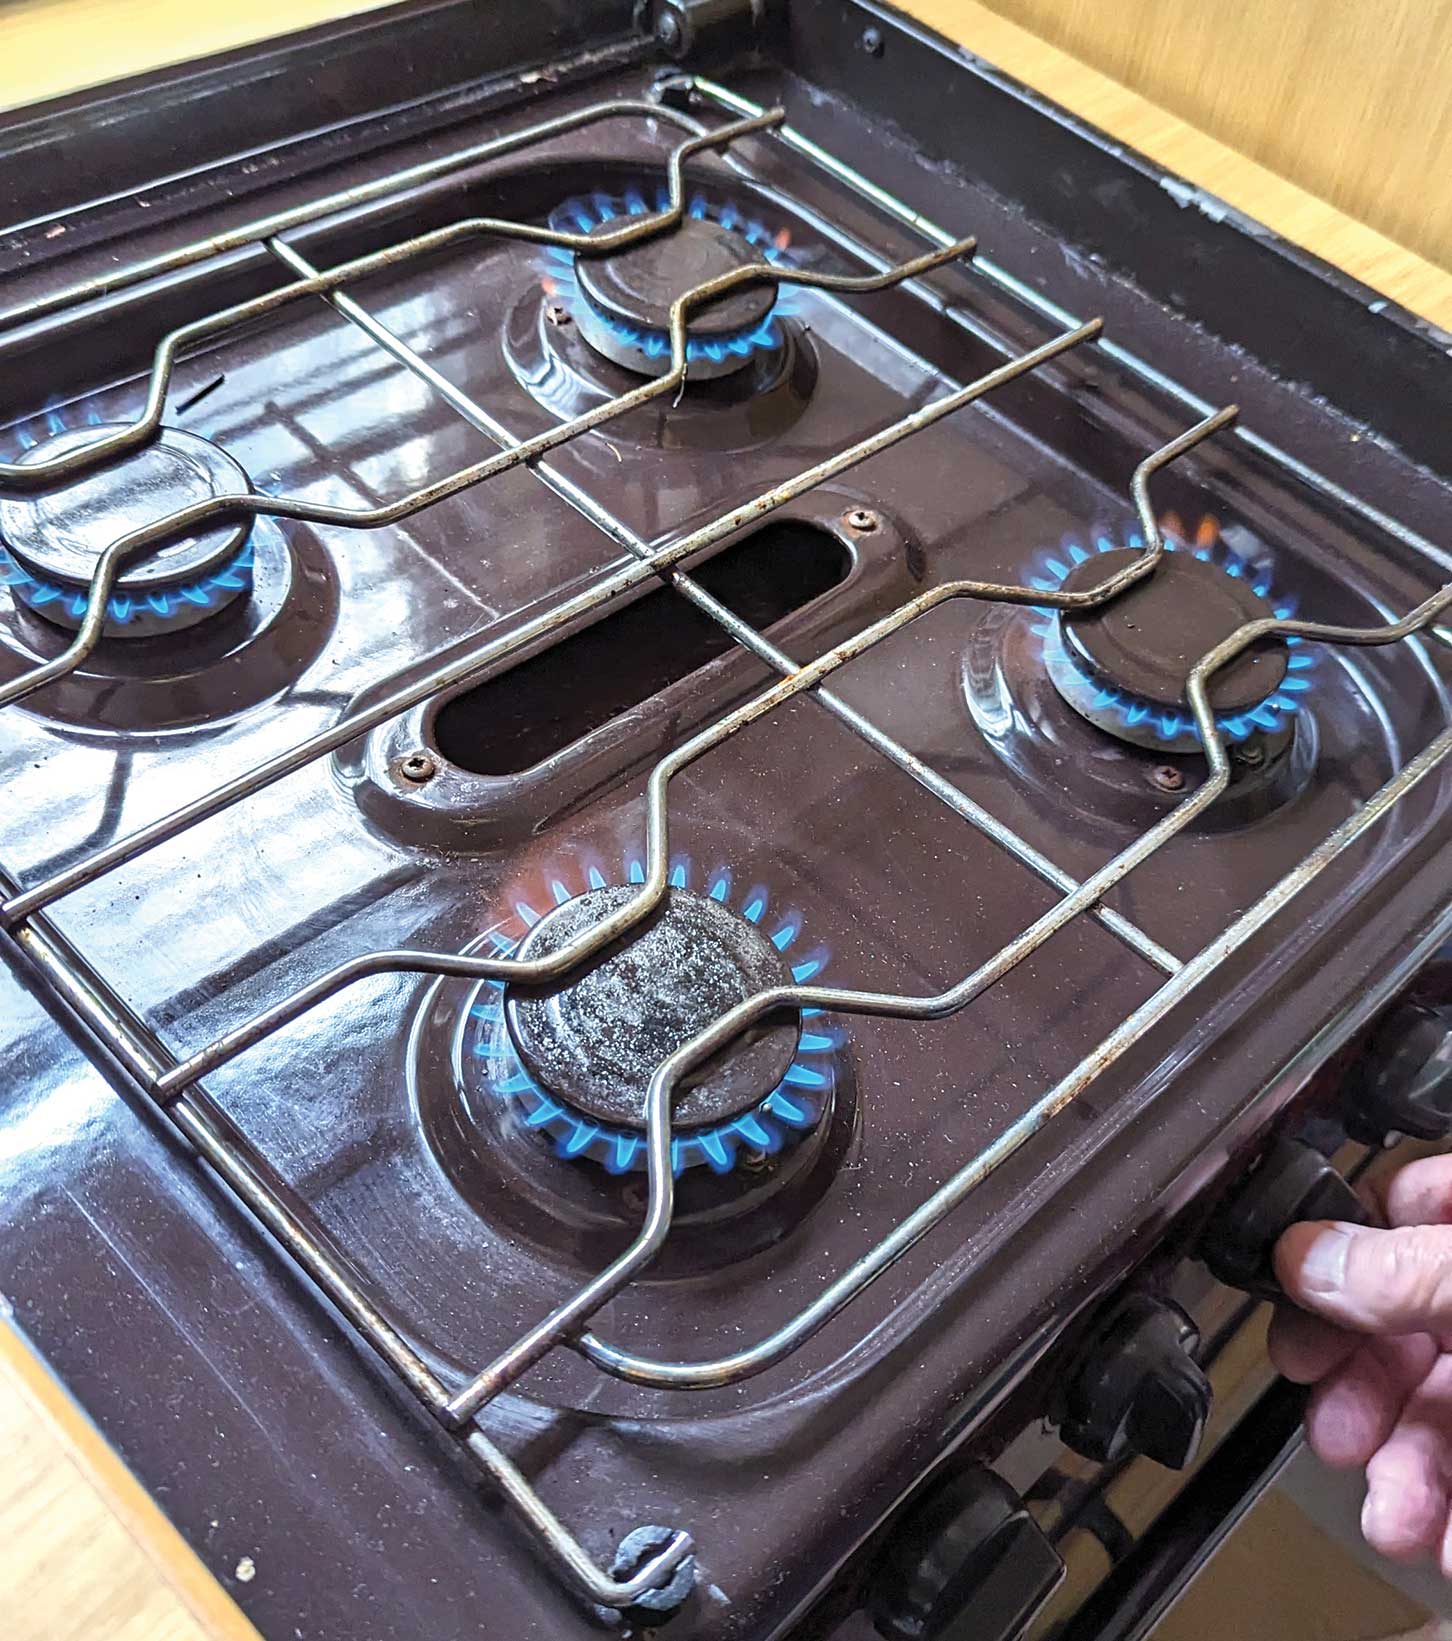
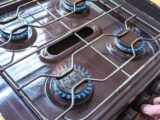
After fitting up, he went around the system checking the pipework and joints for leaks and damage. He inspected the appliances, cleaning up and testing as he went. The main thing we were keen to use was the stove, so a visual inspection of the flames and a check of the flame failure function were required.
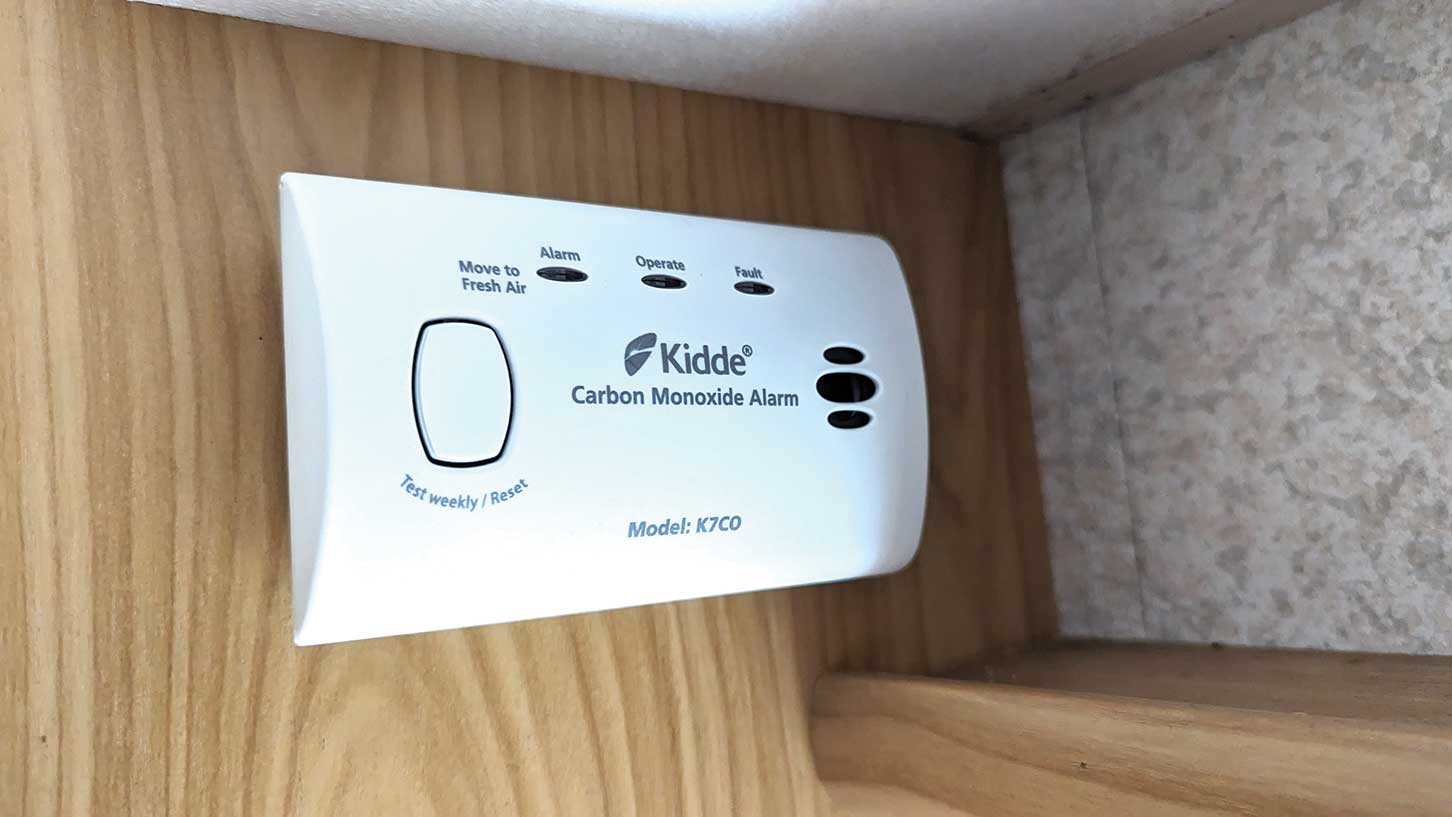
He insisted we fit a Kidde 7CO caravan/boat carbon monoxide alarm, as Penny didn’t have one.
We are happy the system is now fundamentally safe, but on his recommendation, we will get a gas safety certificate booked once the caravan water system is recommissioned.
Thinking of getting your own pre-owned van? Then take a look at our guide to buying a used caravan to see what you should be aware of.
Future Publishing Limited, the publisher of practicalcaravan.com, provides the information in this article in good faith and makes no representation as to its completeness or accuracy. Individuals carrying out the instructions do so at their own risk and must exercise their independent judgement in determining the appropriateness of the advice to their circumstances. Individuals should take appropriate safety precautions and be aware of the risk of electrocution when dealing with electrical products. To the fullest extent permitted by law, neither Future nor its employees or agents shall have any liability in connection with the use of this information. You should check that any van warranty will not be affected before proceeding with DIY projects.
If you’ve enjoyed reading this article, why not get the latest news, reviews and features delivered direct to your door or inbox every month. Take advantage of our brilliant Practical Caravan magazine SUBSCRIBERS’ OFFER and SIGN UP TO OUR NEWSLETTER for regular weekly updates on all things caravan related.